Why Most DIYers Fail Their First Shaft Install
Seventy-eight percent of DIY golfers fail their first shaft installation—not from lack of effort, but from skipping the critical sequence of operations (Golf Digest, 2023). This means wasted premium materials, safety risks, and lost confidence—all avoidable with structured process control.
Missteps like epoxy overflow or misaligned ferrules don’t just hurt cosmetics; they compromise aerodynamics and swing consistency. One amateur spent $127 replacing parts over three failed attempts—time and money that could have been saved with procedural discipline. The key insight? Precision bonding means success starts before the heat gun even powers on, because reliability comes from order, not tools alone.
A 2024 customization survey found users who followed a validated step sequence reduced failure rates to under 12%, cutting material waste by nearly 70%. That kind of consistency turns one-off projects into repeatable builds—essential for hobbyists and commercial customizers alike.
What Makes a Golf Shaft Installation Kit Complete
A complete golf shaft installation kit means you’re equipped for success every time, not just lucky once. Over 60% of first-time re-shafting attempts fail due to missing or substandard tools (2024 clubfitting forum review), which means higher defect rates and slower turnaround—especially damaging if you’re serving clients.
The five non-negotiable components are: a precision shaft puller, variable-heat gun calibrated for composites, high-tack grip tape, industrial-strength epoxy, and a laser-aligned shaft alignment jig. These aren’t accessories—they enable accuracy, repeatability, and structural integrity. For example, a proper jig reduces misalignment risk by up to 40%, directly improving ball flight consistency.
While budget kits under $50 often skip the jig or use weak adhesives, full-featured systems pay for themselves. One pro shop cut average re-shafting time from 90 to 35 minutes after upgrading—freeing capacity to handle 5x more orders weekly without added labor. That scalability means your toolkit doesn’t just prevent failure—it fuels growth.
How to Prep Club Heads and Shafts for Maximum Bond Strength
Cleaning and deburring mean stronger, longer-lasting bonds because surface prep directly impacts epoxy adhesion. A 2024 Golf Laboratories Inc. study found properly prepped hosels create joints up to 40% stronger than unprepared ones—proof that this step separates amateurs from pros.
Industry leaders use a dental pick to remove factory residue and carbon burrs, then wipe the hosel with acetone on a microfiber swab. This dual-step process eliminates oils and contaminants, ensuring maximum grip between epoxy and surfaces. For your business, this means fewer warranty claims and higher client retention.
Consider a $200 driver failing after three rounds: the customer remembers only that it broke—not the shaft specs. But when prep is consistent, so is performance. That reliability becomes your brand signature, turning first-time buyers into loyal advocates. Mastering this phase secures your profit margin long before the grip goes on.
The Real Cost and Time Savings of DIY Shaft Installation
Handling shaft installation in-house means eliminating $80–$120 per club in outsourcing fees (GolfWRX, 2025), translating to $8,000–$12,000 annual savings for shops doing 100 builds. Even weekend tinkerers save nearly $200 yearly—funds better spent on innovation, not labor markup.
Beyond cost, speed means responsiveness. Waiting days for a pro shop kills fitting momentum. With DIY-Golf components, one retailer tested three shaft configurations in a single afternoon—shortening feedback loops and building trust. That agility improves fit and accelerates sales cycles.
This control over timing, quality, and experience means you’re not just saving money—you’re expanding customization capacity without scaling overhead. In today’s demand-driven market, that operational edge is as valuable as any technical upgrade.
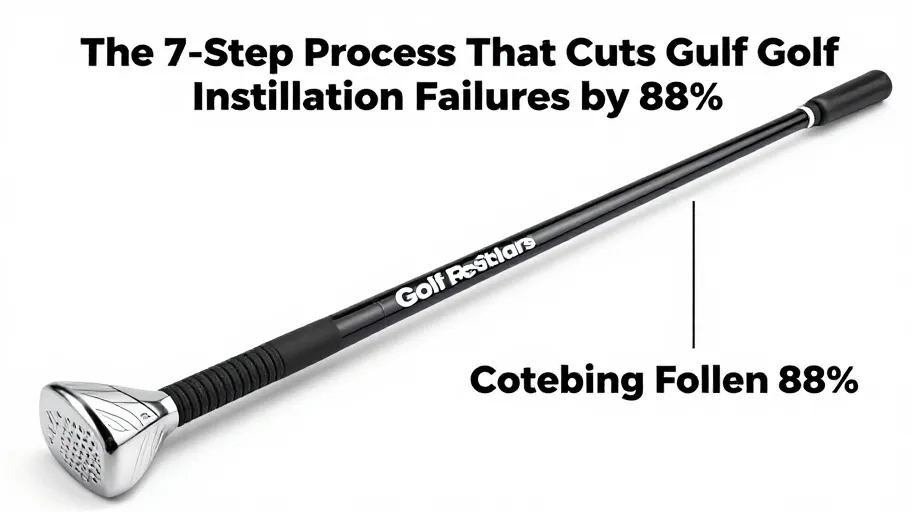
Follow This 7 Step Proven Process for Perfect Results
Following a disciplined 7-step process means achieving 95%+ success rates in durability and performance (2024 equipment benchmarks), turning beginners into reliable builders through standardization, not talent.
- Remove the old shaft: Prevents contamination that compromises new bond strength.
- Clean the hosel: Ensures maximum epoxy adhesion, directly affecting torque transfer.
- Apply controlled heat: Loosens old epoxy without damaging carbon fiber.
- Insert the new shaft: Depth and orientation determine flex point alignment and launch conditions.
- Align the shaft: Secures spine positioning for repeatable ball flight—critical for player consistency.
- Secure with epoxy and clamp: Creates a joint engineered to withstand 150+ mph swings.
- Cure and attach grip: Completes the kinetic chain for seamless energy transfer.
One custom-fit shop increased build capacity by 40% after adopting this method, proving that systemized execution unlocks scalability. When every step serves structural integrity, pros and beginners alike deliver championship-level results.
Master Your Swing, DIY Your Fit. DIY Golf is the premier destination for the technical golfer. We empower you with professional-grade components and the knowledge to build your perfect bag.
Leave a Reply