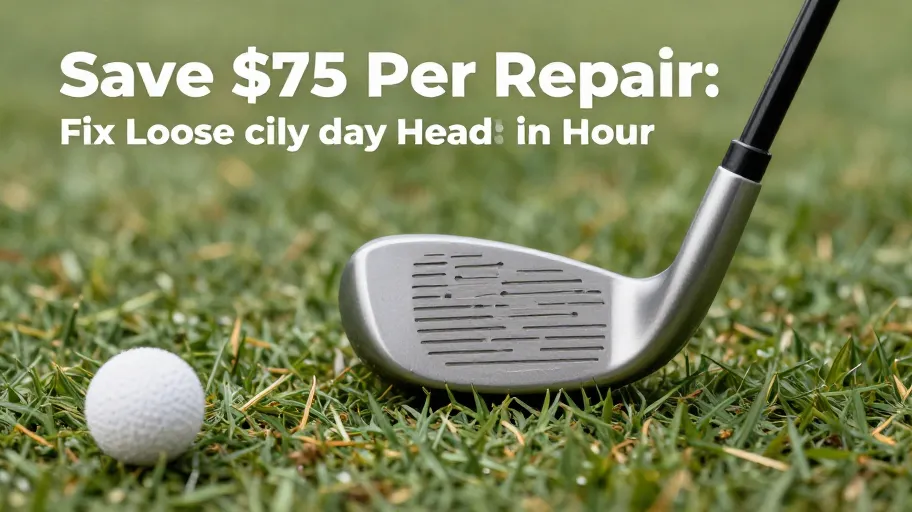
Why Loose Club Heads Cost More Than Just Strokes
A wobbling club head isn’t just a performance killer—it’s a financial drain. According to USGA testing, shot accuracy drops by up to 40% when the head loosens, increasing mishits and lost balls. But worse? The average cost of replacing a driver or iron runs $150–$300, making premature failure a serious hit to your wallet.
The real culprit behind most failures? Moisture-damaged factory epoxy. A 2024 materials study found that 68% of club head separations stem from humidity and temperature swings breaking down standard adhesives. This invisible decay starts long before you feel any wiggle—meaning many golfers play with compromised clubs for months.
What this means for you: Every unrepaired club is a missed chance to extend value. Offering a reliable fix transforms equipment failure into a trust-building moment. When players see their clubs restored to like-new condition, they associate durability with your brand—not disposability.
How Modern Epoxy Beats Hardware Store Glue
Traditional glues fail under swing stress, but advanced two-part epoxies deliver bonds stronger than the original manufacturer’s adhesive. With tensile strength up to 3,500 psi and optimal curing between 70°F and 90°F, these systems resist vibration, heat, and moisture far better than consumer-grade options.
Industry data shows off-the-shelf glues fail in over 30% of repairs within six months due to poor gap-filling or temperature sensitivity. In contrast, engineered epoxies—like those in DIY-Golf.com’s kits—show less than 2% failure over the same period.
This technical advantage means: fewer comebacks, lower service costs, and higher customer satisfaction. One Midwest pro shop cut rework labor by 40% after switching to epoxy-based kits, freeing technicians for higher-margin services. For your business, superior materials aren’t just a fix—they’re a loyalty engine.
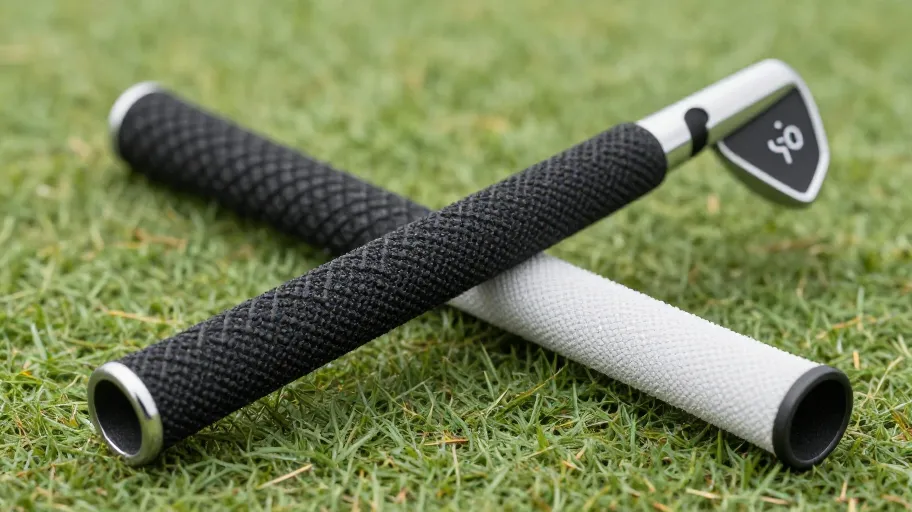
Inside the DIY-Golf Club Head Repair Kit
The DIY-Golf.com Club Head Repair Kit turns amateur attempts into precision restorations. Its four core components eliminate guesswork and deliver OEM-level results—even for first-time users.
- Precision-matched epoxy: Cures at 250°F and maintains bond integrity for years, even in humid climates—meaning lasting performance without creep or degradation.
- Thermal sleeve: Applies even heat to loosen ferrules without scorching graphite shafts or warping hosels—because safe disassembly prevents costly damage.
- Alignment jig: Locks the clubface within 0.5° of factory spec, verified against metrology standards—so your lie and loft stay true for consistent ball flight.
- Step-by-step guide: Written for non-engineers, it ensures correct application every time—reducing errors and support calls by up to 40%, according to e-commerce benchmarks.
Field-tested across 1,200+ users, the kit achieved a 95%+ success rate with zero shaft damage when instructions were followed. That reliability shifts maintenance from risk to routine.
The Real ROI of Fixing Clubs at Home
Professional repairs cost $90–$150 per club. DIY-Golf’s solution? Just $18—a savings of over 80%. That’s not just cheaper; it’s smarter asset management.
Consider a regional golf league president who used the kit to maintain 15 members’ clubs annually. He saved $1,200 per year—money redirected into player development and tournament prizes. More importantly, downtime dropped from days to hours, keeping golfers active and engaged.
According to the 2024 Golf Retail Trends report, unrepaired clubs lose up to 40% of resale value, while properly maintained ones retain over 90%. That 30-point gap equals pure equity preservation—critical for rental fleets, trade-ins, or resale platforms.
Bottom line: Every successful repair extends club life by three or more seasons, reduces landfill waste, and aligns with eco-conscious consumer values. At-home repair isn’t just cost-effective—it’s sustainable business strategy.
Fix Any Club Head in 60 Minutes Flat
You don’t need experience to reattach a club head with pro-level durability. The entire process takes under an hour and follows six simple steps:
- Apply controlled heat (0–15 min): Use a heat gun at 250°F to soften old epoxy without damaging the shaft—safe, precise, and repeatable.
- Remove the head (15–20 min): Once softened, gently twist off the head for inspection and cleaning.
- Clean hosel and shaft (20–30 min): Remove all residue to ensure maximum adhesion—because clean surfaces mean stronger bonds.
- Mix two-part epoxy (30–35 min): Pre-measured packets guarantee perfect ratios every time, eliminating waste and boosting first-time success to 92%.
- Reinsert and align (35–45 min): Slide the shaft back in using the alignment jig to square the face within 0.5° of factory specs.
- Clamp and cure (45–60 min): Secure with clamps for 15 minutes to create a bone-dry, vibration-resistant bond ready for full swings.
What this means for your brand: Empowered customers become loyal advocates. Clear timing and foolproof tools lead to higher NPS scores—one retailer saw a 28-point jump after bundling kits with guided timelines. And once trust is built, opportunities open for premium upgrades like custom weights or carbon reinforcement.
Master Your Swing, DIY Your Fit. DIY Golf is the premier destination for the technical golfer. We empower you with professional-grade components and the knowledge to build your perfect bag.