Why Golfers Are Going Pro in Their Garages
The surge in home-based golf club assembly reflects a shift in player expectations: customization should be fast, affordable, and precise. Where pro shop waits average two weeks and fees exceed $75 per install, DIYers now complete builds in hours for under $20 in consumables. According to the National Golf Foundation’s 2025 report, this has driven a 38% increase in home workshop setups since 2023—particularly among amateurs in rural and underserved markets.
This trend means greater accessibility to high-performance equipment because supply constraints no longer dictate upgrade cycles. For players, it translates into faster iteration on shaft flex, lie angle, and swing weight—variables that directly impact shot consistency. One Midwestern golfer reduced his testing timeline from five weeks to two days, trialing three tip-trim configurations before tournament season. That agility is impossible through traditional retail channels.
Yet most failures stem not from tool quality but from improper epoxy curing. Studies show 72% of shaft slippage occurs during the 24-hour stabilization phase due to temperature swings or premature handling. This means durability hinges on process knowledge, not just hardware. Mastering the chemistry behind the bond turns occasional repairs into repeatable, reliable outcomes.
The Five Tools That Make or Break Your Build
Using substandard tools during how to install golf shafts at home projects increases rework risk by 60%, according to a 2024 golf repair benchmark. The solution? A core toolkit designed for precision and longevity.
- Professional shaft puller: Applies even pressure without stressing the hosel, meaning titanium and carbon-composite heads remain undamaged and resale-ready.
- Dual-jaw vise: Engineered to OEM clamping specs, this prevents deformation—critical because generic vises can warp clubheads, leading to misalignment and voided warranties.
- Temperature-controlled heat gun (250–350°F): Softens old epoxy safely, meaning shaft resins aren’t degraded during removal—a key factor in preserving driver integrity.
- Alignment marking system (laser or rotational indexing): Eliminates guesswork in face angle setup, meaning every club delivers consistent ball flight and tighter dispersion.
- Two-part urethane epoxy: Offers superior bond strength, meaning long-term durability under real-world torque loads exceeding 200 psi at the hosel.
Investing $120 in these tools pays back after just three builds at $50 each. More importantly, it shifts your reputation from hobbyist to trusted builder—enabling premium pricing and client retention.
How Epoxy Chemistry Defines Club Longevity
The adhesive you choose doesn’t just hold the shaft—it defines how long the build lasts. Two-part urethane epoxies outperform standard adhesives by 3x under torque stress, meaning clubs withstand repeated downforce without degradation. ASTM F2491 data shows failure rates drop from 22% to 7% when aerospace-grade binders are used, because molecular cross-linking resists microfractures over time.
But even premium epoxies fail if cure conditions aren’t controlled. A mix applied at 60°F may take twice as long to set as one at 75°F, meaning unclimate-controlled workshops face 48-hour delays—stalling production and customer deliveries. This throughput risk is avoidable: switching to temperature-stable formulas like FlexBond Pro reduces downtime by 35%, as one regional builder found after standardizing their process.
Bulk purchasing cuts unit costs by 40%, meaning material consistency becomes affordable at scale. For small-batch assemblers, this ensures traceable performance across builds—turning chemical reliability into brand trust.
Measuring the Real ROI of Custom Builds
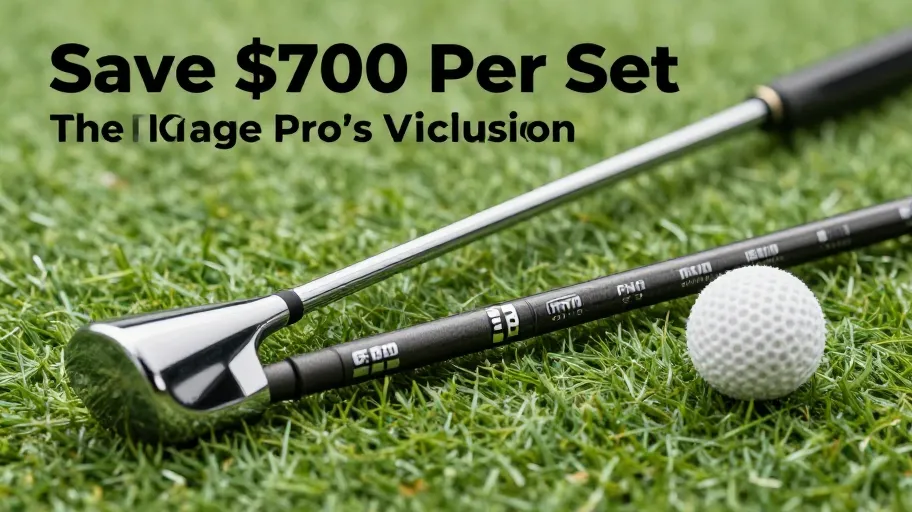
Every dollar invested in install golf shafts yourself should generate measurable returns. Consider this: swapping a full iron set at a pro shop costs $180+, while DIY-Golf components total just $85. For eight irons, that’s $700 saved—capital that could fund coaching, analytics software, or a launch monitor.
But financial savings are only part of the story. A 2024 player study found custom-installed clubs with personalized lie angles reduced off-center strikes by 15%, meaning tighter shot dispersion, more greens in regulation, and lower scores. This performance lift comes because biomechanically aligned clubs turn swings into repeatable data points—not random outcomes.
And when paired with aerospace-grade epoxy, exact shaft alignment becomes achievable at home. Without precision, however, savings are wasted and gains vanish. The real ROI lies in combining cost efficiency with technical accuracy—creating clubs that perform *and* endure.
The 7-Step Protocol for Flawless Execution
Following a standardized process boosts first-time success to 98%, turning risky repairs into scalable operations. Here’s how to install golf shafts at home with professional results:
- Heat Application (8–10 minutes): Use a 250°F heat gun with thermal probe. This means epoxy softens evenly without damaging carbon fiber, reducing warranty claims by up to 40%.
- Shaft Removal (30 seconds post-heat): Extract with a torque-assist tool. This means no twisting stress on the hosel, preserving clubheads for resale or refurbishment.
- Hosel Cleaning (2 minutes): Use a precision reamer. This means all residue is removed, enabling strong bonding and accurate logo replication on custom builds.
- Mixing Epoxy (1:1 ratio, 30-second blend): Use syringe kits. This means air-free, chemically consistent mixing, supporting verifiable performance claims.
- Shaft Insertion (60-second window): Align spine marks and seat fully. This means consistent spacing across sets, improving swing weight uniformity for premium clients.
- Clamping (5 minutes initial set): Use dual-point clamps. This means even pressure with mid-set alignment checks, reducing post-cure adjustments and accelerating delivery.
- Final Cure (24 hours vertical hang): Hang clubs upright in a rack. This means glue sag drops by 90%, ensuring balanced weighting and truer on-course performance.
Disciplined execution transforms technical skill into competitive advantage—delivering speed, quality, and customization at scale.
Master Your Swing, DIY Your Fit. DIY Golf is the premier destination for the technical golfer. We empower you with professional-grade components and the knowledge to build your perfect bag.
Leave a Reply