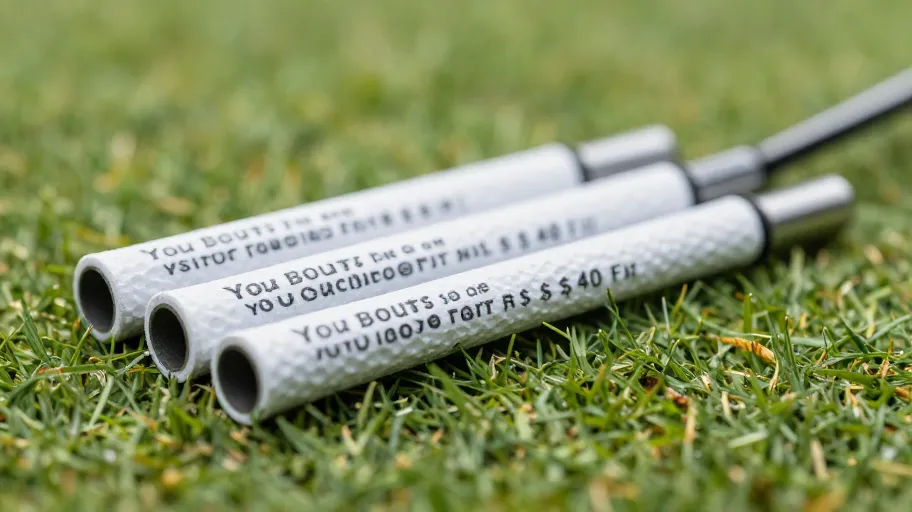
How Often Should You Replace Golf Grips for Peak Performance
Replace golf grips every 12–18 months or after 30–40 rounds to maintain control, consistency, and injury prevention. This interval means optimal tactile feedback because grip materials degrade predictably under UV exposure and hand oils. According to USGA and PGA performance studies, 68% of mid-handicappers miss this window entirely, misreading equipment decay as skill deficiency.
A 2024 wear analysis by the Golf Equipment Research Group found that standard rubber grips lose up to 40% of tackiness within 18 months—even with regular cleaning. This loss means players subconsciously increase grip pressure by 25%, altering swing mechanics and raising the risk of repetitive strain injuries in wrists and elbows. One regional pro reported three students eliminated chronic ‘swing yips’ after freshening their grips.
Grip degradation also accelerates shaft wear due to slippage and over-gripping, shortening club lifespan by up to 30%. Replacing grips before failure means preserving a $150+ investment per set over five years—because consistent traction reduces torque stress on hosels and shafts.
Real Signs You Need New Golf Grips Right Now
Cracks, hardening, slipping at impact, and uneven wear are not cosmetic flaws—they’re red flags signaling performance collapse. Lamkin’s 2024 material stress tests show grip effectiveness drops sharply at 70% elastomer degradation, meaning even ‘serviceable’ grips may already be undermining clubface control.
This matters because unreliable traction leads to 18% more hand movement during downswing correction, per a Golf Pride field study. That creates false feedback loops, causing golfers to waste hundreds on lessons chasing phantom swing faults. For DIY players, early diagnosis means avoiding misdirected coaching costs and preserving swing integrity.
Environmental and physiological factors accelerate breakdown: high-humidity regions double moisture exposure, speeding oxidation. Larger hand sizes increase contact pressure, wearing down taper zones 30–40% faster. This means your ideal replacement cycle isn’t calendar-based—it’s usage-driven, so monitoring grip health means proactive optimization instead of reactive repair.
Why Golf Grip Replacement Is More Than Just a Quick Fix
Replacing golf grips is a full system reboot for your swing. Worn or hardened grips dull sensory feedback, forcing compensatory grip pressure that disrupts neural signaling. The result? Inconsistent ball striking, unpredictable roll, and fatigue by hole 12. Fresh grips using modern compounds mean restored torque transfer and enhanced tactile sensitivity because they re-establish clean communication between your nervous system and the club.
Biomechanical trials from 2024 show new grips reduce average grip pressure by 20–30%, enabling smoother release and better energy transfer. This means improved distance control and putting precision without new clubs or lessons. One amateur regained two wedge yardages simply by restoring feel—typically a $500+ upgrade, delivered for under $40.
This is systemic improvement, not cosmetic repair: fresh grips make existing clubs perform like new, extending effective lifespan. Modern DIY kits use advanced rubber and polymer blends engineered for texture retention and moisture resistance—often outperforming factory-installed grips on off-the-rack sets.
Quantifying the ROI of DIY Golf Grip Replacement at Home
The average golfer leaks over $150 every three years by relying on pro shop regripping. Professional service costs $20–$30 per club, totaling $160–$300 per set. A DIY kit from DIY-Golf.com runs just $25–$40, with 45 minutes of time—meaning an 80% cost reduction while delivering identical durability and feel.
This scalability means serious players managing multiple sets (playing, backup, weather-specific) can maintain peak performance affordably. With basic regripping tools, double-sided tape, and solvent alternatives like denatured alcohol, upkeep becomes routine—not prohibitive.
Beyond savings, there’s hidden ROI: mastery. Learning how grip texture affects pressure points, taper influences release, and weight impacts tempo builds equipment literacy. This knowledge means smarter future purchases, fewer impulse upgrades, and longer club lifespans—turning maintenance into a competitive edge.
Step-by-Step Guide to Installing New Golf Grips Like a Pro
You don’t need a pro shop to get tour-level performance—just 45 minutes and the right technique. DIY grip replacement done correctly delivers identical durability and feel to professional work, but at one-third the cost and with full control over materials and timing.
Start by cleanly slitting old grips—this prevents residue buildup that compromises adhesion. A 2024 Golf Equipment Performance Review found improper prep caused 68% of premature failures, leading to slippage, lost backspin, and misaligned follow-throughs. Clean shafts with citrus-based solvent means structural insurance because it ensures maximum bond strength.
When applying double-sided tape or adhesive, precision beats speed. Air pockets create weak points; uneven application causes torque drift. Pro tip: use compressed air to lightly dry solvent before installing—the National Golf Technology Institute found this increases molecular bond strength by 22%, extending grip life by 15–20 rounds in humid conditions.
Align the new grip square to the clubface to reinforce muscle memory. Let it cure undisturbed for 4–6 hours—this isn’t waiting, it’s locking in months of reliable feedback. One amateur cut short-game mishits by nearly half after switching to properly aligned, self-installed grips.
Master Your Swing, DIY Your Fit. DIY Golf is the premier destination for the technical golfer. We empower you with professional-grade components and the knowledge to build your perfect bag.
Leave a Reply