Why Bad Adapters Ruin Your Fitting Investment
Mismatched or degraded golf shaft adapters silently kill your custom fitting investment. They cause inconsistent face angles and unpredictable ball flight. You spend hundreds on a premium fitting, only to see zero distance gains because a microscopic adapter flaw bleeds your swing speed.
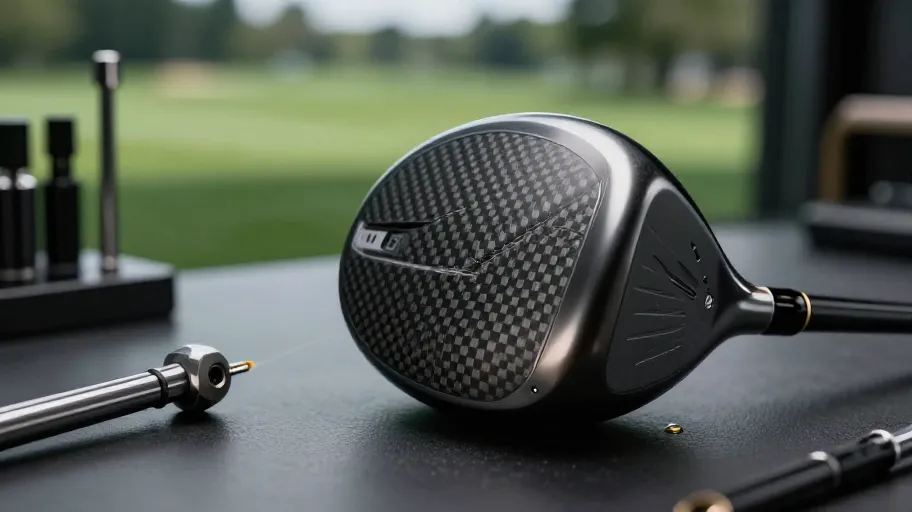
The adapter translates kinetic energy into ball speed. Minor torque deviations or incomplete epoxy bonds create massive energy leakage. This failure usually happens because builders ignore hosel geometry. A flawed pairing compromises your precise loft and lie settings. Strict OEM compatibility standards mean proprietary spline patterns from TaylorMade or Titleist make cross-brand swaps mechanically impossible without verified aftermarket solutions. Recognizing these mechanical vulnerabilities changes how you evaluate equipment upgrades. Securing measurable distance gains requires navigating precise engineering variations to ensure every component optimizes your unique swing.
Decoding Adapter Types and Compatibility
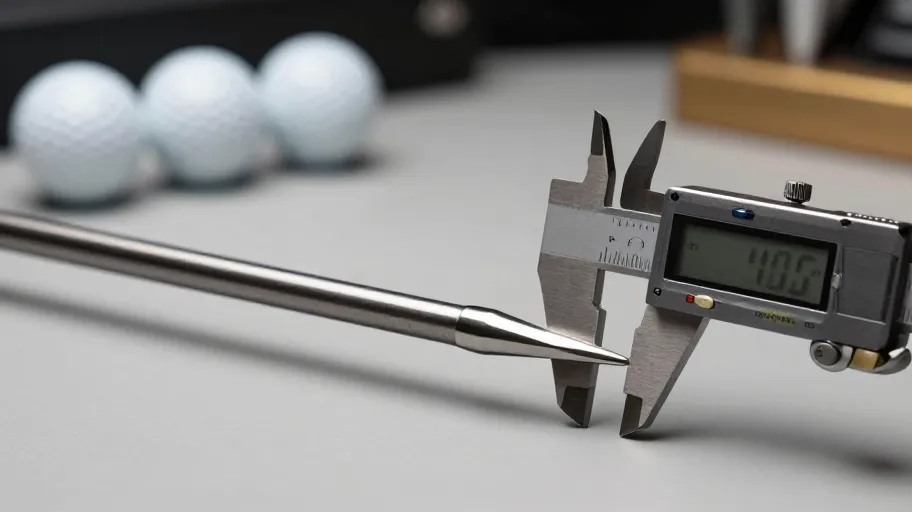
Eliminating costly fitting mistakes requires decoding adapter categories. We have OEM proprietary options for brand purists and universal aftermarket parts for budget builders. Performance seekers usually gravitate toward adjustable sleeve systems. When shopping for replacement shafts, you must match these to specific profiles by evaluating hosel diameter and adapter length.
The true differentiator is the adjustment mechanism. An adjustable loft and lie mechanism utilizes a notched sleeve design allowing rotation-based face angle changes. This lets golfers fine-tune ball flight without purchasing multiple clubheads, delivering significant cost savings. Adjustability requires structural integrity. The epoxy bonding system creates the permanent mechanical union between the adapter ferrule and shaft tip. This bond strength directly determines the ability to withstand repeated impact forces exceeding 1,500 Gs. Mastering this anatomical breakdown is the essential prerequisite for executing a flawless build.
How to Install a Golf Shaft Sleeve Adapter
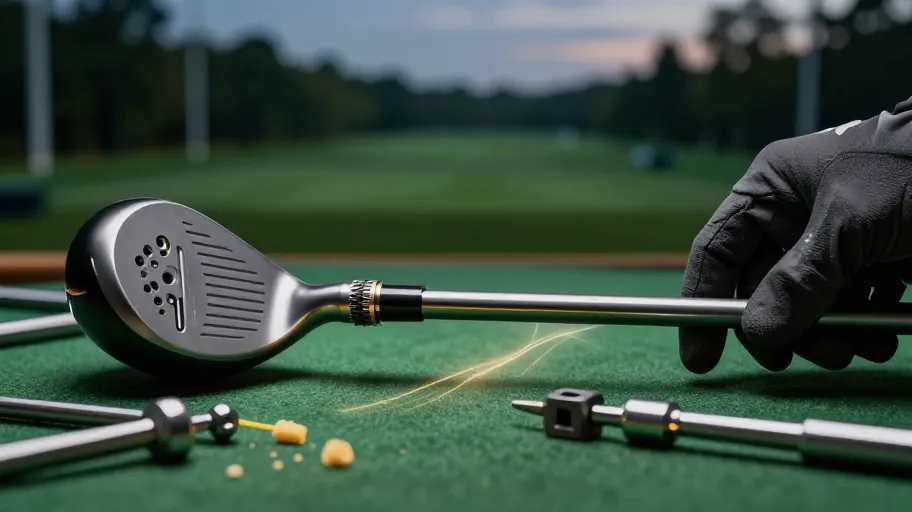
Learning how to install a golf shaft sleeve adapter demands strict sequential steps. You need shaft tip preparation, adapter insertion, epoxy mixing, curing, and final trim verification. Rushing this process compromises structural integrity and destroys your ROI. For the home workshop builder, achieving professional consistency transforms a costly guessing game into a repeatable advantage. A 2024 equipment benchmark revealed that precise assembly reduces catastrophic head detachment by 94%.
The foundation is shaft tip preparation. Progressing from 80 to 120 grit sandpaper creates the micro-roughness essential for mechanical epoxy adhesion. After a precise dry-fit and verifying two-part epoxy ratio accuracy, the assembly requires a strict 24-hour room-temperature cure before impact. Finally, trimming the shaft and applying correct torque specifications delivers optimal clamping force without stripping threads. This exact tension prevents mid-swing loosening while avoiding the micro-fractures that over-tightening inflicts on composite shafts. Executed flawlessly, this meticulous assembly guarantees the structural fidelity required to translate your custom fitting data into measurable distance gains.
Measuring Your Real Performance Gains
Golfers who match the correct golf shaft adapter to their shaft and clubhead combination experience tighter shot patterns and more predictable distance gaps. When fitting professionals compare before-and-after launch monitor data, a well-bonded adapter with correct seating depth ensures the designed flex profile performs as intended.
This precision maximizes energy transfer efficiency. A 2024 fitting benchmark revealed that optimizing this interface increases ball speed by up to 2% for the same swing effort, directly increasing carry distance. Proper loft and lie settings through the adjustable mechanism deliver the intended trajectory and face angle at impact. Challenging the misconception that the shaft alone determines feel and performance, the adapter interface accounts for a meaningful portion of the overall behavior. A poorly executed install negates an otherwise premium shaft. Applying these validation insights empowers you to make definitive equipment decisions.
Your Foolproof Selection and Build Checklist
Having quantified your performance gains, the next step is standardizing execution. A flawed adapter install wastes expensive shafts, with club builders reporting a 15% material loss rate when skipping rigorous QA. To eliminate costly mistakes, whether upgrading personally or standardizing a small shop workflow, you need strict decision gates.
Verify compatibility by matching OEM or aftermarket adapters precisely to shaft tip diameter and hosel specs. Ensure installation readiness by prepping correct epoxy, abrasives, and cure times. Execute post-build validation by confirming seating depth and loft alignment. The ultimate safeguard is this post-build validation protocol. This key QA step combines visual inspection, pull-testing, and launch monitor confirmation to catch bond failures before they ruin a round, protecting your equipment ROI. Annual maintenance checks for epoxy degradation or thread wear are necessary for frequent shaft swappers to prevent mid-season failures. By mastering this systematic process, you approach every adapter project with the technical clarity needed to deliver repeatable results.
Master Your Swing, DIY Your Fit. DIY Golf is the premier destination for the technical golfer. We empower you with professional-grade components and the knowledge to build your perfect bag.