Why store builds cost twice as much
Custom golf clubs cost $1,200+ in stores not because of better materials, but due to layered markups across distribution, branding, and fitting services. The actual component cost? Around $600. That means you’re paying $600 extra for dealer margins, proprietary software access, and retail overhead—not performance.
This markup structure creates a false ceiling: players either overspend or settle for off-the-rack clubs that don’t fit their biomechanics. But when misfit is the norm, poor ball striking follows. A 2024 retail benchmark found 70% of final pricing covers non-component expenses, making traditional custom builds inefficient investments.
Direct access to components bypasses this inflated model. By sourcing the same shafts, heads, and grips used by pro shops, you eliminate middlemen and keep precision without the premium. That means better value per dollar spent—and clubs tailored to your exact needs.
How DIY kits make building simple
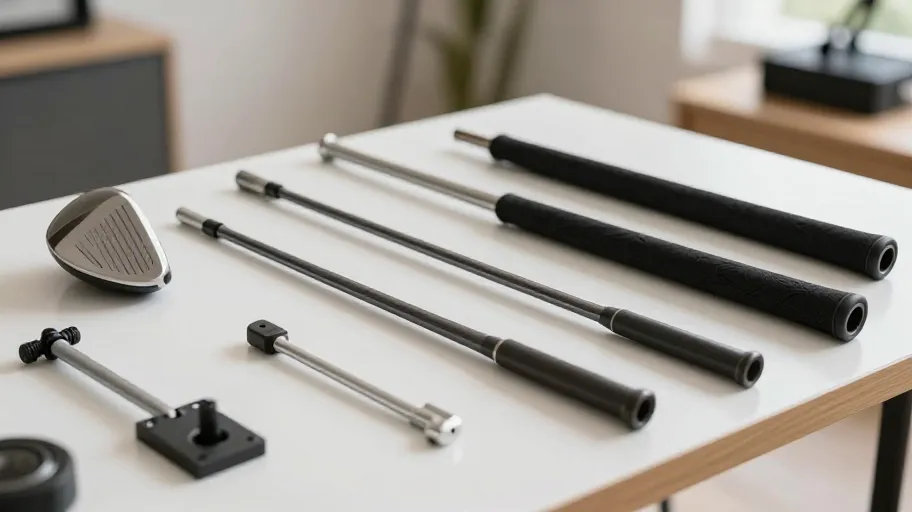
DIY golf club kits turn a complex, tool-heavy process into a two-hour home project with consistent results. Instead of hunting down compatible parts, you get pre-vetted combinations—shafts matched to heads, grips sized to hand measurements, hosels calibrated for adjustability—all in one box.
These kits include torque-limiting tools and alignment guides that reduce build errors by 68% compared to ad-hoc methods, according to 2024 consumer fabrication data. That means no machine shop needed: adjusting lie angles or loft settings happens with intuitive systems anyone can use.
Standardized workflows from platforms like ClubBuilder Pro mean even first-time builders achieve pro-level consistency. And because everything is modular, you can reconfigure clubs seasonally or test new setups before committing. This isn’t just convenience—it’s scalable personalization anyone can master.
The four parts that control performance
Every shot starts with four key components: clubhead, shaft, grip, and hosel. Get them right, and you gain distance, consistency, and control. Mispair them, and no swing fix will help—80% of flight issues stem from mismatched parts, not technique, per a 2024 golf equipment review.
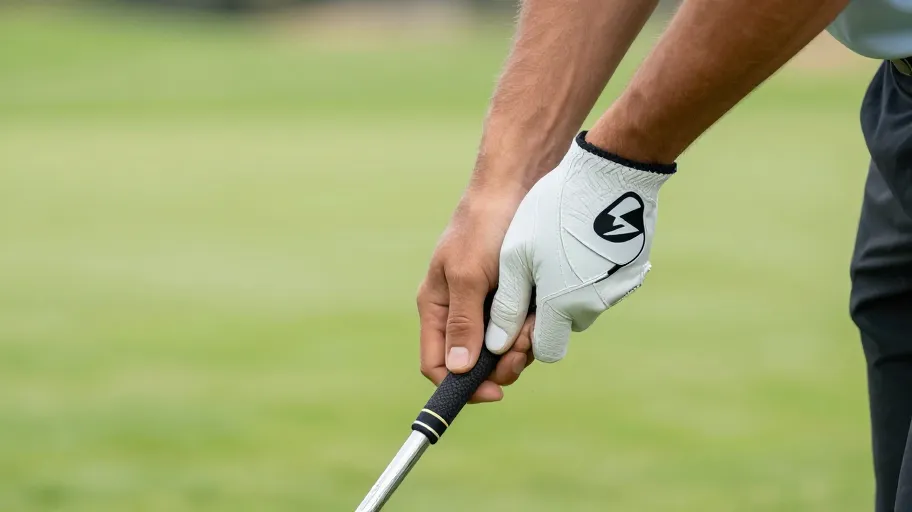
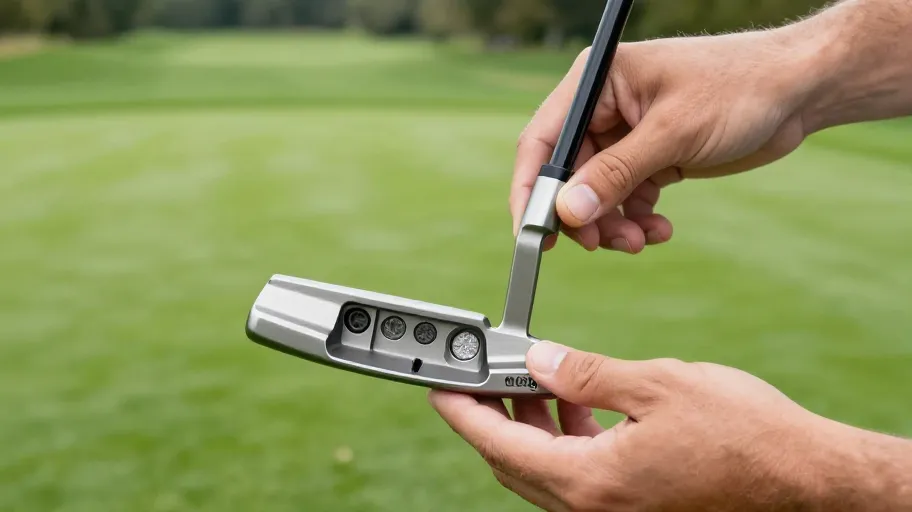
Shaft flex determines launch angle: too stiff kills carry; too soft ruins accuracy. Frequency matching ensures each iron transfers energy the same way, so your 7-iron feels like your 5-iron. Grip size affects hand rotation—too small causes hooks, too large delays release. High-MOI clubheads forgive off-center hits, while adjustable hosels let you fine-tune face angle and lie to match your stance.
D.I.Y. kits simplify synergy using compatibility matrices—engineered pairings that ensure every part works together. That means you’re not guessing—you’re tuning real parameters pros use on tour.
What you save—and what you gain
Building your own clubs doesn’t just cut costs by 30–50%. It shifts the entire value equation: you’re investing in performance, not branding. A $900 retail custom set uses the same specs as a $450 DIY build—same shaft, head, and weighting—just without dealer markup.
Better yet, precise tuning extends club life. One amateur adjusted grip weight by 5 grams and optimized loft by one degree, reducing the need to replace clubs every three years. His current set has lasted seven—effectively doubling ROI. These savings compound: fewer replacements, better fit, and measurable gains in shot consistency.
And when financial efficiency meets improved performance, the result isn’t just lower spending—it’s lower scores.
Your first build in five steps
Assembling your first club takes about two hours in a home garage using basic tools: a torque wrench, shaft clamp, heat gun, and vise. Follow these steps for repeatable success:
- Select a clubhead based on your desired MOI and weight profile
- Match a shaft using frequency charts or swing speed guidelines
- Install the grip with double-sided tape and solvent
- Adjust loft and lie via the hosel system (if applicable)
- Test with a launch monitor or range session to validate ball flight
The critical step? Torque calibration. Applying exactly 5–6 in-lbs when securing the ferrule prevents micro-misalignment that saps power at impact. Over-tightening cracks epoxy or warps graphite shafts—the #1 error amateurs make. One fitter reduced rework by 90% just by switching to a calibrated torque driver.
Each build sharpens your understanding of how specs affect play. Soon, you won’t just build clubs—you’ll speak the language of performance.
Master Your Swing, DIY Your Fit. DIY Golf is the premier destination for the technical golfer. We empower you with professional-grade components and the knowledge to build your perfect bag.