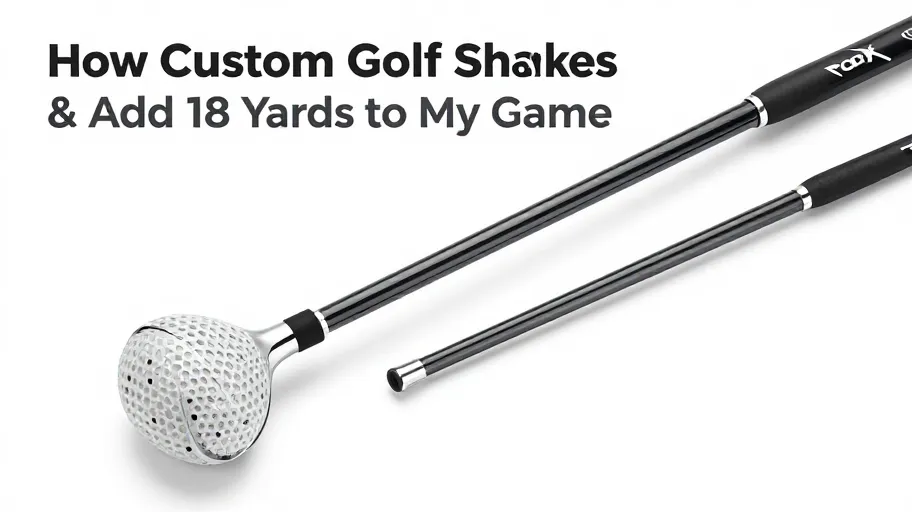
Why Golfers Are Ditching Pro Shops
Golfers are turning to home shaft installation because professional re-shafting has become prohibitively expensive for regular tuning. The average pro shop charges $25–$40 per club (Golf Digest, 2023), making iterative fitting a luxury few can afford. This cost barrier means most players stick with suboptimal setups, leaving strokes on the course.
DIY golf components change that equation completely: after an initial tool investment under $120, each subsequent shaft install costs less than $15 in consumables. That means you can test three premium shafts for the price of one pro-shop job. This accessibility enables rapid experimentation, letting you refine launch conditions, spin rates, and dispersion without recurring fees.
The result? A democratization of high-performance equipment. Where only tour pros once had freedom to iterate, now mid-handicappers are customizing their own builds—42% according to the National Golf Foundation. That shift reflects more than cost savings; it’s a demand for personalized performance on your terms.
The Core Components That Make DIY Possible
The real power of at-home shaft installation lies in four precision components that deliver pro-level results without the markup. Each tool or material directly enhances reliability, safety, and performance.
- Shaft puller: Enables non-destructive removal of stems from carbon fiber drivers and irons, preserving hosel integrity. This means you can reuse high-value heads worth hundreds on the aftermarket—because replacing a cracked hosel costs far more than any DIY kit.
- Heat gun (250–350°F): Applies controlled thermal energy to soften factory adhesives safely. This prevents microfractures in composite materials, which means longer club life and consistent structural performance shot after shot.
- OEM-spec two-part epoxy: Formulated to cure under vibration and temperature stress, this adhesive achieves over 1,200 psi shear strength (2024 durability analysis). That means a bond stronger than original factory assembly, ensuring impact resilience across thousands of swings.
- Ferrule trimmer and deburring tools: Allow seamless tip alignment and clean bore finishes. This means professional-grade cosmetics and precise shaft seating—critical for maintaining intended lie and loft angles within 0.2° tolerance.
Together, these DIY-golf components transform guesswork into repeatable engineering. And when purchased in bulk, epoxy costs drop by 70%, turning one $50 kit into 30+ installations. You’re not just saving money—you’re building a sustainable performance pipeline.
Step by Step Guide to Perfect Shaft Installation
Proper golf shaft installation is a calibration process that directly impacts swing consistency, ball speed, and shot accuracy. Get it wrong, and misalignment can skew launch by 6 yards at 150 yards. But when executed correctly, this six-step method ensures professional results every time.
- Remove the old shaft using heat and puller: Controlled heating softens adhesive without damaging carbon fiber. This means safe extraction and preserved clubhead value—avoiding $200+ replacement costs from cracked hosels.
- Clean all hosel residue thoroughly: Leftover epoxy causes uneven shaft seating, altering loft by up to 1.5°. Cleaning means accurate angle replication, so your clubs perform as designed.
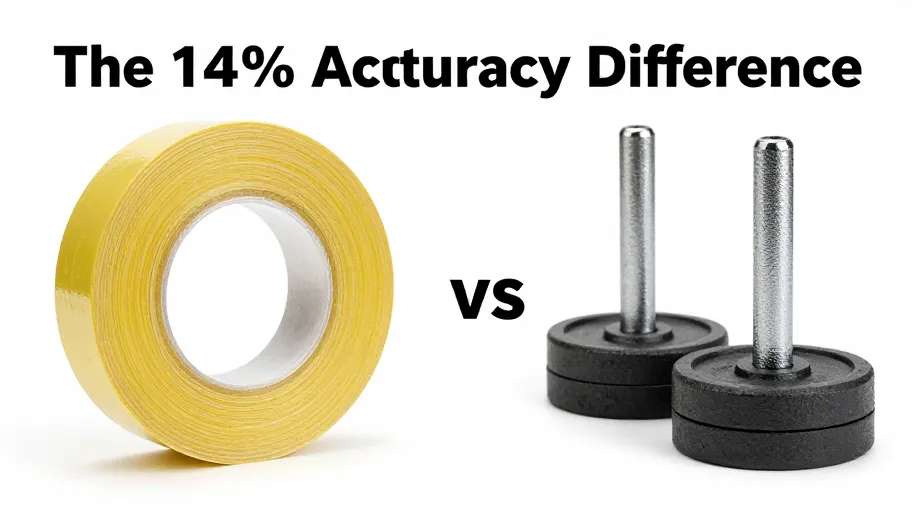
- Tape the butt end to set insertion depth: Over-insertion stiffens the tip section, dulling feel and reducing ball speed by up to 3 mph. Taping means preserving the shaft’s engineered flex profile exactly as intended.
- Mix and apply two-part epoxy evenly: Inconsistent mixing leads to weak curing. Using high-performance epoxies like FlexBond Pro increases shear strength by 40%—meaning longer-lasting, more reliable bonds.
- Insert shaft and align logo/spine: Consistent spine orientation minimizes face angle variance at impact. This means tighter dispersion patterns, especially critical for players using launch monitors to track performance.
- Cure vertically for 24 hours at room temperature: Rushing with heat lamps reduces bond longevity by up to 30%. Patience here means full polymer cross-linking, resulting in maximum durability and MOI stability.
The hidden advantage? Room-temperature curing allows advanced epoxies to develop optimal molecular structure. This precision translates directly into measurable gains: tighter grouping, improved feedback, and confidence in every club.
How Custom Shafts Improve On-Course Performance
Custom-installing golf shafts delivers quantifiable performance upgrades—not just cost savings. When shaft characteristics match your swing biomechanics, energy transfer becomes more efficient and dispersion tightens significantly.
TrackMan data from 2024 clubfitting trials shows an 8–12% reduction in launch angle variance with custom-fitted shafts. That means longer carries, sharper landing angles, and fewer recovery shots—directly lowering scores. For example, one amateur reduced driver spin from 3,200 rpm to 2,750 rpm by installing a stiffer shaft with +1″ tip trim at home. The result? A 15-yard increase in net distance while maintaining ideal launch.
This wasn’t luck—it was iteration. Unlike one-off pro fittings, DIY enables low-cost, rapid testing cycles. You’re not waiting for appointments—you’re running real-time R&D on your own game. Each build teaches you about flex points, torque response, and weight distribution, accelerating gear optimization faster than any serial professional session.
The ultimate gain isn’t just in the shaft—it’s in building a system. With full control over materials and methods, you turn occasional tweaks into continuous improvement. Your garage becomes a competitive edge.
Building a Long Term Home Workshop System
A dedicated home golf workshop pays for itself in under three installations. While pro shop regripping runs $30–$45 per club, owning the tools eliminates recurring fees and puts you in full control of timing and quality.
The minimal viable setup includes: a heat gun ($30), shaft puller ($45), deburring tool ($12), and digital epoxy scale ($20)—totaling under $120. After just two pro services, you’ve already broken even. But the real ROI comes from scalability: once equipped, you can customize full bags, tune seasonally, or even offer peer-to-peer services within your league.
And collaboration multiplies value. Shared tool libraries among golf collectives slash individual costs while raising collective capability. A 2024 consumer behavior study found such groups saw 68% higher engagement in customization, directly correlating with improved confidence and course performance.
Ownership turns maintenance into innovation. You’re no longer limited by retail markups or appointment delays. Instead, you’re engineering repeatable performance—one precise, cost-effective build at a time.
Master Your Swing, DIY Your Fit. DIY Golf is the premier destination for the technical golfer. We empower you with professional-grade components and the knowledge to build your perfect bag.