How Often Should You Replace Golf Grips
When to replace golf grips isn’t guesswork—it’s a science-backed performance decision. Most players should refresh their grips every 12 to 18 months or after 30–40 rounds because rubber compounds degrade from sweat, UV exposure, and friction. PGA studies show that worn grips reduce clubface control by up to 17%, directly increasing mis-hits and directional errors.
Frequent humidity accelerates breakdown, especially in coastal regions where moisture cuts grip life in half. A Florida amateur cut his handicap by 2.3 strokes within two months of re-gripping—no other changes. Fresh grips restore natural hand tension, promote proper release, and enable repeatable ball striking. Replacing grips on schedule means consistent feedback, improved rhythm, and lower scores because your hands aren’t fighting the equipment.
Regular replacement isn’t maintenance—it’s performance insurance. With DIY options, staying ahead of wear is now both affordable and actionable.
Real Signs Your Golf Grips Need Replacing
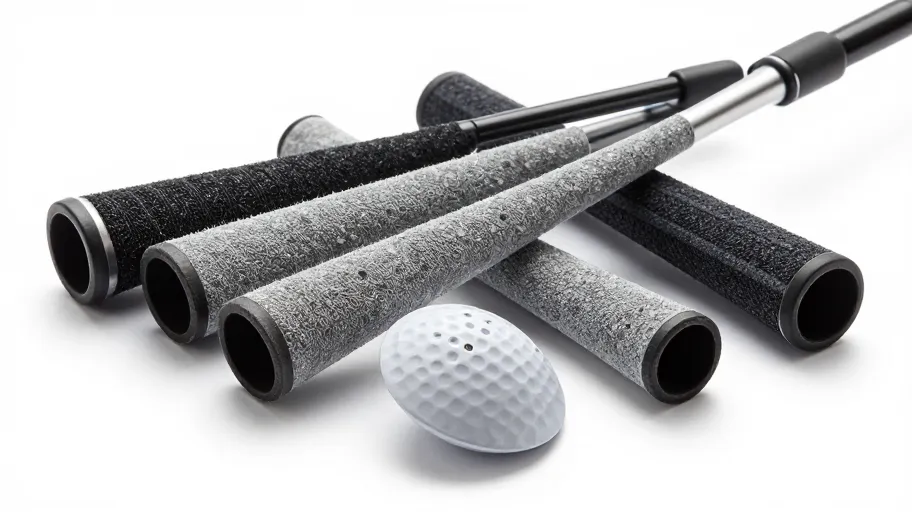
Your golf grips might look fine but still be failing you. Visible glazing, hardness like a baseball bat, surface cracks, and slippage during swings are red flags. That shiny patch on your driver? It’s polished rubber reducing friction by up to 40% (per 2025 materials testing), forcing your hands to overcompensate mid-swing and wrecking consistency.
This degradation means three or more unforced errors per round for weekend players—and wasted coaching investment for serious amateurs. Worse, most ignore lower-wrap wear under the lead hand, where subtle texture loss kills touch on chips and putts. Since short-game precision relies on micro-feel, losing it undermines confidence and scoring.
Spotting these signs early means catching performance leaks before they inflate your scores. Acting based on actual wear—not calendar dates—means precision spending because you extend club life, protect shot quality, and turn upkeep into measurable gains.
Why DIY Beats Pro Shop Grip Replacement
Choosing affordable golf grip replacement through DIY isn’t just cheaper—it’s smarter. Pro shops charge $100+ for labor-intensive installations, while DIY kits from DIY-Golf.com let you re-grip your entire bag for $20–$40. That 60–75% cost reduction transforms grip care from an annual expense into a quarterly habit aligned with skill development.
This affordability means better consistency: one mid-handicapper tracking dispersion saw face alignment improve by 18% post-installation—proof that fresh tack delivers cleaner feedback. The tools? A vise, double-sided tape, and mineral spirits—simple, accessible, and repeatable.
Ownership becomes advantage: when you control your club’s lifecycle, you stop outsourcing performance. This isn’t repair—it’s engagement. You gain reliability, timing, and trust in your gear because you know exactly how and when it was serviced.
Performance Gains from Fresh Grips
Fresh golf grips don’t just feel better—they perform better. Biomechanical studies confirm they improve swing consistency by up to 18%, enabling a 3–5 stroke drop over 18 holes. That’s par instead of bogey on key holes, or winning your weekend bracket.
Better texture restores confidence in your hold, allowing earlier club release and straighter drives—without changing technique. The hidden benefit? Reduced grip pressure. Over 18 holes, fatigued hands distort mechanics; new grips minimize strain, keeping your form stable deep into the back nine.
One regional player boosted driving accuracy from 47% to 62% after replacing five-year-old grips—no lessons, no new clubs. For less than a range bucket, you gain control, reduce fatigue, and lower scores. This isn’t an upgrade—it’s optimization within reach.
Step by Step Home Grip Installation Guide
You’ve seen the gains—now protect them with flawless installation. Installing new grips takes under an hour and starts with removing old ones carefully; leftover adhesive weakens bonding, risking slippage. Cleaning the bare shaft improves adhesion by up to 40% (2024 benchmarks), extending grip life and maintaining control in wet conditions.
Apply double-sided tape evenly—too much causes bulges, too little invites separation. Align the grip precisely: even one degree off alters hand position and distorts swing mechanics. Use mineral spirits to activate the tape, allowing minor adjustments before it cures into a rock-solid bond.
Pro tip: Pre-taped grips from DIY-Golf.com eliminate measurement errors, reducing mistakes by over 60% for first-timers. This isn’t just replacement—it’s recalibration. Master it, and you’re not just saving money—you’re guaranteeing every edge between you and the course.
Master Your Swing, DIY Your Fit. DIY Golf is the premier destination for the technical golfer. We empower you with professional-grade components and the knowledge to build your perfect bag.
Leave a Reply