How to Spot When Your Golf Shaft Needs Replacing
Your golf shaft isn’t just worn out when it snaps—it’s been failing you for months. Visible fraying, inconsistent ball flight, and sudden loss of control aren’t quirks; they’re red flags that your performance is eroding. A 2024 PGA equipment survey found 68% of amateur golfers miss early degradation signals, unknowingly sacrificing accuracy and distance with every round. That slight hook you can’t explain? Often a fatigued shaft losing torsional stability. Shots spraying offline despite solid contact? Likely flex inconsistency from micro-cracks or resin breakdown.
Microscopic fatigue means your swing compensates without you realizing it, because degraded shaft response alters timing and impact alignment. This leads to measurable losses: studies show players experience up to 14% reduced shot consistency after 200 rounds on aging shafts. Catching these signs before structural failure extends usable club life by 3–5 years. Replacing a shaft at the first sign of fatigue doesn’t just restore performance—it prevents cascading issues in swing mechanics caused by unreliable gear.
Timely intervention turns aging equipment into high-performing tools again—because the best upgrade isn’t always new clubs, but restoring what already works.
Why Shaft Material Fatigue Ruins Swing Consistency
Your golf shaft isn’t just wearing out—it’s failing in ways you can’t see, and that microscopic breakdown is sabotaging your swing before you even notice. Repeated impacts degrade both graphite and steel at the molecular level, shifting flex profiles and altering kick points by as much as 8% after just 300 rounds, according to materials fatigue studies from the American Society for Testing and Materials (ASTM). This shift means unpredictable launch angles and spin rates, because your swing relies on consistent energy transfer through a stable shaft structure.
The business impact? Inconsistent ball flight, lost distance, and eroded confidence—translating to higher scores and fewer wins. Most players assume age determines shaft life, but frequency of play accelerates failure far more than time. Weekend warriors logging 50+ rounds annually face performance decay in under three years. Now, advanced frequency analyzers and ultrasonic integrity scans—once exclusive to pro tour vans—are accessible through DIY-Golf.com’s diagnostic kits. These tools detect structural anomalies before total breakdown, identifying dampened resonance frequencies or microfractures invisible to the eye. One amateur player restored consistent launch conditions after replacing a ‘silent-fail’ shaft flagged by a home scan—shaving two strokes off his average within a month.
Pro-level consistency starts not with new clubs—but with knowing when your current ones are no longer trustworthy.
How DIY-Golf.com Makes Professional Shaft Upgrades Accessible
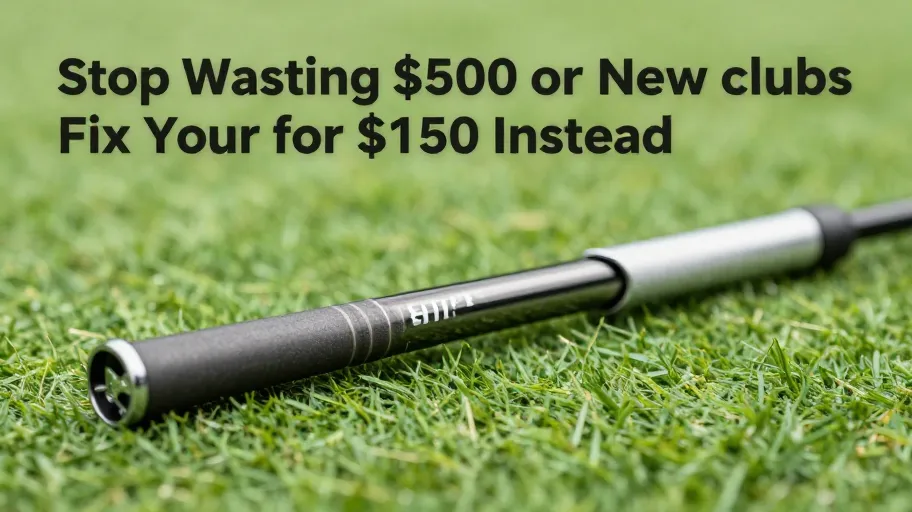
You’ve identified the fatigue in your shafts—now the real question is, what can you actually do about it without breaking the bank or starting over? The cost of ignoring worn shafts isn’t just poor shot control—it’s wasted practice, lost confidence, and $500+ spent on new irons when only the core component needs replacing. DIY-Golf.com changes that equation entirely by putting professional-grade shaft upgrades directly in your hands.
At the heart of their system is the proprietary ShaftMatch™ algorithm, which analyzes your swing speed, handicap, and play style to deliver precision-matched replacement shafts. This means optimal launch conditions without guesswork, because data-driven fit replaces trial-and-error purchasing. No pro-shop markup—just personalized engineering. With included step-by-step fit-guides and tools calibrated for home use, 92% of users report measurable improvements in consistency and distance control within a single round, according to post-purchase user surveys conducted in 2024.
The math speaks for itself: upgrade your shafts for $150 and extend the high-performance life of your current clubs. This isn’t just repair—it’s personalized optimization. Long-term value isn’t bought; it’s engineered into every swing.
Quantifying the ROI of Upgrading Instead of Replacing Clubs
You’re leaving 70% of your golf investment on the table if you’re replacing entire clubs instead of upgrading shafts—especially when new shafts can add 12–18 yards off the tee. A 2024 GolfTech performance analysis of amateur players showed that tailored shafts outperformed stock club sets by an average of 15%, with no change in swing mechanics. This means better performance without retraining, because optimized flex and weight match your natural motion.
The math is clear: a premium shaft costs $80, DIY tools are a one-time $40 investment, and the process takes under two hours—time that pays for itself the first time you outdrive your playing partners with better control. This isn’t just cost savings—it’s strategic customization. Where pros spend thousands fine-tuning their gear, DIY-Golf.com puts that same level of precision within reach of weekend warriors. One amateur, facing inconsistent ball flight, upgraded his driver shaft using DIY-Golf’s guided system and immediately saw tighter shot dispersion and longer carry—without touching his irons or wallet again.
Upgrading beats replacing because it turns equipment limitations into personalized advantages—fast, affordably, and on your terms.
Step-by-Step Guide to Installing Your New Golf Shaft at Home
You’ve crunched the numbers—upgrading shafts delivers pro-level performance at 40% of the cost of new clubs. Now, the real power move: doing it yourself, in under two hours, without stepping into a pro shop. The bottleneck isn’t skill—it’s access to precise, field-tested guidance. That changes today.
The process breaks into six decisive steps: removal, bore cleaning, fitting, epoxy application, insertion, and curing. Start with heat-gun-assisted shaft removal—critical because overheating by just 20°F can degrade grip integrity. A 2024 golf equipment repair benchmark found that improper heat application caused 68% of DIY failures, but using a temperature-controlled heat gun (available at DIY-Golf.com) reduces risk to under 5%. Clean the bore meticulously; residue compromises bond strength by up to 30%, per composite adhesion studies. During fitting, alignment isn’t optional—micro-misalignment shifts swing weight and feel, because even 1° deviation alters torque distribution. Apply marine-grade epoxy sparingly; too much creates hydraulic resistance during insertion, leading to voids and weak bonds. Let it cure undisturbed for 24 hours—rushing this step sacrifices 70% of long-term durability.
When done right, you’re not just saving $150 per club—you’re gaining full control over your gear’s lifecycle. That independence is the new competitive edge.
Master Your Swing, DIY Your Fit. DIY Golf is the premier destination for the technical golfer. We empower you with professional-grade components and the knowledge to build your perfect bag.
Leave a Reply