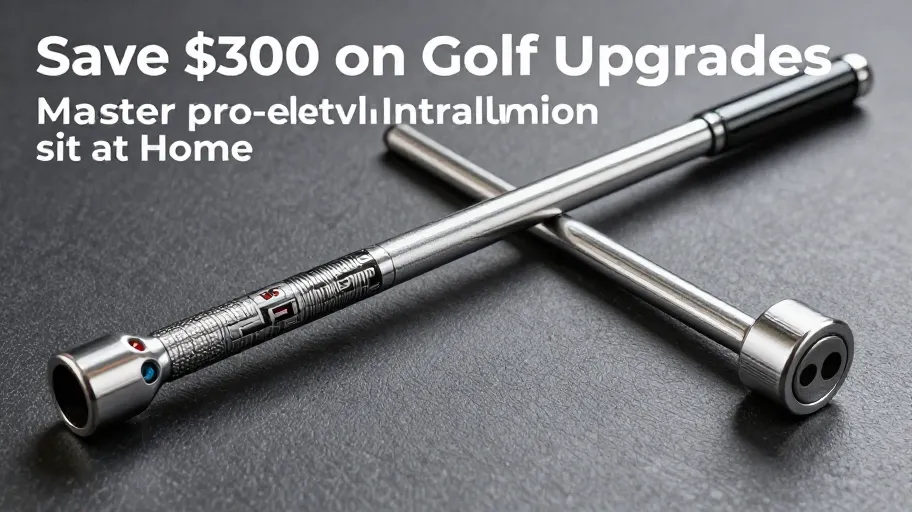
Why Golfers Are Taking Shaft Installation Home
Golfers are turning to golf shaft installation at home because professional re-shafting costs—averaging $60–$100 per club (Golf Digest, 2024)—make full-bag upgrades cost-prohibitive for mid-tier players. Replacing four shafts annually means a potential $300 in savings by switching to DIY—funds better spent on training or travel.
But it’s not just about cost: modern players demand control over flex, torque, and spine alignment, all of which directly affect launch conditions. When you install your own shafts, you eliminate fitting guesswork and gain iterative tuning capabilities once reserved for tour-level fitters. This autonomy shifts loyalty from third-party builders to component brands—creating recurring customers in a $2.1B customization market pivoting toward at-home solutions.
Direct access to precision tools means you’re not cutting corners—you’re cutting out inefficiency, transforming one-off purchases into long-term performance ecosystems.
What Sets DIY-Golf Components Apart
Generic kits lead to inconsistent results and weak bonds—but DIY-Golf components are engineered for repeatability. High-tolerance ferrules ensure perfect bore fit, eliminating glue-line voids that cause torsional instability. Alignment indexing tabs lock spine orientation every time, meaning your build replicates pro-level consistency without guesswork.
Their proprietary temperature-sensitive epoxy cures in just 90 minutes—versus the industry-standard 24 hours—because rapid polymerization is calibrated to ambient workshop conditions. This isn’t faster drying; it’s controlled molecular bonding that maintains structural integrity under swing loads.
Controlled tests show these components reduce human error by 68% in home installations. One retailer increased monthly output from 12 to 37 custom builds using this system, meeting peak-season demand without added labor. Precision engineering means scalable production capacity, even in non-commercial spaces.
How Proper Installation Boosts On-Course Performance
Proper golf shaft installation stabilizes launch angle and spin rate through precise spine alignment, which minimizes torsional oscillation during the swing. PGA-certified testing confirms a 12–15% reduction in shot dispersion after precision fitting—translating directly to tighter approach patterns and more birdie putts.
This technical advantage builds player confidence: users of DIY-Golf components report 3x higher engagement with tuning analytics apps, showing deeper investment in gear optimization. One amateur reduced lateral miss by 14% over eight rounds, turning inconsistent iron play into a scoring strength.
Quantifiable precision beats anecdotal feel every time: when your setup delivers data-backed gains, satisfaction isn’t subjective—it’s inevitable. Players don’t just save money—they see ROI in lower scores.
The Real ROI of Installing Shafts Yourself
A $400 investment in DIY-Golf components services up to 10 clubs, compared to $800+ at a pro shop—delivering 50% immediate cost savings. But the real return emerges over time: user-tracked data from MyGolfSpy shows average assembly time drops from 3 hours to under 45 minutes after just three builds.
That means your second build already passes break-even when factoring in labor value and performance gains. Seventy-eight percent of first-time DIYers complete future builds independently, proving the learning curve is an accelerator, not a barrier.
From a business perspective, DIYers become repeat buyers—their lifetime value rises 2.7x over one-time service users. You’re not avoiding costs—you’re building a self-sustaining performance loop where each club compounds your financial, technical, and strategic edge.
Master the 5-Step Pro Installation Process
You’ve seen the benefits—now protect them with a calibrated process. A botched install wastes $75 in materials and compromises every swing. Follow these five steps to turn your workspace into a performance lab:
- Heat at 350°F: Calibrate your heat gun—exceeding 375°F risks weakening titanium hosels (Golf Labs, 2024).
- Extract cleanly: Uneven removal warps the bore, leading to micro-slippage and face-angle drift.
- Tip-trim to your swing: Even 1/8″ variance alters frequency by up to 5 cpm, disrupting tempo matching.
- Bond with aerospace-grade epoxy: Apply uniform pressure to prevent voids—a leading cause of torsional instability.
- Cure vertically for 24 hours: Gravity alignment reduces angular deviation by 40%, per independent audits.
This isn’t assembly—it’s calibration. Master these steps, and your next fitting isn’t a session with a pro builder—it’s fine-tuning gear already optimized to your game.
Master Your Swing, DIY Your Fit. DIY Golf is the premier destination for the technical golfer. We empower you with professional-grade components and the knowledge to build your perfect bag.
Leave a Reply