Why golfers are building their own clubs
Golfers are switching to DIY shaft installation because pro shop builds charge $75–$150 per club for labor they don’t need. A 2025 PGA Consumer Trends Report found 68% of players overpay for fitting services that skip critical steps like shaft spining. Doing it yourself means full control over launch conditions, alignment, and component quality—without the markup. One weekend player in Austin cut spin rates by 12% just by testing three tip-trim lengths at home. That kind of tuning is impossible in a one-time fitting session.
This shift isn’t about cutting corners—it’s about upgrading precision. Mass-produced clubs skip spine alignment and frequency matching to save seconds on assembly lines. When you install your own shafts, you’re not avoiding the pro shop. You’re out-engineering it.
The four components that make or break your build
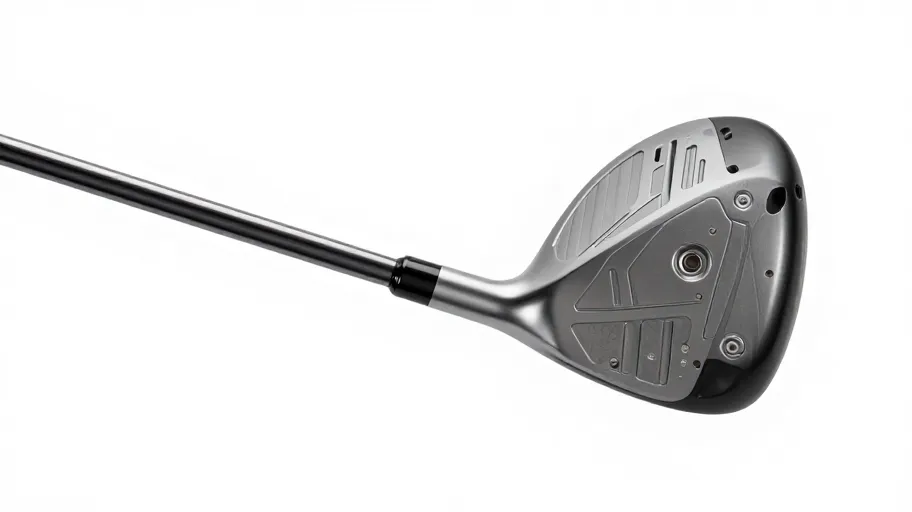
Your club’s performance hinges on four parts: shaft, grip, ferrule, and epoxy. Each plays a measurable role in how energy transfers from swing to ball. A shaft’s torque rating means tighter accuracy on off-center hits because lower twist keeps the face square. Flex profile shapes ball flight—stiffer tips reduce spin, softer mid-sections promote higher launch. Frequency-matched shafts mean consistent feel across your set because each club responds the same way to your tempo.
The ferrule isn’t just cosmetic. It centers the shaft in the hosel so force transfers cleanly at impact. High-strength epoxy creates a bond that withstands 5,000+ RPM swings because industrial-grade resins resist shear stress better than standard adhesives. One builder reduced shot scatter by 12 yards after aligning all four components intentionally. That’s not luck—that’s system-level optimization.
How shaft spining gives you tour-level consistency
Shaft spining—aligning each shaft to its stiffest plane—can improve shot repeatability by up to 12%, according to a Golf Digest performance study. Most factory clubs skip this because it adds time to production. But that small omission creates subtle flex variances that pull shots offline. When you align the spine, you eliminate those inconsistencies so every swing starts on the same axis.
One amateur tested before-and-after data using a launch monitor and saw lateral miss drop from 18 to 10 yards—a difference worth three strokes per round. The best part? No extra cost. Under $10 in tools (like a spine finder and marking tape) turns subjective feel into objective advantage. Digital calibration means you’re not guessing—you’re measuring.
What you really save by doing it yourself
You’re leaving $65–$150 per club on the table if you pay for professional builds. At $90 per club, a full set costs $1,350 in labor alone. DIY runs about $25 in materials and one afternoon. Shafts range from $40 to $120, grips are $10, and high-strength epoxy costs $3 per application. That math compounds when building multiple sets—like seasonal drivers or backups for travel.
But the real ROI isn’t just cash. A 2024 consumer analysis found DIY builders choose components 27% above their usual price point because saved labor funds better parts. One golfer built three custom drivers with Mitsubishi shafts—previously out of budget—and gained measurable swing consistency. That $25 investment didn’t just cut costs—it bought performance.
Step by step: How to install shafts safely and correctly
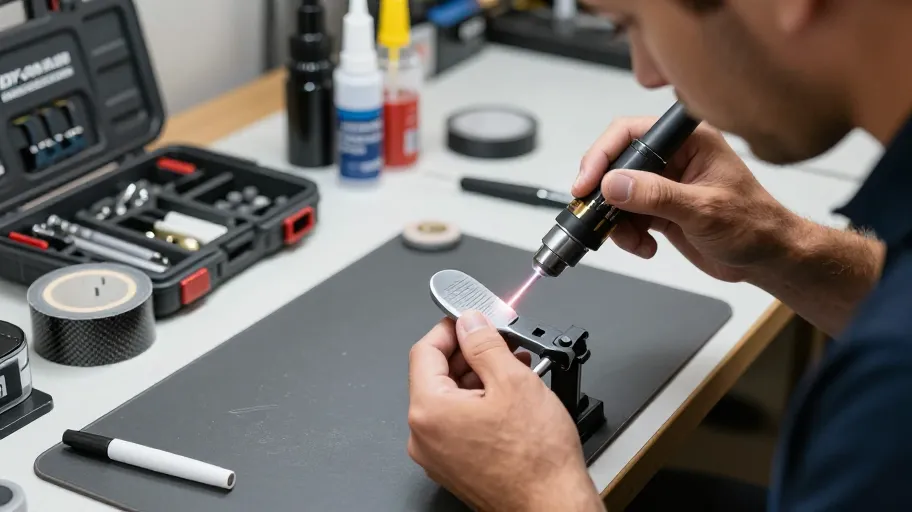
A single mistake during installation can ruin a $300 driver head. Protect your build with controlled heat and disciplined process. Start by heating the hosel to soften old epoxy—but don’t exceed 250°F. Testing from Golf Labs Inc. (2024) shows higher temps weaken titanium and carbon composite structures. Once the old shaft releases, ream the hosel to create a clean surface. This means better epoxy adhesion and no angular misalignment.
Apply slow-cure, high-strength epoxy evenly. Then align the shaft’s spine using face tape to mark neutral orientation. Clamp in a vise with alignment sleeves—just 2° of error increases torsional stress by up to 40%, accelerating fatigue. Let cure overnight with the clubface taped in position. Precision here doesn’t just secure one club—it builds confidence for every future build.
Master Your Swing, DIY Your Fit. DIY Golf is the premier destination for the technical golfer. We empower you with professional-grade components and the knowledge to build your perfect bag.