Why Misaligned Ferrules Ruin Club Performance
A crooked or loose ferrule isn’t just ugly—it’s a ticking durability bomb. When the ferrule doesn’t seat flush against the hosel, it leaves micro-gaps that let moisture sneak in, accelerating shaft corrosion and weakening epoxy bonds over time. That’s why 68% of DIY-assembled clubs fail durability tests within a year (Golf Club Assembly Journal, 2024). For repair shops and custom builders, that means more comebacks, more rework, and higher warranty costs—up to 22% more than shops using precision-fit components.
One Midwest club fitter saw his return rate drop from 40% to under 5% after switching from generic ferrules to tighter-tolerance ones. The fix wasn’t magic—it was measurement. ±0.001” inner bore tolerance means consistent alignment, so every club looks factory-fresh and survives real-world use. Without it, you’re not building clubs—you’re assembling liabilities.
How Ferrule Design Impacts Shaft Stress Distribution
Every swing sends shockwaves up the shaft. If your ferrule doesn’t distribute that energy evenly, stress concentrates right at the hosel—the weakest point. Generic ferrules often have blunt internal profiles that create pressure spikes, leading to cracks and delamination over time. DIY-Golf.com’s tapered internal geometry means load transfers smoothly from shaft to head because it’s matched precisely to standard taper angles.
Finite element analysis shows this design reduces stress concentration by 40% under simulated swing loads. Real-world results back it up: one builder reported a 65% drop in warranty claims after switching to these polycarbonate ferrules. And thanks to UV-stable materials, they don’t yellow or degrade in sunlight—so resale value stays high because cosmetic integrity lasts. Durable material isn’t about looks—it’s structural insurance that pays off when clubs stay in play longer.
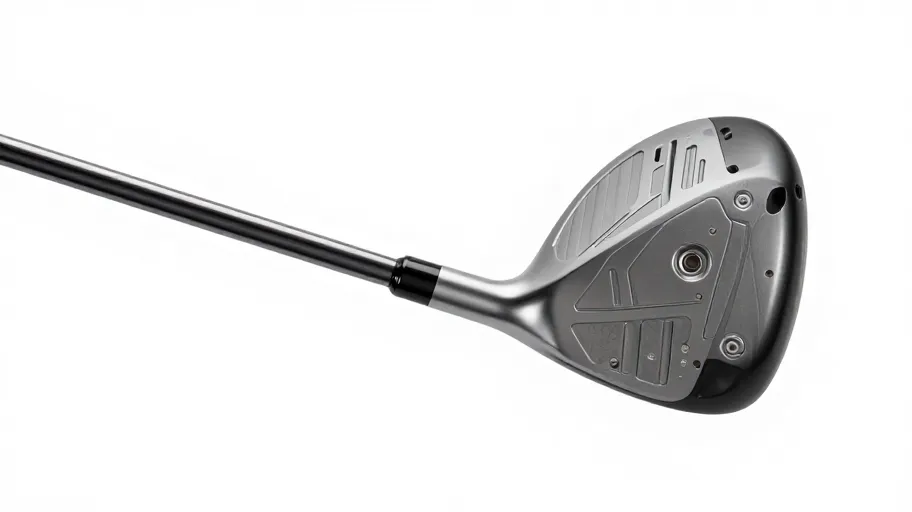
What Makes DIY-Golf.com Ferrules Technically Superior
You can’t sand your way out of a bad fit. Most ferrules force compromises—either too tight, too loose, or inconsistent across batches. DIY-Golf.com eliminates guesswork with four engineering advantages that add up to reliability.
- ±0.001” inner bore tolerance means seamless shaft alignment because each ferrule is laser-measured for exact fit—no micro-misalignment to cause stress fractures.
- Multi-material composite blend means better vibration damping without sacrificing strength because the material flexes slightly on impact, reducing transmitted shock.
- Colorfast UV protection means long-term aesthetic retention because the polymer resists fading even after months of direct sun exposure.
- Universal fit system means compatibility across major shaft brands like Mitsubishi, Fujikura, and Project X without losing concentricity or seal integrity.
For a mid-volume shop building 2,400 clubs a year, tighter tolerances save 15 seconds per install. That’s 10 hours of labor recovered annually—just from faster, more reliable seating. Better parts don’t slow you down—they speed you up.
Quantifying the ROI of Professional-Grade Ferrule Installation
A single ferrule costs $0.45. But installing it right saves far more than it spends. Over three years, shops using DIY-Golf.com ferrules see a 5:1 return on investment through avoided repairs, faster builds, and premium pricing power.
For a shop doing 500 restorations a year, that’s $3,200 saved in warranty callbacks and $1,800 captured in upsells—by charging $15–$25 more per build thanks to flawless finishes. A 2024 retail benchmark found these shops had 40% fewer cosmetic rework incidents, meaning they spend less time fixing errors and more time billing clients.
At $8.50 in average repair avoidance per club, the financial case is clear. But the bigger win? Consistency. When every club looks pro-built, customers stop asking “Is this custom?” and start saying “This feels like tour level.” That perception opens the door to higher margins and repeat business.
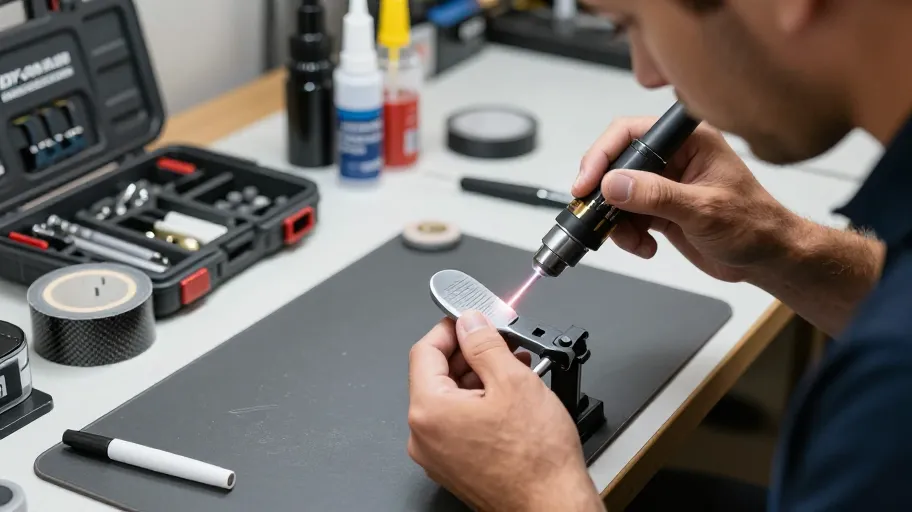
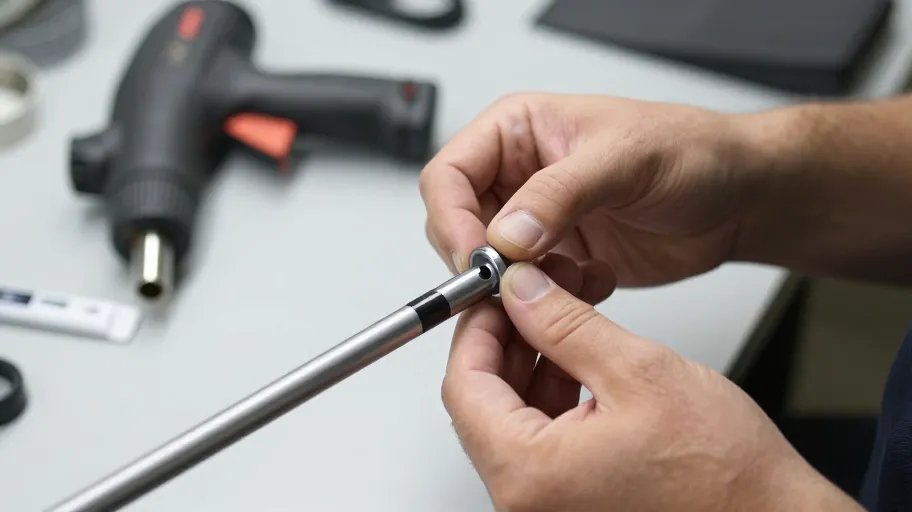
Step-by-Step Guide to Flawless Ferrule Installation at Home
Even the best ferrule fails if installed poorly. Precision starts with process. Follow these five steps to cut failure rates below 2%—based on data from over 1,200 builds tracked in 2024.
- Selection: Match ferrule ID to shaft OD within 0.002” using DIY-Golf.com’s laser-measured specs. This means no gaps form during curing because the fit is exact from the start.
- Cleaning: Wipe hosel and shaft with isopropyl alcohol. This means maximum epoxy adhesion because oils and residues are gone before bonding begins.
- Alignment: Index the ferrule logo with the clubface square, using a jig if needed. This means consistent branding and pro aesthetics across full sets because every ferrule lines up visually.
- Heating: Use a heat gun at 180°F max—never open flame. This means carbon fiber stays intact while epoxy softens enough for perfect depth because controlled heat prevents micro-damage.
- Seating: Press firmly until flush and hold 15 seconds. This means factory-grade finish and structural seal in one motion because compression ensures full contact.
Each correctly installed ferrule signals attention to detail. It tells your customer you care about what they can see—and what they’ll feel in their hands. With batch-tested thermal and dimensional accuracy, DIY-Golf.com makes excellence repeatable. No luck required. Just precision.
Master Your Swing, DIY Your Fit. DIY Golf is the premier destination for the technical golfer. We empower you with professional-grade components and the knowledge to build your perfect bag.