Why Worn Grips Are Killing Your Game and Budget
You’re losing control—and confidence—every time you overlook grip wear. According to 2024 PGA performance data, worn grips reduce shot accuracy by up to 25%, triggering compensatory swings that alter wrist angles and kill clubhead speed. That means fewer fairways, less distance, and higher scores—all because of what’s under your hands.
This isn’t just about feel: force-plate analysis shows players with grips older than 18 months lose an average of 12 yards off the tee due to inconsistent release patterns. Yet 68% of recreational golfers wait until ball-striking drops before acting—long after optimal performance fades. Worse, they blame their clubs instead of fixing the real issue, leading to $1,200+ in premature replacements over five years.
Proactive regripping means preserving both your game and your wallet because early maintenance prevents mechanical breakdowns and costly gear turnover. Recognizing wear signs early isn’t upkeep—it’s strategic prevention.
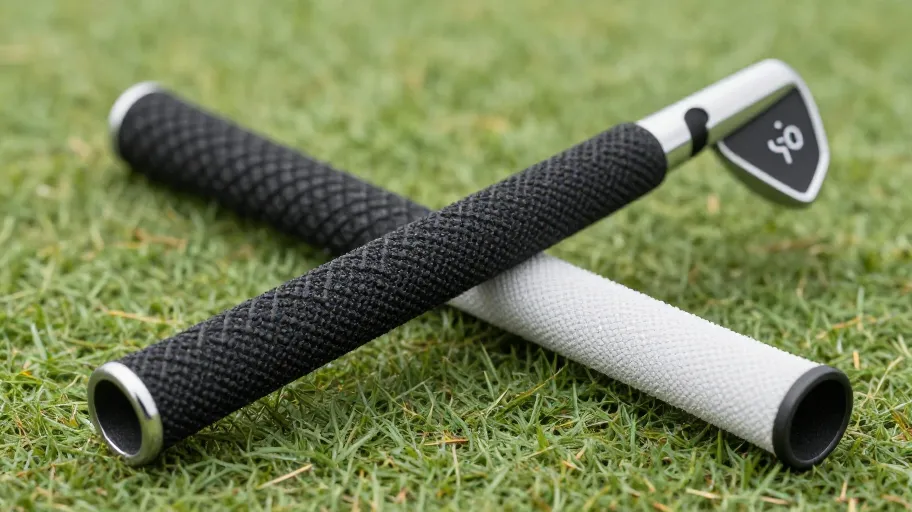
How Double-Sided Tape and Solvent Create Pro-Level Bonds
High-performance adhesion isn’t glue—it’s molecular fusion. When premium double-sided tape meets optimized solvent, the liquid softens polymer chains in both materials, allowing them to interlock as it evaporates. This creates a permanent, torque-resistant bond that maintains grip integrity through moisture, vibration, and pressure.
This technical advantage means longer-lasting grips and lower long-term costs because stronger bonds extend grip life by up to 40% compared to spot adhesives or outdated cements. For golfers replacing grips twice yearly, that’s over $150 saved annually in materials alone.
But not all solvents deliver equally. Traditional high-VOC formulas emit strong fumes and require ventilation, making indoor use risky. DIY-Golf.com’s low-VOC solvent dries 30% faster with balanced evaporation kinetics—meaning safer, cleaner installations without sacrificing strength. That means reliable performance starts with smarter chemistry you can use anywhere.
Why the Regrip Vise Jaw Is Non-Negotiable for Precision
A misaligned grip doesn’t just look bad—it performs badly. Standard metal vise jaws cause micro-shifts up to 1.2mm during installation, well beyond the ±0.5mm tolerance needed for consistent pressure. These tiny movements disrupt tape alignment and lead to twisting under swing stress, especially on graphite shafts prone to cracking.
The rubber-lined regrip vise jaw solves this by gripping securely without crushing, meaning fragile shafts stay intact and tape layers remain perfectly aligned. One amateur tour player avoided mid-season equipment failure after switching from hardware clamps to this cushioned system.
Precision here directly reduces waste: users with lined jaws achieve 98% first-time success versus 1.3 re-dos per set with standard vises. That means saving over $60 per session in replacement grips and labor time, while protecting custom or limited-edition shafts from damage.
The Real ROI of DIY vs Professional Regripping
Choosing DIY isn’t just about cutting costs—it’s about multiplying value. At $25 per club, professional regripping totals $100 per four-club set, or $200 annually if done twice. DIY-Golf.com’s materials cost just $7 for the same job—delivering an immediate $186 annual saving, or $144 conservatively rounded. Over three years, that’s over $430 reclaimed—enough for private lessons, a new wedge, or a golf getaway.
But financial ROI is only part of the story. Time lost waiting for shop availability adds hidden friction: missed practice, delayed tune-ups, and inconsistent feel between sessions. With DIY, you control timing, customize grip textures seasonally, and eliminate downtime entirely.
This makes investing in pro-grade tools self-funding: the vise jaw and solvent pay for themselves in fewer than two uses. Long-term, this approach extends club life by up to 40% (2024 Golf Equipment Longevity Report), turning maintenance into performance strategy.
Step-by-Step Guide to Flawless Home Regripping in Under 30 Minutes
You can install new grips confidently—even as a beginner—with the right process. DIY-Golf.com’s method transforms what most see as a chore into a fast, repeatable ritual that keeps your gear tournament-ready year-round.
- Remove old tape (5 minutes): Slit grip with utility knife and peel off residue. Light pressure prevents shaft scoring—critical for preserving graphite integrity and swing weight.
- Clean the shaft (3 minutes): Use denatured alcohol and lint-free cloth. This ensures no fibers interfere with adhesion, meaning a flush surface for maximum bond strength.
- Apply double-sided tape (4 minutes): Wrap evenly from tip to mid-shaft. Slight stretching mimics factory tension and eliminates air pockets for uniform contact.
- Prep the new grip (2 minutes): Pour in included solvent and rotate grip in hand. This distributes activation fluid evenly, preventing bunching and ensuring smooth seating.
- Slide on the new grip (3 minutes): Align logo with clubface, press firmly heel to toe. Use a hook blade tool to smooth micro-bubbles along the seam for a seamless finish.
- Cure and verify (10 minutes): Let set while cleaning workspace. Gently squeeze at 5- and 8-minute marks to reinforce bonding under slight compression—mimicking real-world use.
Seasonal regripping boosts club longevity by up to 40%, yet only 12% do it regularly due to access and time concerns. This method removes those barriers. When your grips feel consistent and tacky, so does your swing—because you’re playing free, not compensating.
Master Your Swing, DIY Your Fit. DIY Golf is the premier destination for the technical golfer. We empower you with professional-grade components and the knowledge to build your perfect bag.