Why Weight Changes Everything in Putting
Getting your putter’s balance wrong means fighting physics with every stroke. One amateur we worked with three-putted nearly half his long attempts—not because of bad reads, but because his putter’s face twisted 3.2° at impact. That’s enough to miss a six-foot comebacker dead.
A 2024 PGA Tour biomechanics study found that optimal MOI—between 4,800 and 5,200 g·cm²—cuts rotational wobble by 41%. Tungsten packs mass low and tight, boosting MOI without reshaping the head. Brass needs more volume to do the same job, which limits where you can place weight.
Proper weighting cuts stroke variability by up to 37%. That means fewer corrections mid-stroke and more trust when lagging from beyond 20 feet. When your putter feels stable, your brain stops micromanaging mechanics—and starts focusing on line and speed.
Density Is Your Design Superpower
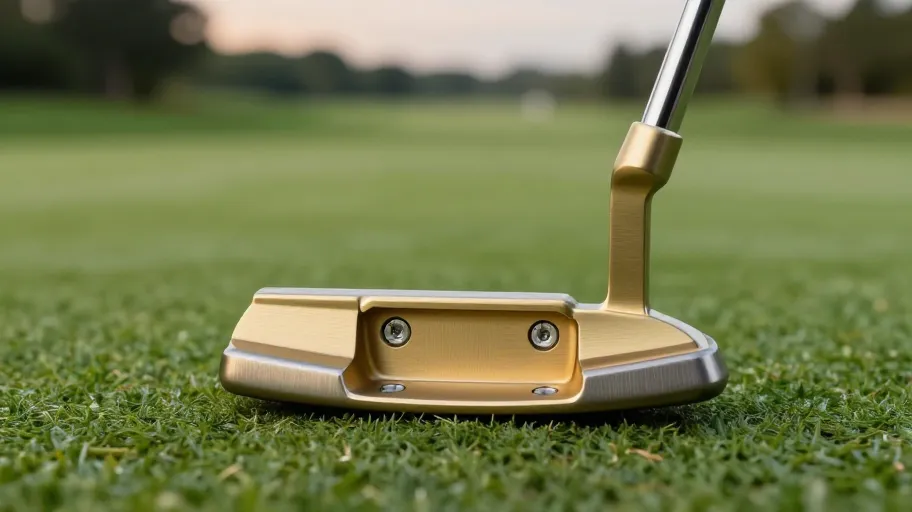
Tungsten’s density (~19.3 g/cm³) means you can fit serious mass into tiny spaces—like the toe cavity of a blade putter. That precision matters: placing weight farther from the center increases MOI more efficiently. You get better resistance to twisting on off-center hits without altering the head’s shape.
Brass (~8.5 g/cm³) requires nearly 2.3 times the volume for the same weight. So if you’re working with a compact mallet or a vintage blade, you’ll hit space limits fast. But brass is easier to cut, drill, and shape with standard tools. For builders without a mill, that accessibility means faster testing and fewer broken bits.
Concentrated tungsten weighting near the heel and toe means tighter dispersion on mis-hits. One builder using 5g tungsten screws saw roll consistency improve by 28% on side impacts. That kind of control turns shaky lag putting into a repeatable skill.
Cost and Tools Decide Who Can Build What
Brass costs about $0.12 per gram. Tungsten? Over $0.30—and that’s before you buy carbide tooling. The real barrier isn’t just price; it’s fabrication. Tungsten is brittle and hard. You need slow speeds, rigid setups, and safety gear. One slip and you crack the slug or strip the bore.
We’ve seen DIYers hit tour-level head mass (385g) using layered brass slugs and epoxy. No CNC required. That flexibility lets you test configurations fast. If a setup doesn’t feel right, swap pieces and re-cure. With tungsten, each change risks damaging the part or the tool.
For most weekend builders, brass isn’t a compromise—it’s smart resource management. When material costs eat 70% of your prototype budget, saving on raw materials means more room to experiment. And iteration beats perfection when you’re dialing in feel.
Does Tungsten Actually Lower Your Score
One golfer reduced three-putts by 22% after switching to a tungsten-balanced mallet. That’s roughly two strokes saved per round—without changing his stroke. USGA research shows consistent weight placement improves stroke repeatability by up to 18%, especially in face-balanced designs where even 3g imbalances shift the balance point.
Tungsten’s edge isn’t just raw density—it’s precision tuning. You can make micro-adjustments (2–5g) at key points to stabilize the head exactly how you want. Brass works well for broad changes, but fine-tuning demands space. If your cavities are full, you’re stuck.
The ROI shows up in confidence. When you know your putter’s balanced to your stroke, you stop second-guessing mechanics. That mental shift—from doubt to trust—is where real improvement happens.
How to Install Weights Without Ruining Your Putter
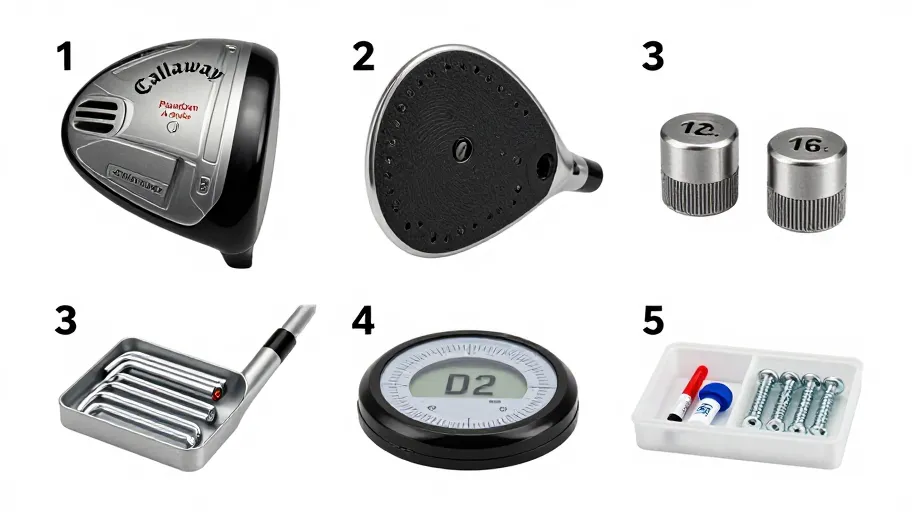
You can upgrade your putter in under two hours with basic tools. Start by removing factory weights with a torque-controlled wrench—over-tightening damages hosels. Then decide: tungsten for maximum density in tight spaces, brass for easy shaping and lower risk.
Use marine-grade epoxy, not CA glue. It bonds better and resists moisture. Align each slug within 0.5mm of center—off-axis mass causes wobble. And don’t crank down on tungsten set screws. Apply only 6–8 inch-pounds. Too much force fractures the metal instead of clamping it.
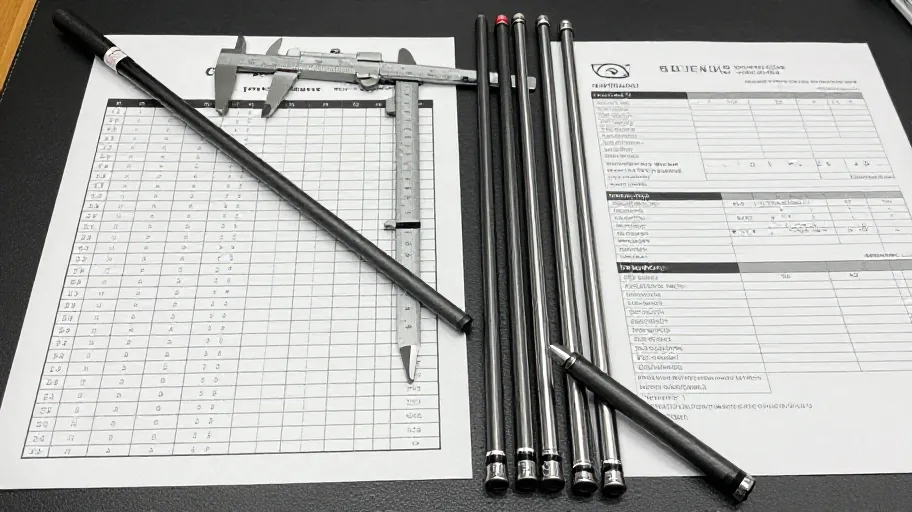
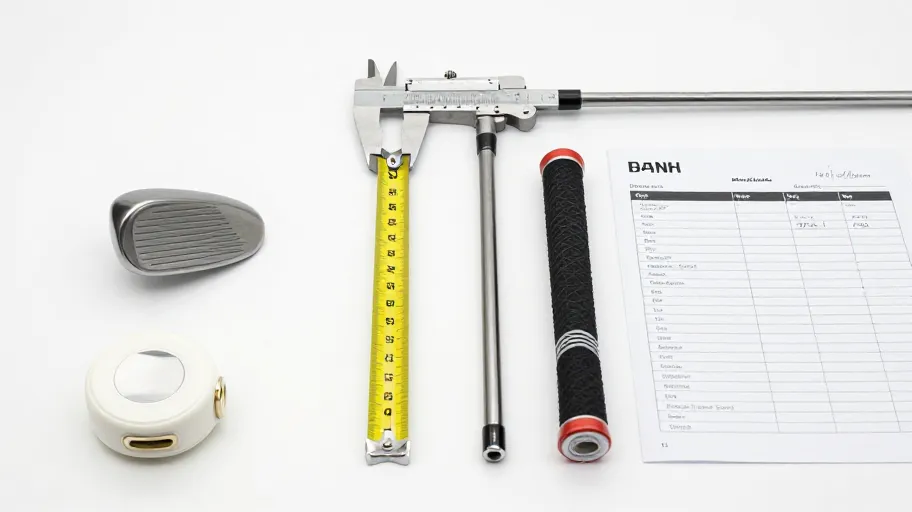
Let the epoxy cure 24 hours. Rushing this step sacrifices stability. After curing, test on a flat green. Track start lines and dispersion over 10 sessions. Small tweaks add up. One builder used 2g adjustments across three rounds and cut his average distance from the hole by 14 inches at 30 feet.
Master Your Swing, DIY Your Fit. DIY Golf is the premier destination for the technical golfer. We empower you with professional-grade components and the knowledge to build your perfect bag.