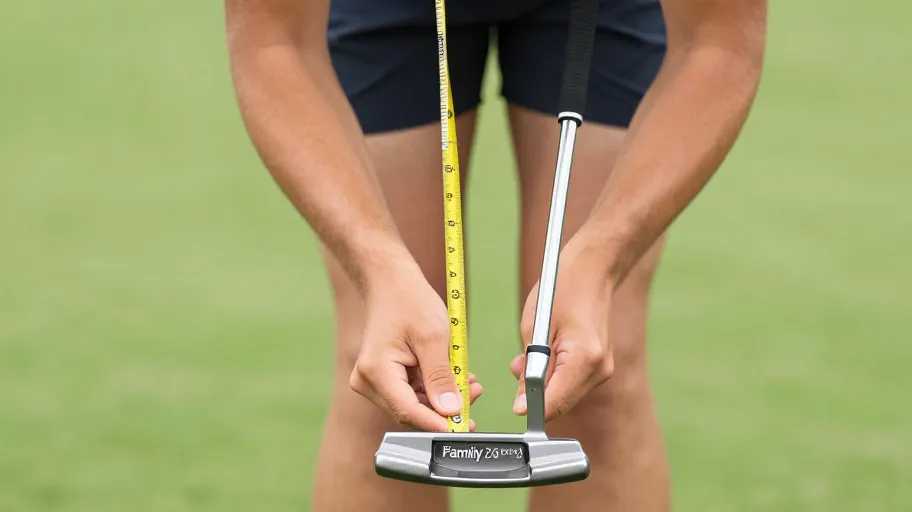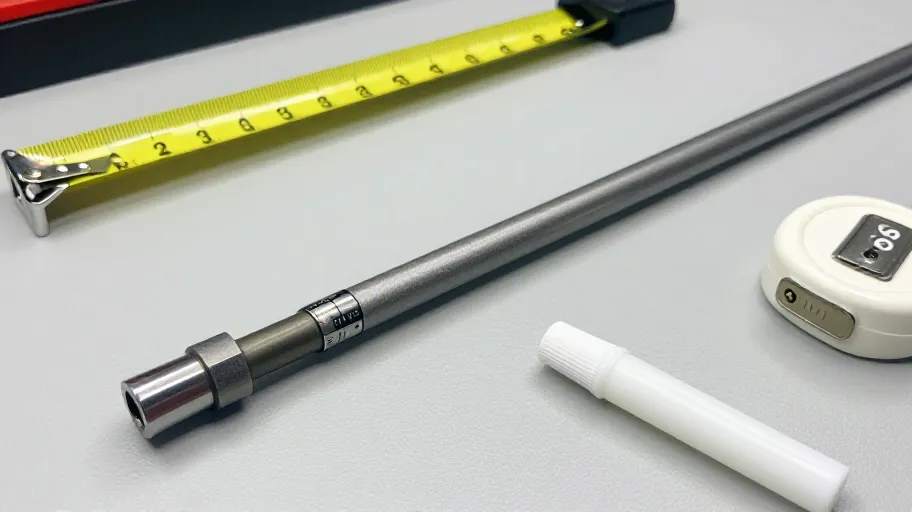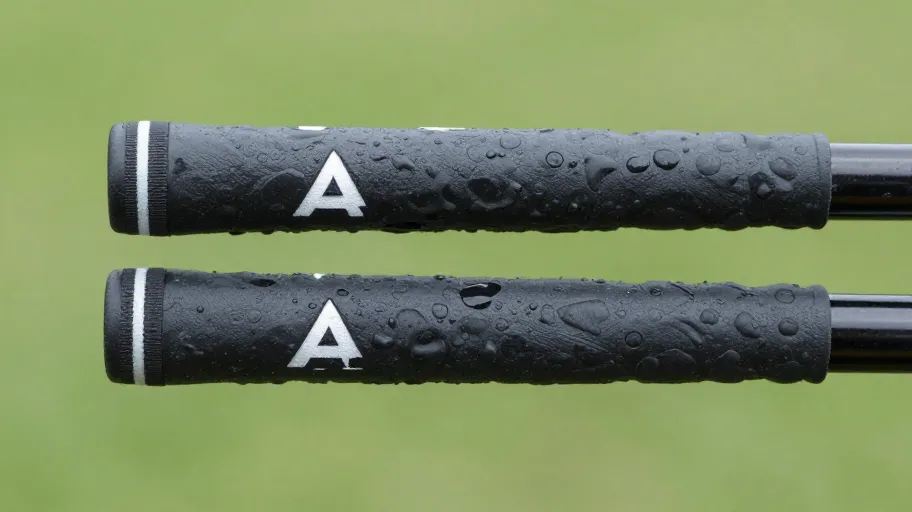
Golf grip logo position is the orientation of the grip's printed logo and alignment marks relative to the clubface when the grip is installed. Before you slide a new grip on, the check that matters most is simple: identify the grip's logo and end marks, decide the orientation you want, and confirm the grip sits straight against those marks before the solvent sets — turning the grip half a turn for a logo-down orientation is the method Golf Pride describes in its own installation guidance, while noting this does not establish a rule for every grip design.
The Logo-Down Verification Loop
Use this five-step loop on every re-grip, and run it again for each different grip model you install, because alignment marks differ between designs.
- Select. Confirm the grip you are buying matches the club you are rebuilding — brand, family and model of the club, and the correct grip size for your hands. Do not skip this step on the assumption that "a grip is a grip."
- Check marks. Before installation, locate the logo and any alignment lines or end marks printed or molded on the grip. Some grips carry a single logo; others add alignment ribs or painted lines. Note what yours actually has.
- Dry-fit. Slide the grip onto the shaft with tape but before the solvent sets, or hold it in position, and look down the shaft from address position.
- Orient. Set your chosen orientation. If you want the logo down — facing the ground at address — Golf Pride's installation guidance describes turning the grip half a turn during installation to reach that orientation. If you want the logo up, align the logo with the clubface line instead.
- Confirm straightness. Check the grip against its logo or end marks to confirm it is straight, per the same Golf Pride guidance. Once the solvent has set, the position is locked in, so this is the moment to correct any twist.
Choosing an orientation: decision table
There is no single mandated orientation for every grip design, so the right choice depends on what the grip carries and what you want to see at address. Use this table as a starting point, then verify against the specific grip in hand.
| Your situation | Orientation to consider | What to check first |
|---|---|---|
| You want the logo facing the ground at address | Logo down | Does the grip manufacturer describe a logo-down method? Golf Pride's guidance describes a half-turn for this orientation; other designs may differ. |
| You want the logo visible at address | Logo up | Align the logo with your preferred clubface reference line and confirm it sits straight against the end marks. |
| The grip has alignment ribs or painted lines rather than relying on the logo alone | Follow the marks | Check whether the manufacturer specifies the marks as the alignment reference for that model. |
| You are matching a set you already built | Match the existing grips | Photograph the orientation of one existing grip at address before removing it, and replicate it. |
| A club builder is doing the work for you | Agree in writing first | State the orientation you want before the builder starts, and inspect against the marks before you leave. |
What to verify before you commit the grip
Treat each of these as an approval question you answer before the adhesive sets — or before you pay.
- Club match: Does the component you selected correspond to the exact club brand, family and model you are rebuilding? Use the on-site fitment selector and verify the club brand, family and model before choosing a component.
- Grip model behaviour: Does this specific grip model have a logo, ribs, end marks, or all three? The Golf Pride excerpt covers a logo-down half-turn and a straightness check against logo or end marks; it does not establish installation rules for every grip design, so read the guidance for the grip you actually bought.
- Shaft prep: Is the butt end of the shaft prepared for the grip tape and solvent you are using, and is the tape width appropriate for the butt diameter of that specific shaft? If you cannot answer, ask the component seller or a builder before you start.
- Grip size: Have you confirmed the grip size against the club and your hand? Size affects how the club sits in your hands; confirm the specification for the exact grip and club model rather than assuming continuity across a family.
- Repositioning: If the logo ends up crooked, can this grip be repositioned while the solvent is active, and how long does that window last for the products you are using? Confirm the current policy and instructions directly with the manufacturer or seller — do not assume one grip behaves like another.
- Delivery scope: If you are ordering components, what exactly does the seller supply for this model, and under what terms? Confirm the current policy directly.
Pre-installation checklist
Run through this before every install. It takes a minute and saves a grip.
- Club brand, family and model confirmed via the fitment selector
- Grip model, size and any alignment features identified on the physical grip
- Logo orientation chosen (up, down, or mark-based) and agreed if a builder is involved
- Shaft butt prepared and tape and solvent ready
- Dry-fit done; orientation set (half a turn for logo down, where that method applies)
- Straightness confirmed against the logo or end marks before the solvent sets
- Photograph taken of the final orientation for set consistency
FAQ
Does the logo always go down when a grip is installed? No. Logo-down is one orientation, and Golf Pride's installation guidance describes turning a grip half a turn for that orientation and checking straightness against the logo or end marks. The same source notes this does not establish installation rules for every grip design. Some grips rely on alignment ribs or lines rather than the logo, and the orientation you choose is a preference decision — make it deliberately and verify it before the solvent sets.
How do I know the grip is straight and not just the logo aligned? Check against the grip's own reference marks. Golf Pride's guidance describes checking straightness against the logo or end marks. Look down the shaft from address position and compare the marks against your chosen clubface reference line. If the grip carries ribs or painted lines, use those as the check, not feel alone.
Can I fix a grip that dried in the wrong position? Repositioning depends on the grip's construction and the adhesive setup you used, and it is not guaranteed for every product. Some builders can re-activate the tape and twist a grip; others cannot do so cleanly. Treat it as a question to answer for your specific grip and shaft before you start, and confirm the manufacturer's instructions directly.
Does logo position change how the club performs? Grip orientation affects what you see and feel at address. Whether a given orientation changes measurable performance for you, on your club, is not something a general guide can assert. If a seller or builder claims a performance outcome for a specific grip on a specific club, ask for evidence that applies to that exact product and model before you accept it.
What should I confirm before ordering a replacement grip online? Three things. First, that the component matches your club's brand, family and model — use the fitment selector and verify rather than working from memory. Second, the grip model's own installation and alignment guidance, since it may differ from the logo-down half-turn method. Third, the seller's current terms for the item you are buying. Confirm the current policy directly.
Ready to pick the right component?
Use the on-site fitment selector and verify the club brand, family and model before choosing a component. Two minutes of checking beats a grip set crooked on the first swing.
Master Your Swing, DIY Your Fit. DIY Golf is the premier destination for the technical golfer. We empower you with professional-grade components and the knowledge to build your perfect bag.