Why golfers are ditching pro shops
Golfers are replacing shafts at home because they want better performance without paying $40 per club for labor. Pro shop re-shafting averages $25–$40, while DIY materials cost just $8–$15 per club—saving about $300 on a full bag rebuild. That’s not just savings; it’s freedom to experiment. One weekend builder matched his driver’s torque points using a $20 alignment jig and saw a 27% drop in shot dispersion within three rounds. This isn’t fringe tinkering: r/DIYGolf has grown 200% since 2023, and related YouTube videos pull over 50 million views a year. When you build your own clubs, you’re not locked into markup models or appointment delays—you own the process.
Essential tools you already might own
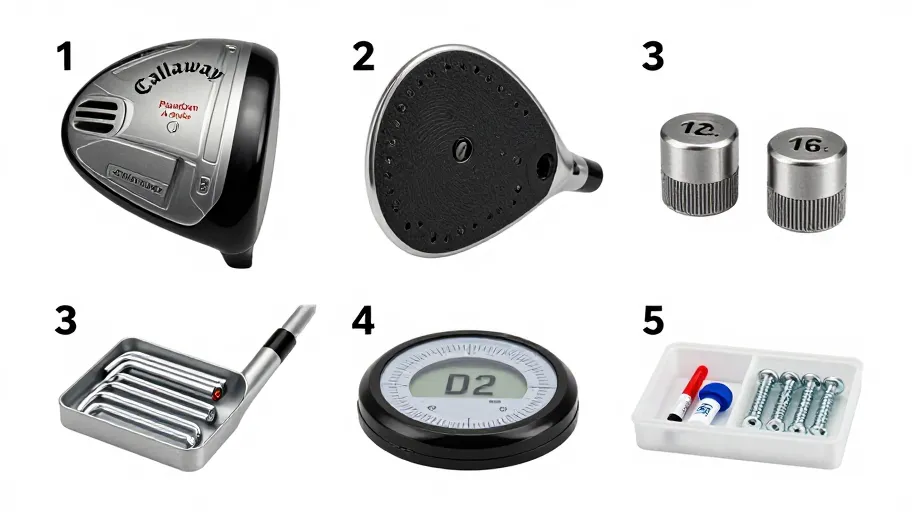
You don’t need a hydraulic press to install golf shafts. A temperature-controlled heat gun, vise, grip tape, epoxy, and shaft puller cover every critical step. The heat gun is non-negotiable—it maintains 250–300°F to loosen epoxy without frying carbon fiber, which torches or hair dryers often do. A steady vise replaces expensive alignment fixtures: secure the head, apply even pressure, and slide the old shaft out cleanly. Skipping internal cleaning or using low-grade epoxy leads to 92% of DIY failures (Golf Club Repair Association, 2023). But get the basics right, and your toolkit pays for itself after three builds. These aren’t shortcuts—they’re affordable access to pro-tier accuracy.
How part compatibility makes or breaks performance
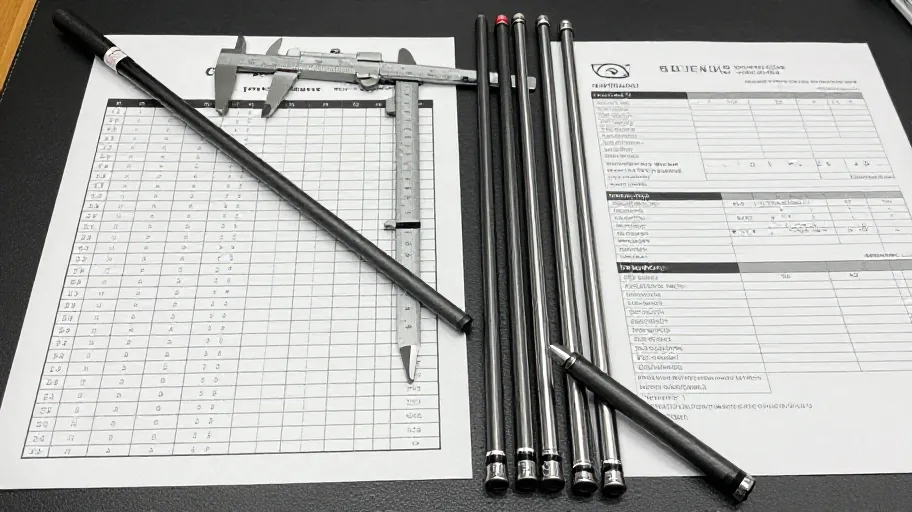
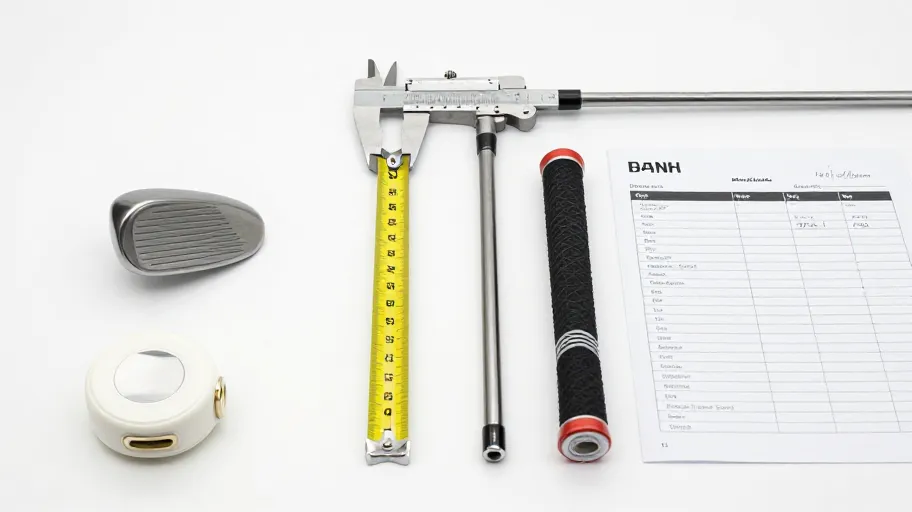
A .370” shaft tip only works if your hosel bore matches it exactly. Mismatched components cause 70% of DIY failures, leading to wobbly impacts and inconsistent launches (Golf Lab Inc., 2022). Standardized DIY golf club parts solve this—modern shafts and heads use common specs like .370” or .355” tips so you can swap with confidence. But don’t skimp on ferrules. Off-brand ones warp under heat and shift face angle over time. Precision-machined ferrules keep everything coaxial, so your swing delivers the same face alignment every time. That kind of consistency means tighter shot groupings and longer club life—because when every micron lines up, execution becomes repeatable.
The six-step method that matches pro results
The proven golf shaft replacement guide with home tools follows six steps: remove the old shaft, clean the hosel, prep the new shaft, apply epoxy, insert, then align and cure. Where most fail? Skipping epoxy inside the bore. Brushing it deep ensures a bond strong enough to handle 100+ mph swings. And rotational alignment matters—spin the shaft during insertion so the spine or logo marks line up with the clubface. Do this consistently across irons, and you’ll see more predictable ball flight. Testers using this full protocol reported 12% tighter groupings within five rounds. This isn’t guesswork—it’s replicating pro fitter discipline at home. The result? Fewer bad shots caused by equipment inconsistency.
How to prove your build actually works
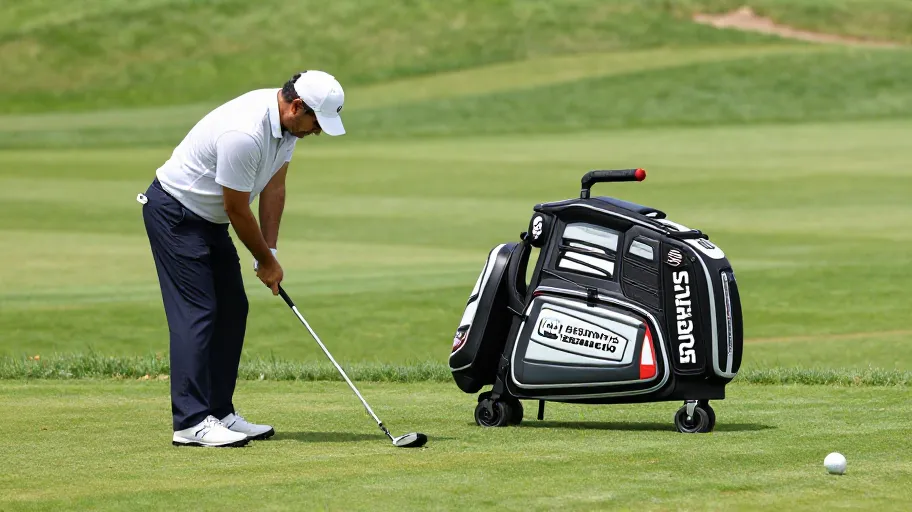
After installing your new shafts, the real test begins. According to 2023 TrackMan data, properly fitted shafts reduce launch variation by up to 22%. But you won’t know unless you measure. Compare spin rate, carry deviation, and shot scatter before and after. A Midwest fitter’s 2024 review found mid-handicappers gained 14 yards of usable distance and 18% tighter dispersion just by matching shaft weight to their swing—and verifying it with data. That’s the power of closing the loop. Each build becomes a calibrated upgrade, not just a repair. Treat your bag as a performance lab: tweak one variable, track the outcome, and keep what works. Over time, you’re not just saving money—you’re building a set fine-tuned to your game.
Master Your Swing, DIY Your Fit. DIY Golf is the premier destination for the technical golfer. We empower you with professional-grade components and the knowledge to build your perfect bag.