Swapping the shaft in your driver is one of the most controllable ways to tune how a specific head feels and launches, but the swap only succeeds if three things are verified first: the adapter must match your exact head, the playing length must match your build intent, and the installation must pass a short series of checks before the club ever reaches the tee. This Adapter–Length–Install (ALI) check is designed to be completed before you order, not after the parts arrive.
A note on scope before we start: this is a pre-purchase verification guide. It will not tell you that any particular shaft will improve your distance or flight — no article can do that honestly without launch-monitor evidence for your swing and your exact build. What it will do is help you avoid the most common ordering mistakes when you swap driver shaft components on a club you already own.
Step 1: the adapter check — identify the system, not just the brand
Adapter sleeves are the interface between shaft and hosel, and they are not interchangeable across all heads, even within a single brand. Two drivers from the same manufacturer, in different families or generations, can use different sleeves. This is the single most expensive mistake in a shaft swap, so treat it as your first gate.
Before you order, gather and write down:
- The club brand. The manufacturer of the driver head.
- The family. The product line the head belongs to.
- The model and generation. The specific model name and, where relevant, the release year or version, since families are refreshed over time.
- What is printed or marked on your current adapter. Many sleeves carry markings that identify the head family they were made for. Photograph it and keep the photo with your build notes.
- Loft and lie adjustment markings. Note the adjustment range indicated on your current sleeve. If the replacement adapter's markings do not look like the ones you have, stop and verify before buying.
If you bought the driver second-hand or inherited it, this documentation step matters even more, because family histories and previous owner modifications can blur the picture. Use the fitment selector on the site and enter the brand, family and model exactly as they appear on your club — not from memory.
Step 2: the length check — playing length is a build decision
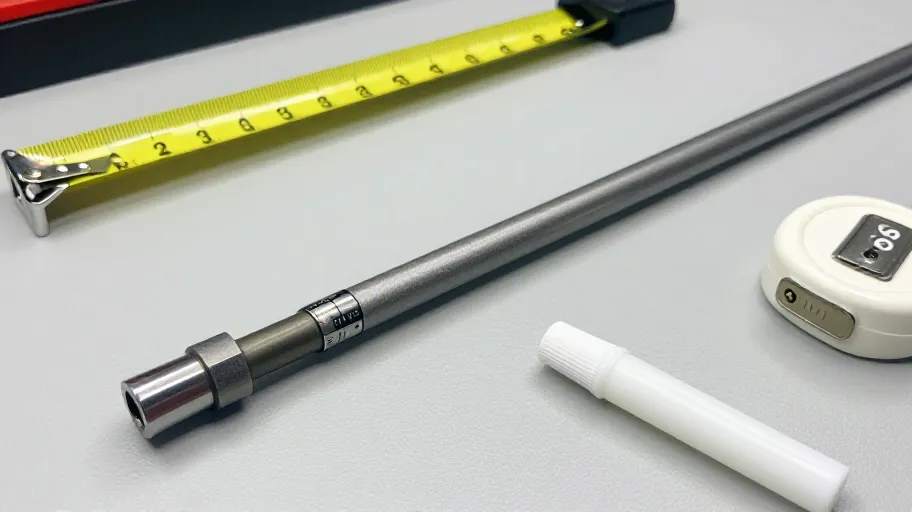
Playing length is not simply the length of the bare shaft. It is the result of the uncut shaft length, how much is inserted into the adapter and bore, whether the shaft has been tipped or butt-trimmed, and the grip cap. When you swap driver shaft, each of these variables moves.
Settle these questions before checkout:
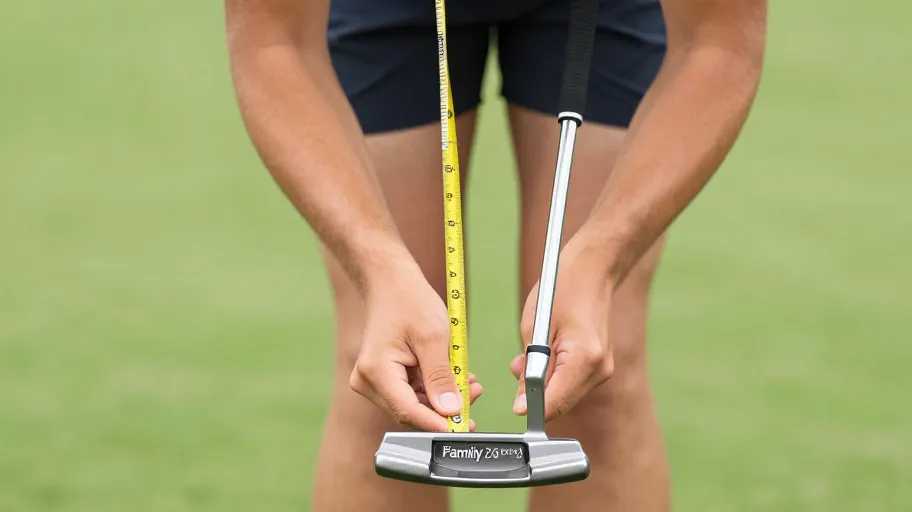
- What is the playing length of your current driver? Measure from the end of the grip to the centre of the sole with the club soled flat. Record it.
- Do you want the replacement to match that length, or change it? If you are changing length, know why, and be prepared to accept that swing weight, feel and flight may shift with it.
- Has your current shaft been tipped or trimmed? If so, note how, because a like-for-like swap may need matching preparation.
- What is the adapter's insertion position? Adapters position the shaft differently from a straight bore, so bare shaft length and finished playing length are related but not identical.
These are questions to answer with your own measurements and, where needed, with the store — not assumptions to make from product photos. If any length detail is unclear for the component you are considering, ask and confirm before ordering rather than estimating.
Step 3: the installation check — what to approve before the club is played
Whether you are building at home or handing the parts to a shop, the installation stage has a short list of items to verify. Approve each one; do not let the club leave the bench until they are done.
Pre-installation:
- Confirm the adapter, ferrule and shaft tip diameter are all specified for the same build.
- Confirm the shaft tip has been prepared appropriately for the adhesive system being used.
- Dry-fit the shaft into the adapter and check orientation against the adjustment markings.
During installation:
- Confirm the adhesive is mixed and applied per the adhesive manufacturer's instructions, with the correct orientation held through positioning.
- Confirm the ferrule seats cleanly against the adapter with no gap.
Post-installation checks:
- Confirm the adhesive has fully cured before the club is swung, following the cure period stated by the adhesive manufacturer.
- Confirm the adapter is tightened to the setting you intended, using the head's original wrench or a matching one.
- Confirm there is no movement, creak or visible gap at the adapter joint under firm hand pressure.
- Confirm the final playing length matches your build record.
- Range-test gently before any full-speed swing.
If a shop is doing the work, ask them the following approval questions before you hand over the parts: What adapter do you have on file for this exact head model? What finished playing length will you build to, and how will you confirm it? What cure period will you observe before returning the club? A builder who answers these precisely is a builder you can trust with the component.
Decision table: pre-purchase verification for a shaft swap
| Check | What you must confirm | Evidence you hold | Approve or stop |
|---|---|---|---|
| Adapter match | Sleeve is specified for your brand, family and model | Fitment selector result plus photos of your current adapter | Approve / Stop |
| Playing length | Finished length intent matches your measurement and goal | Your recorded measurement and build note | Approve / Stop |
| Tip preparation | Tip diameter and any trimming match the shaft and adapter | Component specification on the product page, or a confirmed answer from the store | Approve / Stop |
| Flex and weight profile | Your chosen profile is a deliberate selection, not a guess | Your own reasoning or a professional assessment | Approve / Stop |
| Installation plan | Builder or DIY process covers prep, cure and post checks | Completed installation checklist | Approve / Stop |
Use this table as a gate. Every row should read "Approve" before you pay.
Frequently asked questions
Do I need a new adapter if I swap driver shaft? If your new shaft does not already have an adapter installed for your exact head, you will need one specified for that brand, family and model. Some aftermarket shafts come pre-installed with an adapter; confirm which configuration the listing describes for the component you are viewing, and verify it against the fitment selector before ordering.
Can I reuse the adapter from my old shaft? Possibly, but only if the old adapter is undamaged, removes cleanly, and is confirmed for the same head model you are building. Inspect the bore and threads, and if there is any doubt about its condition or identity, verify with the store what adapter is specified for your head before reusing one you are unsure about.
Will a new shaft automatically improve my driver performance? No. Whether a different shaft suits your swing depends on your swing characteristics and the specific build — flex, weight profile, length and how the finished club is assembled. Treat any performance expectation as a question to answer with proper testing on your own finished club, not a promise to accept from a product page.
Should I have a shop install the shaft or do it myself? That depends on your tools, workspace and experience with epoxy-based club assembly. If you have not built clubs before, the honest answer is to compare the shop's process against the installation checklist above; a competent shop should be able to answer your approval questions directly and document the finished length and cure period.
What information should I have ready before choosing a component? Brand, family and model of your driver head, a photo of your current adapter, your measured playing length, and a note of whether your current build has been tipped or trimmed. With those in hand, the fitment selector becomes a confirmation step rather than a guess.
Verify before you order
The most reliable way to avoid a mismatched adapter or a wrong-length build is to verify the club brand, family and model in the on-site fitment selector before choosing any component. Enter the details exactly as they appear on your club, compare the result with the photos and measurements from your ALI check, and only then proceed to checkout.
[Use the fitment selector to verify your club brand, family and model →]
Low-friction checklist before checkout
- Club brand, family and model written down exactly
- Photo of current adapter taken and saved
- Current playing length measured and recorded
- Tipping or trimming status of the old shaft noted
- Fitment selector result matches the club in hand
- Playing-length intent decided and documented
- Installation plan covers prep, cure and post checks
- Any unclear product detail confirmed directly with the store
Any sample, cost, shipping, return or exchange question not answered on the product page should be confirmed with the store directly before you commit — this guide does not state those policies, and your circumstances may affect them.
Master Your Swing, DIY Your Fit. DIY Golf is the premier destination for the technical golfer. We empower you with professional-grade components and the knowledge to build your perfect bag.