Golf grip size is defined by two numbers: the core diameter of the grip itself and the outer diameter of the grip once installed on your shaft with your tape build-up. Before approving a replacement grip, measure the sample's core, confirm your shaft's butt diameter, and test the installed feel in your lead hand. Record every measurement so the approved sample becomes your reference for the full set.
That is the short answer. The rest of this guide walks through a structured way to review your first sample so that a size decision is documented rather than guessed.
Two numbers, one decision
When builders and golfers argue about grip size, they are at times talking about different measurements without realising it.
Core diameter is the inside measurement of the grip. A grip designed with a smaller core, stretched onto the same shaft, produces a larger outer diameter. The label on the sample tells you the intended core; it does not tell you the final installed feel.
Installed outer diameter is what your hands actually contact. It depends on three project-specific inputs: the grip's core, the butt diameter of the shaft it goes on, and the number of tape wraps (or lack of them) applied before installation. Change any one of those and the same grip model feels different.
This is why a sample review cannot stop at reading the label. You verify the label, then you verify the assembled result on your actual shaft.
The SAMPLE Gate: a five-step first-sample review
Use this sequence each time a new grip model or size arrives as a sample. It is deliberately simple so it can be completed in one session with basic tools.
S — Spec check. Read the sample's stated core size and any size class wording (undersize, standard, midsize and similar terms vary by brand, so verify the definition in the supplier's own documentation). Write down exactly what the sample claims to be.
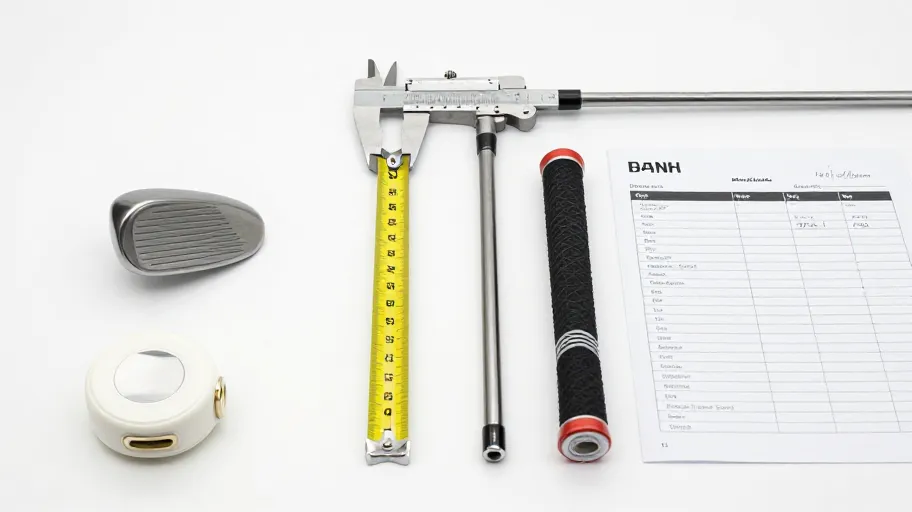
A — Assess the shaft. Measure or confirm the butt diameter of the shaft this grip will be installed on. The same grip on two different shafts can produce different installed sizes. If you are regripping an existing club, measure the club as-is after the old grip and tape are removed.
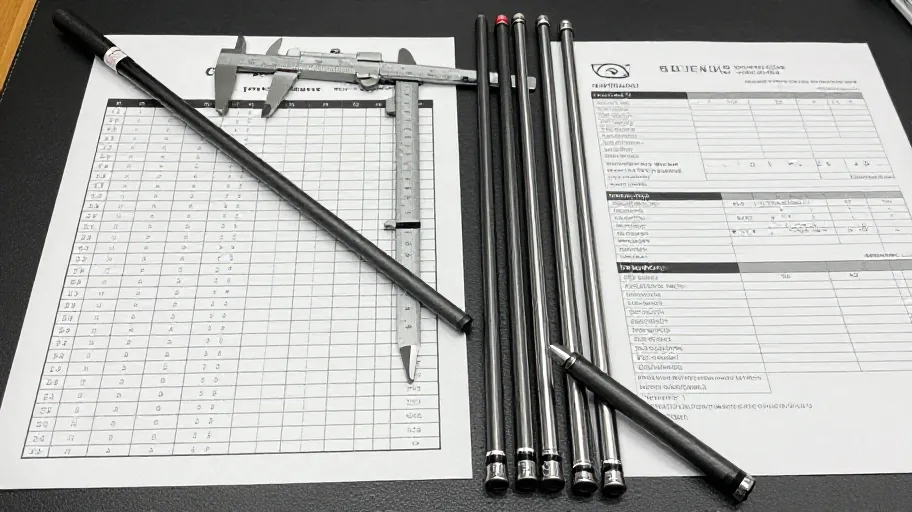
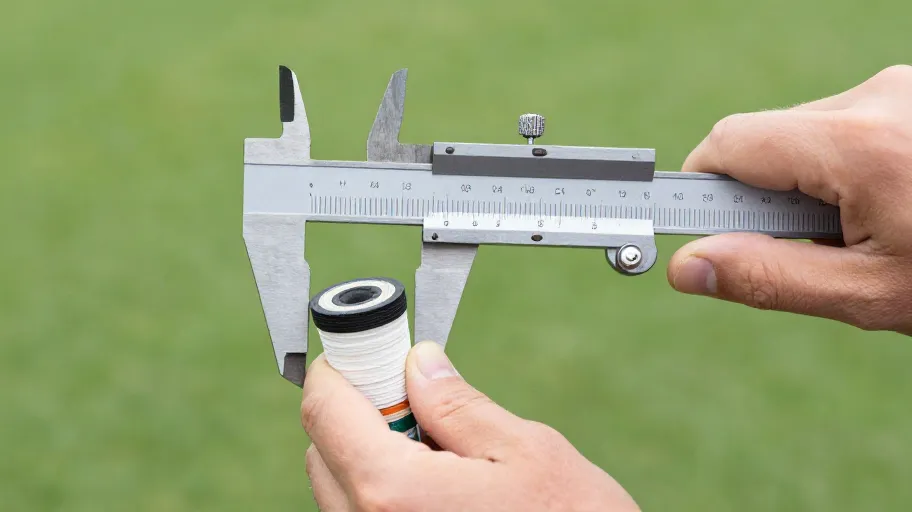
M — Measure. With calipers, measure the sample grip's core opening and, once installed, the outer diameter at a consistent reference point — a fixed distance from the grip cap is a practical convention. Record the exact figures in your project notes rather than relying on memory.
P — Prepare the build-up decision. Decide how many tape layers, if any, you plan to use, and note the tape product. Tape build-up is the cheapest way to fine-tune size, but only if you document what you did so you can repeat it across the set.
E — Evaluate in hand. Install the sample on one club and hold it in your normal lead-hand grip pressure. Ask: can you close your fingers comfortably? Does the grip feel secure without forcing? Note that feel is subjective and yours to judge — no article, supplier or brand can promise a fitting outcome on your hands.
Decision table: interpreting your sample review
| What you observed | What it may suggest | Next action before ordering the set |
|---|---|---|
| Labelled core matches your measurement; installed feel is comfortable | The sample size may suit this shaft plus this build-up | Document the exact configuration and use it as your batch reference |
| Installed grip feels thin; fingers overlap heavily | The grip may be undersized for your hand on this shaft | Compare the next size up, or test additional tape build-up on the sample |
| Installed grip feels bulky; fingers can't wrap | The grip may be oversized for your hand on this shaft | Compare a smaller core, or review whether a different model suits your hand shape |
| Sample label wording is ambiguous or unlabelled | You cannot verify what you are approving | Ask the supplier to confirm the core size class in writing before proceeding |
| Measurements differ from the stated spec | Possible sample inconsistency or labelling error | Raise with the supplier before approving; ask how batch consistency is confirmed |
| Feel is good on one club but your set has mixed shafts | Installed size will differ across the set | Measure each shaft type and plan build-up per shaft, not per set |
This table is a decision aid, not a verdict. The observations are yours to make on your equipment with your hands.
Approval questions to put to the supplier
Before you approve a sample and order a full set of grips, send these questions and keep the written answers with your project file:
- Can you confirm, in writing, the core size and size class of the exact model and colourway I am ordering?
- How do you confirm batch consistency against the approved sample — what should I check on arrival, and what is your process if the delivered grips differ?
- What is your current policy on samples, pricing, availability and returns for this product? (Confirm directly — no assumptions.)
- Are there installation notes specific to this grip, such as recommended solvent, tape or installation temperature, that affect final installed size?
- If I need to fine-tune size after installation, which build-up products do you recommend for this model?
None of these questions presumes an answer. Policies, stock and pricing change; the reader's job is to confirm the current position in writing.
First-sample review checklist
Work through this list in order and tick each item only when it is documented:
- Stated core size and size class written down from the supplier's documentation
- Shaft butt diameter measured or confirmed for each club in the set
- Sample core measured with calipers and recorded
- Tape build-up plan chosen and tape product noted
- Sample installed on a test club
- Installed outer diameter measured at a fixed reference point and recorded
- Lead-hand feel assessed at normal grip pressure
- Approval questions sent to the supplier and answers filed
- Go / no-go decision recorded with the reason
- Approved configuration copied into your notes for every club in the set
Read the fitting guide to match grip size to hand measurements before you commit to a full set — it is the companion piece to this checklist and walks through hand-size assessment step by step.
Frequently asked questions
What does golf grip size actually mean — the label or the feel? Both. The label describes the grip's core size class; the feel comes from the installed outer diameter on your specific shaft with your tape build-up. Review the label, then measure the assembled result.
Can I change grip size without buying a different grip? On many builds, yes — tape build-up under the grip increases installed diameter, and reducing build-up decreases it. How much change is appropriate for your hands and clubs is a fitting question, which is why the assessment steps above matter.
How do I review a sample if my set has different shafts? Measure each shaft type separately. The same grip can install to different outer diameters on different butt diameters, so plan and record build-up per shaft type rather than for the set as a whole.
What should I record so the full set matches the approved sample? Four things: the grip model and size class, the shaft and its butt diameter, the tape product and layer count, and your measured installed outer diameter at a fixed reference point. That record is your acceptance reference.
Who do I ask about sample policy, pricing or returns? The supplier, directly and in writing, before you order. No sample policy, fee arrangement, shipping term or return condition is stated in this article — confirm the current policy yourself as part of the approval step.
Read the fitting guide for the hand-size and build-up detail that turns this checklist into a complete regrip plan. Or start small: download the checklist above, review one sample, and file the paperwork before ordering anything further.
Master Your Swing, DIY Your Fit. DIY Golf is the premier destination for the technical golfer. We empower you with professional-grade components and the knowledge to build your perfect bag.