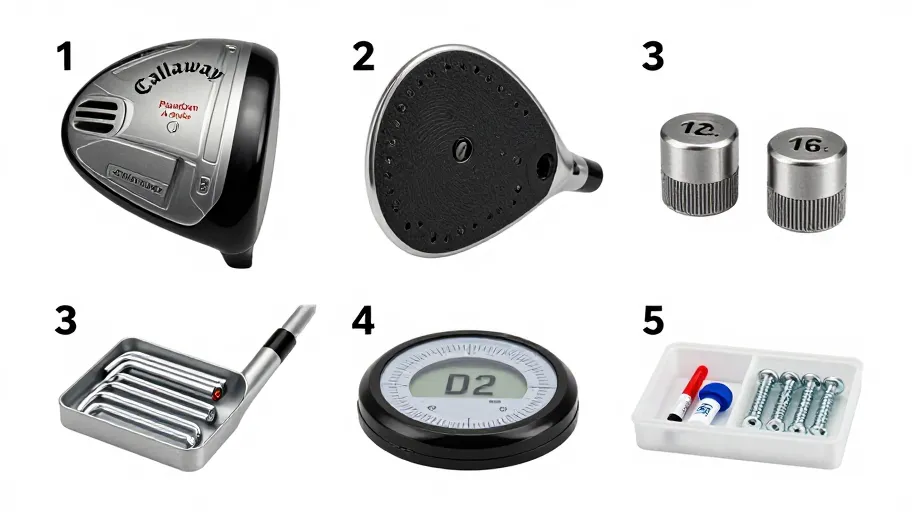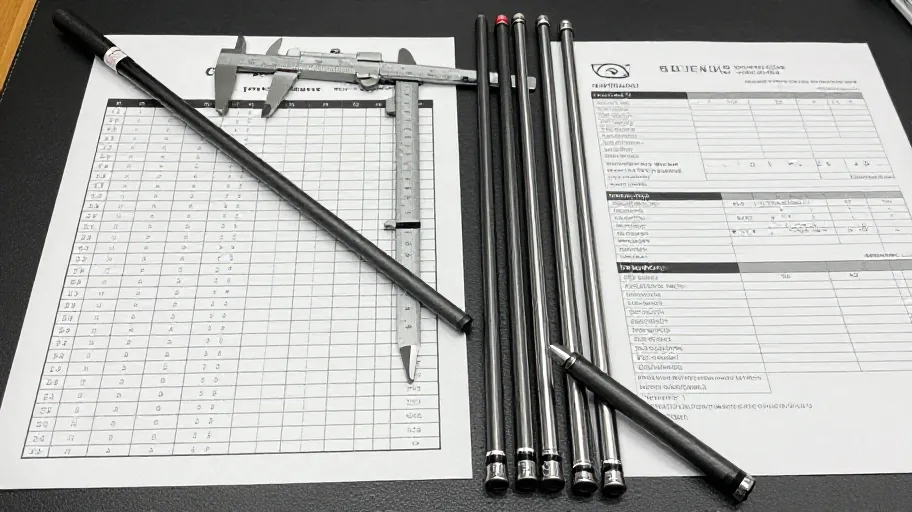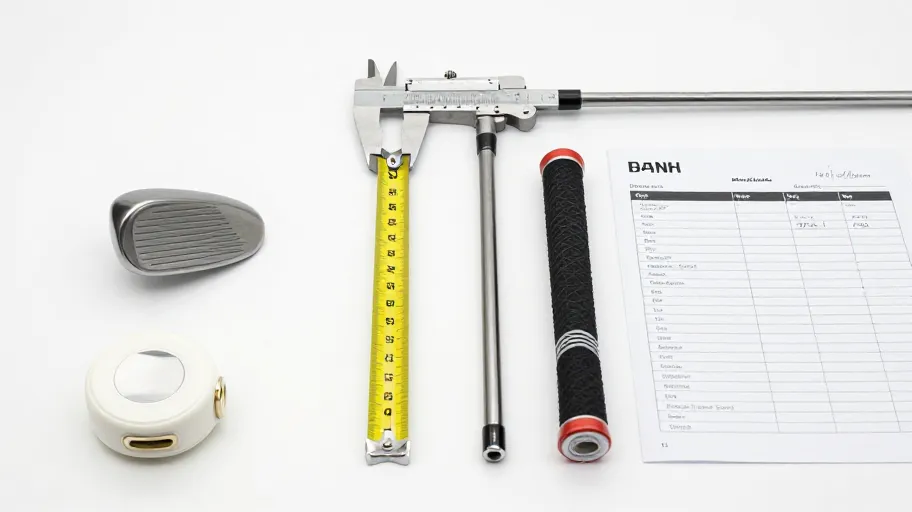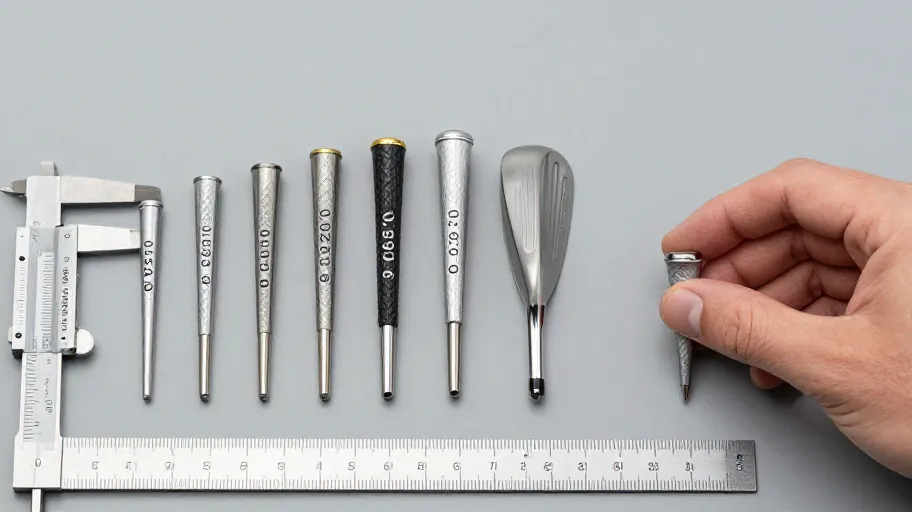
Comparing golf grip size without relying on photos means working from three things photography cannot fake: the stated core and size classification, your own measurement of a physical sample, and how the sample feels against a reference grip you already trust. Photographs flatten a round, tapered object into an image where a midsize grip and an undersize grip can look near-identical. This article gives you a verification method built on documented measurements and direct supplier confirmation, so your regrip decision rests on evidence you collected yourself.
The Grip-Size Verification Ladder (GSVL)
The Grip-Size Verification Ladder is a four-stage check. Each stage either advances the grip-size decision or stops it before you commit:
- Stage 1 — Listing data. Record the core diameter and size classification exactly as written. Do not interpret; transcribe.
- Stage 2 — Cross-reference. Compare that transcription against your current grip's markings and against the club's shaft details you can verify by hand.
- Stage 3 — Physical sample. Obtain a sample and measure it yourself at defined points, then compare it directly against your reference grip.
- Stage 4 — Documented approval. Only after stages 1–3 agree do you approve the size and proceed to quantity.
The ladder exists because every failure mode in grip sizing — wrong core, wrong outer diameter, mismatched build-up assumption — happens at a stage people skip. If you start at stage 4 and work backwards, you are guessing with extra steps.
What a listing photo cannot tell you about grip size
A photo of a grip is a marketing asset, not a dimensional record. Concretely, it cannot tell you:
- Core diameter. The internal opening that determines how the grip seats on the shaft. This is invisible in any external photo.
- Outer diameter at the grip's stated measurement point. Manufacturers reference grip size at a defined location on the grip; a photo does not show where that point falls.
- Taper behaviour. How the diameter changes from butt to lower section, which shapes hand pressure during the swing.
- Build-up assumptions. Whether the listed size assumes tape, and how many layers. Photos show none of this.
- Surface texture depth. Texture changes perceived thickness. Two grips of the same nominal size can feel meaningfully different in hand.
None of this means listings are unreliable. It means a photo is a stage-0 input — useful for orientation, useless for approval. That is the entire reason the ladder puts measurement between the image and the decision.
How to compare physical samples: measurement points and documentation
When you have samples in hand, compare them against a reference grip — one currently installed on a club you play, or a grip whose size you have already verified suits you.
Document these points for each grip:
- The core diameter and size marking printed or embossed on the grip itself
- Outer diameter at the point the manufacturer references for size classification
- Outer diameter at a second fixed point you choose, applied identically to both grips
- The butt-cap diameter
- Weight, if your scale resolves it, since weight interacts with swingweight during a regrip
- Texture pattern and its aggressiveness under your fingers, noted in your own words
The comparison protocol is simple: same instrument, same measurement points, same order, both grips, results written down in one place. A caliper is preferable; if you use a tape, note the method so your records stay internally comparable. The point is not laboratory precision — it is that when the new grip differs from your reference, you know by how much and where, and you can attribute the difference to a real dimension rather than to a hunch formed from a product image.
Decision table: sample evaluation outcomes
| Measurement result vs. reference grip | What it suggests | Action before ordering |
|---|---|---|
| Matches at both measurement points, core matches | Size classification is consistent with reference | Approve for trial installation; document the sample reference |
| Matches outer diameter, core differs | Grip may seat differently on the shaft | Confirm core diameter and shaft compatibility with the supplier before approving |
| Core matches, outer diameter differs | Different size class or different build-up assumption | Ask the supplier what tape assumption the listed size carries |
| Both differ marginally | Different size classification or design intent | Re-check your reference grip's markings; confirm classification with the supplier |
| Markings unreadable or absent on sample | Cannot verify stated size from the item itself | Request written confirmation of size data before proceeding |
This table does not judge any manufacturer. It converts a fuzzy feeling of "this seems different" into a documented branch with a specific next question.
Approval questions to confirm with the supplier
Before approving a golf grip size for a full order, put these questions in writing and keep the answers with your sample notes. Do not assume any answer; policies and specifications are project-specific and can change, so confirm the current position directly:
- What is the core diameter and size classification of this exact model, in writing?
- What tape assumption does the listed size carry — and does that match how you plan to install it?
- Is a physical sample available for this model before a full order, and what are the current terms?
- What is the current process if the delivered grips do not match the documented specification?
- Can the supplier confirm the grip is compatible with the shaft model and family you are building for?
- What measurement point does the manufacturer reference for the stated size classification?
These questions are deliberately neutral on policy. Whether samples carry a fee, who covers transit, and how discrepancies are resolved are all matters you must confirm at the time of ordering — never infer them from a listing, a photo, or from this article.
Sample-evaluation checklist
Run this checklist on every sample before approval:
- Core diameter and size markings transcribed from the grip itself
- Outer diameter measured at the manufacturer's reference point
- Second fixed-point measurement taken, same method as reference grip
- Butt-cap diameter recorded
- Texture and feel compared in-hand against reference grip
- Weight recorded (if scale available)
- Supplier's written answers to the approval questions filed with the notes
- Decision table branch recorded, with the action taken
- Final size decision documented with date, so future regrips start from evidence
Read the fitting guide to turn these verified measurements into a complete fitting approach for your set.
FAQ
Why can't I judge golf grip size from product photos? Photos flatten a tapered, round object and hide the internal core diameter entirely. Two grips in different size classes can photograph almost identically. Photos orient you; they cannot approve a size decision.
What is the single most important measurement when comparing grip samples? The core diameter, because it determines how the grip seats on the shaft. Outer diameter at the manufacturer's reference point is the next priority, since that is what size classifications are built around.
Do I need to measure my current grip first? Yes. Your installed reference grip is the anchor for the whole comparison. Without measuring it, sample differences have no baseline and you are back to judging by eye.
Should I ask about tape layers before ordering? Yes. The size a grip delivers depends on the installation build-up assumed by the listing. Confirm the assumption with the supplier and match it to your installation plan before approving quantity.
How many samples should I compare? Enough to bracket your reference — one size above and one below gives you a documented range rather than a single point. Confirm current sample availability and terms directly with the supplier before planning.
Next steps
Save the checklist above and run it on your next sample round. Read the fitting guide to place your verified grip-size findings inside a complete component-selection plan for your club model.
Master Your Swing, DIY Your Fit. DIY Golf is the premier destination for the technical golfer. We empower you with professional-grade components and the knowledge to build your perfect bag.