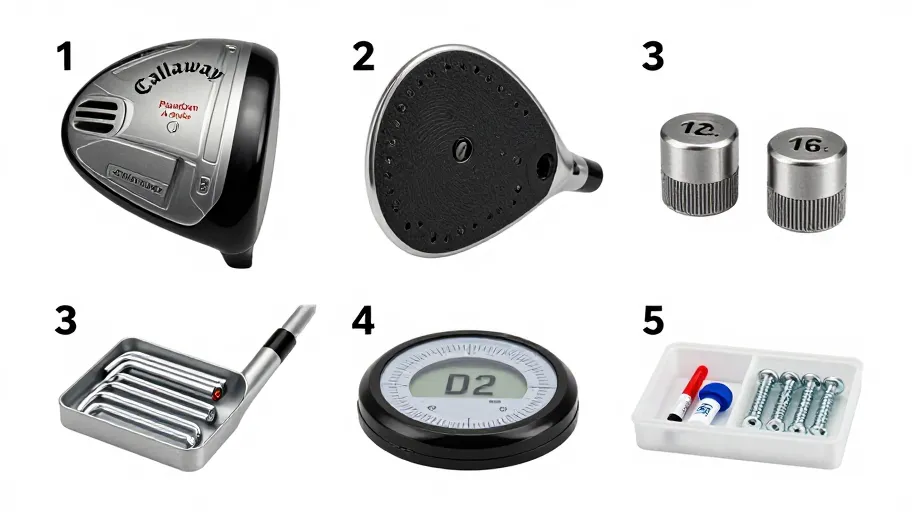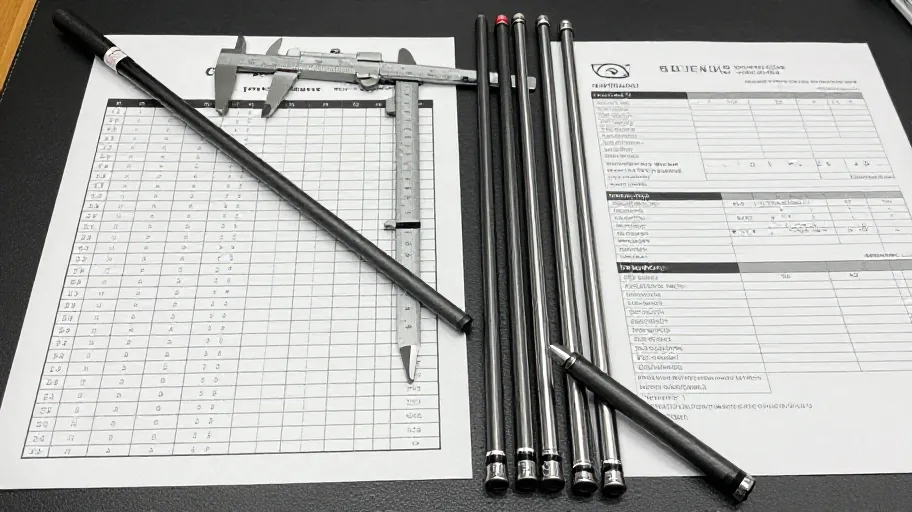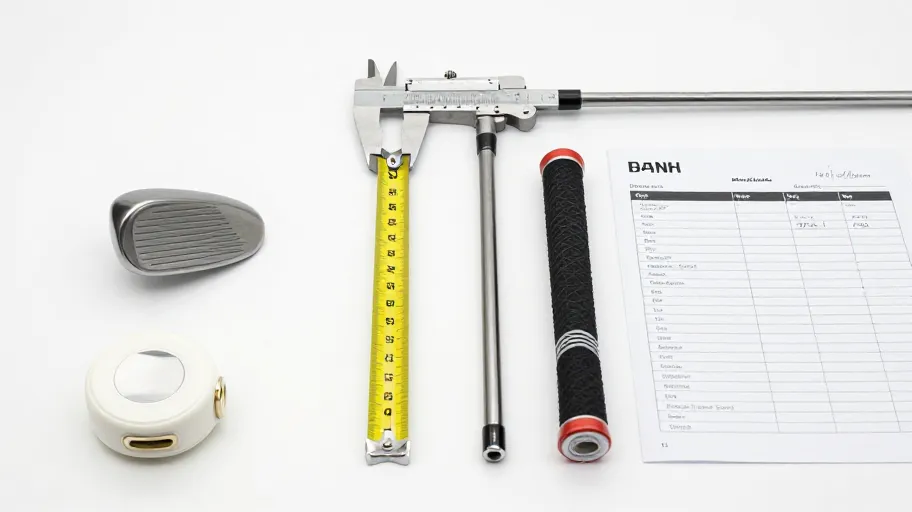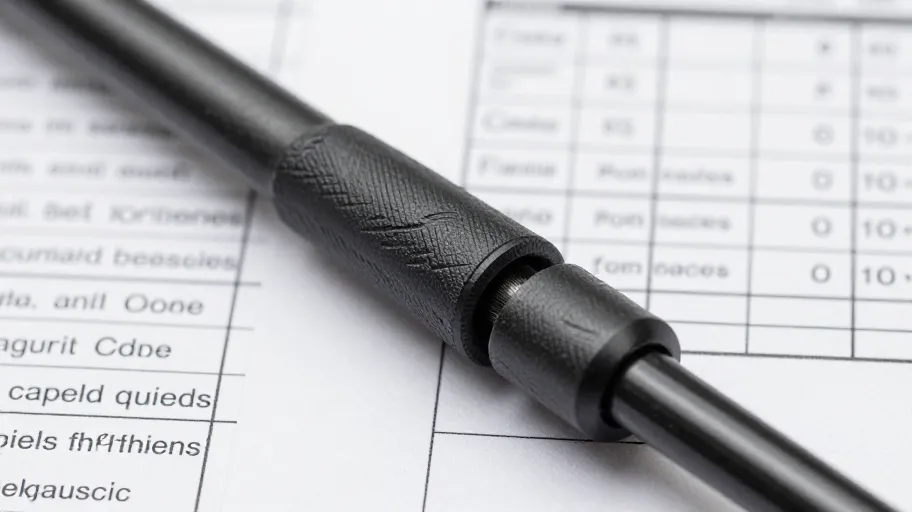
A golf shaft sleeve adapter is only as good as its match to one exact club head model, so your first-sample review should confirm three things: the sleeve seats fully and squarely in the hosel, the markings and engagement positions match the manufacturer's settings chart for your model, and the seller has documented answers to your fitment questions in writing. Approve on evidence, not on the listing photo.
Why the first sample deserves a structured review
When you are replacing a shaft adapter — whether after a breakage, a reshaft, or a loft-and-lie change — the risk is not that adapters are poor components. The risk is misidentification. Adapter families within a single brand can share a silhouette while differing in collar steps, screw thread, torquing behaviour and the printed settings. A part that looks right and does not seat, or seats but changes the stated loft in the wrong direction, wastes the whole build.
The review below is deliberately repeatable. Run it on the first sample, then run it again on every subsequent arrival so you can compare each delivery against the approved reference rather than against memory.
The SLEEVE Review framework
S — Seat. With the screw loosened per the manufacturer's procedure for your model, insert the sleeve and check that it drops in without force and sits flush or to the designed depth. Any rocking, binding, or visible gap at the collar is a stop signal. Do not tighten a sleeve that resists seating.
L — Label. Compare the printed or engraved markings against the settings chart for your exact club model. Confirm the neutral mark, and each loft and lie position, is present and legible. Photograph the collar from directly above under even light; angled photos hide off-centre markings.
E — Engagement. Rotate the sleeve through every position on the chart. Each click or detent should index cleanly, and the printed indicator should align with the hosel reference mark as the manufacturer's chart specifies. Count the positions and confirm the count matches the chart.
E — Evidence. Capture a dated photo set: top-down collar, side profile seated in the hosel, screw and washer, and one photo of the sleeve beside the manufacturer's settings diagram for your model. This becomes your reference file for later deliveries.
V — Verify. Confirm with the seller, in writing, which club models the sleeve is stated to fit, and ask them to state any model exclusions. If the listing names your club only by brand and not by family and model, ask for the exact model list before approving.
E — Evaluate. Bring the evidence together and make one of three calls using the table below.
Decision table: approve, query, or reject
| Review result | Decision | Next action |
|---|---|---|
| Seats fully, markings match chart, all positions index correctly, seller confirms model in writing | Approve | Record the sample as your reference; photograph and file |
| Seats correctly but markings differ from the chart, or one position indexes loosely | Query | Send dated photos to the seller; ask whether the marking scheme or detent design differs by model and request written confirmation |
| Does not seat, requires force, rocks at the collar, or seller cannot state the exact model list | Reject or hold | Do not install; request written clarification or a corrected sample |
Questions to send with any sample request
Ask these before or during the first-sample review, and keep the answers with your evidence file:
- Which exact club families and models does this golf shaft sleeve adapter fit, and are any models within the brand excluded?
- Does the sleeve's marking scheme match the manufacturer's current settings chart for my model, or does it use an alternative labelling I should read differently?
- What torque value and tool does the manufacturer specify for this club model's adapter screw, and does the sample arrive with the correct screw?
- If the sample does not seat or index correctly, what is your current process for resolving it? Confirm the current policy directly before ordering.
- Are later deliveries produced to the same specification as the approved sample, and how is that confirmed?
Note on policy: sample fees, shipping arrangements, replacement terms and lead times are seller-specific. DIY-Golf has not supplied any product-specific terms in this article, so confirm the current policy for the exact product directly rather than assuming it from category norms.
First-sample documentation checklist
Use this checklist on every sleeve that arrives, including the first:
- Club brand, family, model and model year recorded for the target club
- Manufacturer settings chart for that exact model saved to the evidence file
- Top-down collar photo taken, dated, with markings legible
- Side-profile photo of the sleeve seated in the hosel
- Screw and washer photographed and matched to the specified tool
- Every chart position cycled and index quality noted
- Seller's written model-fitment confirmation saved
- Decision recorded: approve, query, or reject, with reason
- Approved sample stored as the physical reference for future deliveries
Repeat the checklist for each subsequent shipment and compare against the approved reference photos side by side. Differences in collar finish or printing between deliveries are worth querying even when seating appears correct, because they can signal a specification change.
What a clean review does not prove
A sleeve that passes the SLEEVE Review fits and indexes as documented — that is all. It does not certify playing performance, durability under repeated torquing, or launch characteristics; those depend on the full build and can only be assessed on your own equipment with your own measurements. Keep the review scoped to compatibility confirmation, which is the decision this checklist exists to support.
FAQ
Do all adapters from one brand share the same sleeve? No assumption should be made. Brands have used multiple adapter generations across model families. Verify the exact family and model list for the sleeve in question, in writing, before approving.
Can I confirm fitment from the listing photo alone? Photos rarely show collar geometry in enough detail to distinguish adjacent model families. Request the exact model list and confirm against your club head before ordering.
Should the first sample match later deliveries? That is the expectation a documented approval creates, but confirm with the seller how batch consistency is verified. Comparing each delivery against your approved reference photos is the practical safeguard.
What if the sleeve seats but the loft markings read differently from my old adapter? Treat it as a query, not a defect. Marking schemes can differ; ask the seller to confirm in writing which settings chart the sleeve uses and how it maps to your model.
Do I need a torque wrench for the review? Seating and indexing can be checked hand-tight, but final installation should follow the manufacturer's specified torque for your model. Confirm the specified value and tool with the seller or the club's documentation.
Confirm your model before anything else
Before requesting or reviewing any sample, confirm your club model in the fitment selector — the exact brand, family, model and model year — so every comparison in the SLEEVE Review runs against the right reference.
Low-friction next step: download or copy the documentation checklist above and attach it to your next sample request, so the seller knows exactly what written confirmations you expect.
Master Your Swing, DIY Your Fit. DIY Golf is the premier destination for the technical golfer. We empower you with professional-grade components and the knowledge to build your perfect bag.