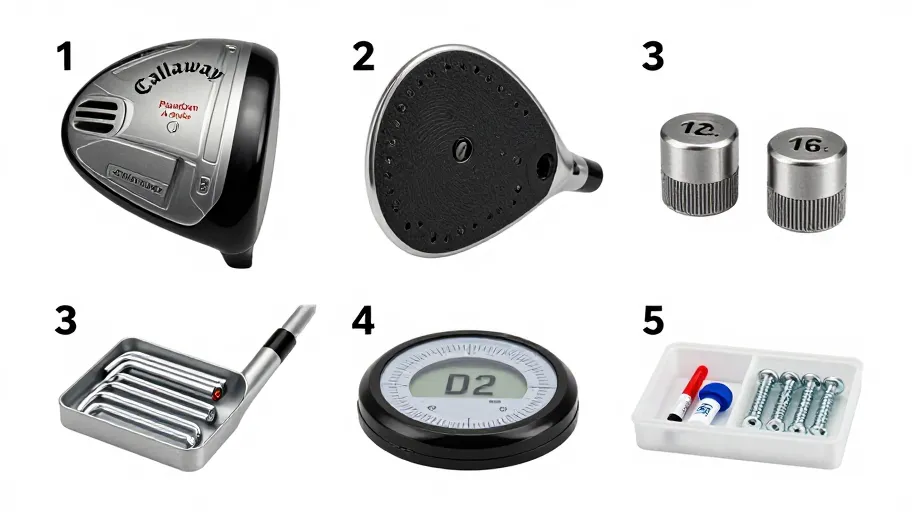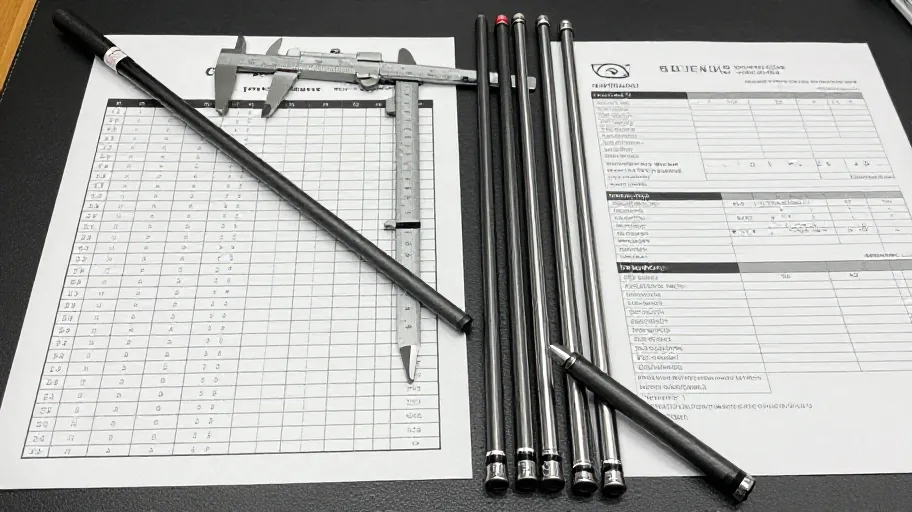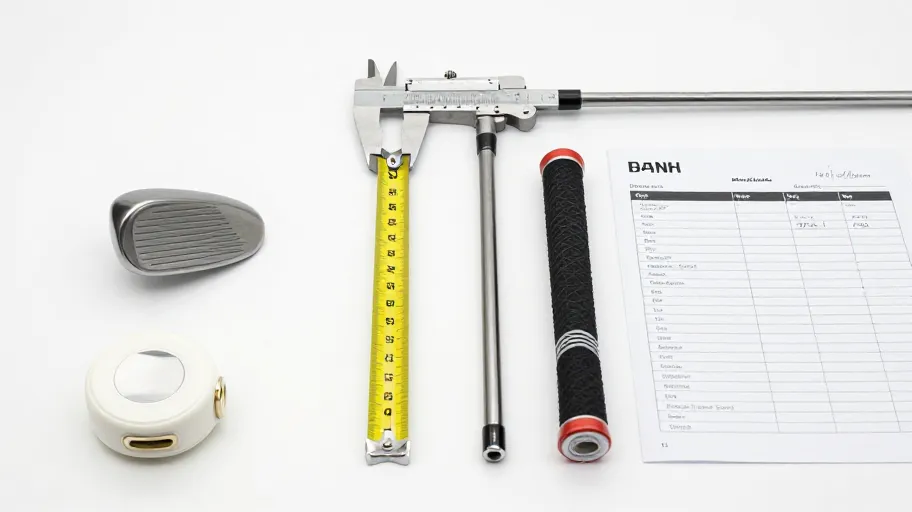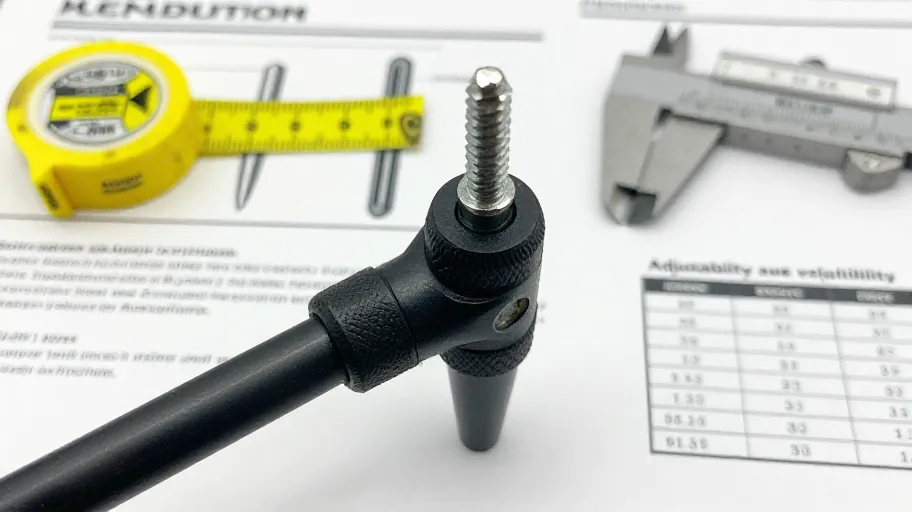
A golf shaft sleeve adapter compatibility check works only when you record the right variables before buying: exact club brand, family and model; adapter generation or part marking; shaft tip diameter; sleeve bore and seating depth; the adjustability settings the sleeve must support; and the torque specification for reinstallation. Verify each item against first-party documentation for your specific club model, match them to the adapter listing, and approve the purchase only when every line is confirmed. Anything unconfirmed is a question for the supplier, not an assumption.
Use the Record–Match–Approve framework
Compatibility failures around sleeve adapters come less from bad parts and more from missing information. The Record–Match–Approve framework forces the fitment decision into three discrete gates:
- Record. Capture every variable on the club and shaft side — in writing — before looking at listings. Memory is not documentation.
- Approve. Only sign off when every recorded line has a matching, first-party-confirmed answer. Any gap becomes a direct question to the supplier.
Decision table: what to record and how to verify
| # | Variable | What to record | How to verify | Approve only if |
|---|---|---|---|---|
| 1 | Club identity | Brand, family, model, model year/generation | Read from the club head itself, not the bag or listing copy | The adapter listing names your exact model or generation |
| 2 | Adapter generation | Sleeve part marking or generation identifier | Compare your physical sleeve to the replacement listing images and stated marking | Markings or stated generation match yours |
| 3 | Shaft tip diameter | Tip diameter of the shaft you will install | Measure or read the shaft specification sheet | The sleeve bore is stated to accept that tip diameter |
| 4 | Seating and bore | How the shaft seats in the sleeve | Inspect the current build; note any adapter-specific prep | Seating method is documented for this sleeve family |
| 5 | Adjustability settings | The loft/lie/face settings you actually use | Photograph the current sleeve position and setting markings | The replacement sleeve supports the same settings range |
| 6 | Torque and installation | Required torque value and tooling for reinstallation | Supplier documentation for the specific adapter | The value and tooling are stated, not guessed |
| 7 | Finish and orientation | Sleeve orientation marks and alignment | Visual check against listing images | Orientation system matches your club's adjustability |
Where a listing is silent on any row, do not infer. Ask the supplier to confirm in writing for your exact club model. Confirm the current policy directly on any after-sale question.
Approval questions to close before ordering
- Does this adapter's stated compatibility list include my exact club model and generation, verbatim?
- Is the sleeve marking or generation identifier identical to the one on my current adapter?
- Is the bore stated to accept my shaft's measured tip diameter?
- Does the sleeve support the full range of settings I currently use?
- What torque value and tooling does the supplier document for this adapter's installation?
- If any answer is missing, has the supplier confirmed it in writing for my model? Confirm the current policy directly on anything unresolved.
Build a documentation habit
Keep a one-page fitment record for every adapter job: the seven rows above, photographs of the old sleeve's markings and setting position, the shaft specification excerpt, and dated supplier confirmations. This record does three jobs: it prevents repeat guesswork on future builds, it lets you brief another builder accurately, and it gives you a factual basis for any post-purchase query. Where a supplier statement conflicts with your physical inspection, pause the order and resolve the discrepancy first.
FAQ
Do adapter sleeves interchange across model families from the same brand? Do not assume it. Families and generations within one brand can use different sleeve designs and setting systems. Verify the exact family and generation, then match it to the adapter's stated compatibility list before ordering.
What matters more: the shaft or the club model? Both sit in the record. The club model determines which sleeve generation fits the head; the shaft tip diameter determines whether it seats in the sleeve bore. Skipping either side of that match is the most frequent fitment error.
How do I confirm the adapter generation if the markings are worn? Photograph what remains, note the club model and generation, and ask the supplier to confirm the correct adapter in writing for that exact model. Do not order from visual similarity alone.
Should I record the torque specification if a shop will do the install? Yes. A documented torque value and tooling note lets any installer work to the adapter's specification rather than judgement, and it belongs in your fitment record either way.
What if my checks pass but fitment still looks wrong on arrival? Stop before installing. Compare the received sleeve to your photographs and recorded markings, document the discrepancy, and raise it with the supplier. Confirm the current policy directly on next steps.
Next step: confirm your club model in the fitment selector
The fastest way to close the Record–Match–Approve loop is to start with a verified club model match. Confirm your club model in the fitment selector before you compare adapter listings, so every other variable is checked against the correct family and generation.
Low-friction checklist CTA: Save or print the seven-row fitment record table above and fill it in for your next adapter replacement — one completed table per club, kept with your build notes.
Master Your Swing, DIY Your Fit. DIY Golf is the premier destination for the technical golfer. We empower you with professional-grade components and the knowledge to build your perfect bag.