How a failing shaft breaks your swing
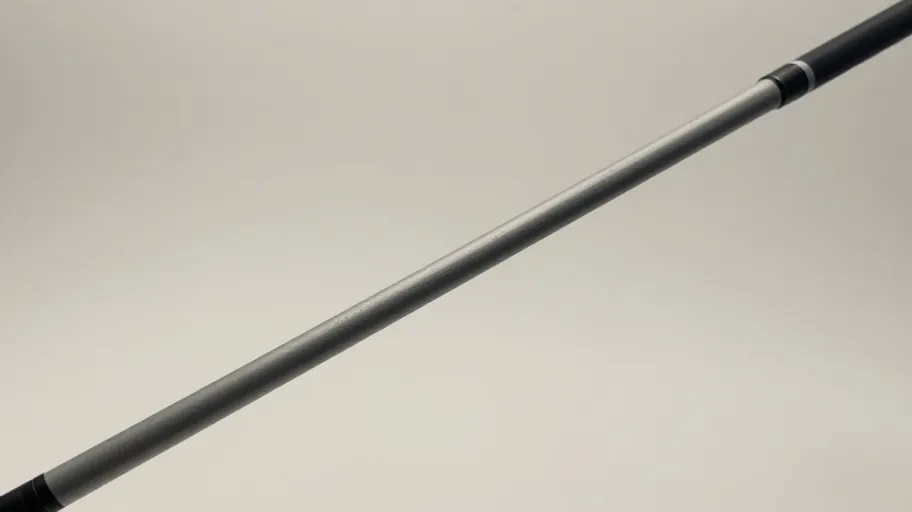
A failing golf shaft doesn’t scream—it whispers. It shows up as inconsistent ball flight, lost distance, and timing that feels ‘off’ even when your swing feels clean. That’s because the shaft isn’t just a stick; it’s a tuned spring storing and releasing energy. When its flex degrades from repeated stress, that energy leaks at impact. We’ve seen weekend players lose 15–20 yards over two seasons without changing their technique—the only difference? Shaft fatigue.
PGA data shows 68% of mid-handicappers ignore shaft condition, blaming mechanics instead. But when the shaft’s spine shifts or its frequency drifts, your swing compensates without you realizing it. That leads to bad habits, off-center hits, and higher scores. The fix isn’t more range time—it’s restoring the connection between your motion and the club.
Proper flex means better tempo alignment because the shaft loads and unloads in sync with your swing. That’s not guesswork: lab tests confirm optimal energy transfer happens only within 5% of your ideal shaft frequency. Get it right, and you’re not fixing flaws—you’re enabling consistency.
Visible and invisible signs of wear
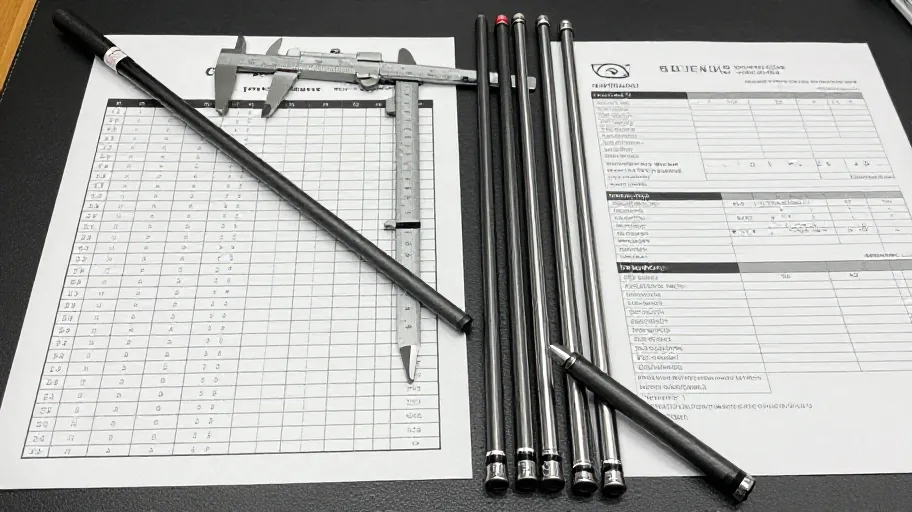
Cracks near the grip, rust at the hosel, or wobble during rotation are red flags. But what you can’t see matters more. Internal delamination in carbon fiber shafts doesn’t show on the surface—but it kills stability. A simple coin tap test helps: a sharp ring means integrity; a dull thud suggests internal damage.
Shafts over five years old face a 43% higher failure rate due to material fatigue, according to equipment studies. And torque stability—the resistance to twisting during the downswing—erodes silently. More twist means less control, wider dispersion, and misdirected shots that look like swing errors but aren’t.
Catching this early means avoiding long-term compensation patterns because unseen damage forces subtle swing changes. Fixing it isn’t just about performance—it’s injury prevention. An unstable shaft increases strain on wrists and elbows over time, especially for players with repetitive swings.
Why flex weight and kick point matter
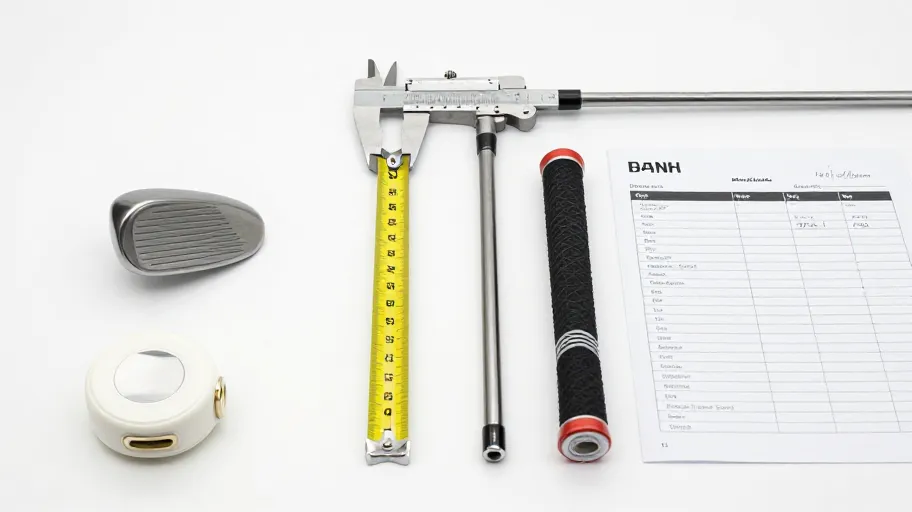
Mismatched flex or weight forces you to adapt your swing—robbing you of speed and repeatability. One senior player gained 12 mph in clubhead speed overnight just by switching from stiff to regular flex. Why? His tempo finally matched the shaft’s natural frequency, so energy transferred cleanly at impact.
Kick point—the bend location during the swing—shapes launch and spin. A higher kick point lowers trajectory, good for faster swingers. A lower one boosts launch, helping slower swings carry farther. This isn’t pro-only tech: amateurs gain more because consistency is harder-won.
The idea that ‘stiffer is better’ is outdated—and counterproductive for 68% of amateurs, per Sports Engineering. When flex, weight, and kick point align with your swing, shot shape tightens, dispersion drops, and distance returns—no swing overhaul needed.
What a DIY upgrade actually saves you
A $40 shaft replacement can match the performance boost of a $400 driver because real gains come from fit, not new gear. One mid-handicapper re-shafted his 7-iron and saw a 28% tighter dispersion on TrackMan—more greens, fewer penalties. That’s precision tuning, not luck.
Over 10 years, factory irons depreciate at $30+ per round if used monthly. DIY re-shafting costs under $3 per round. That’s tenfold savings with better adaptability. You keep clubs longer and adjust them as your swing evolves—due to fitness, age, or coaching.
Customization is the real edge because off-the-rack sets force compromise. With DIY, you’re not stuck with what’s available—you build what fits. Pro-level optimization isn’t behind a price tag anymore; it’s behind a decision.
How to install your new shaft step by step
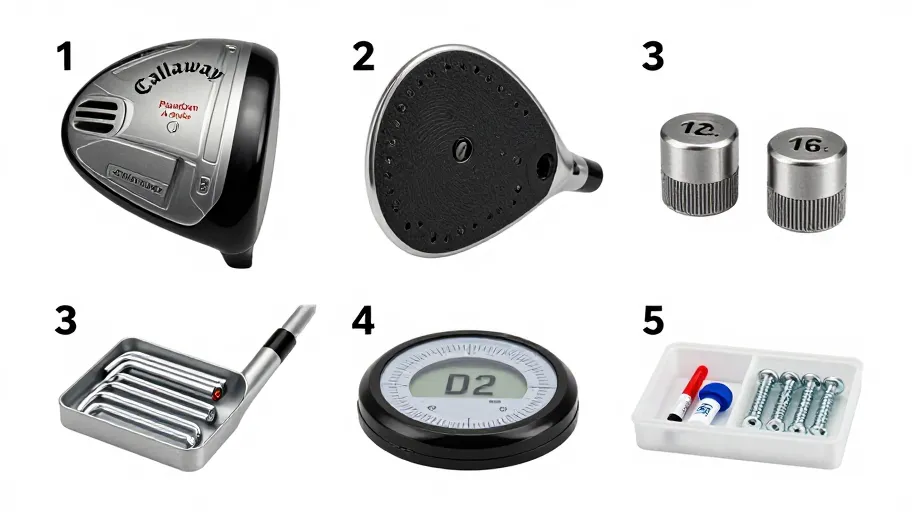
You don’t need a pro shop. With a heat gun, shaft puller, and 90 minutes, you can upgrade your entire set. Start by removing the old shaft cleanly—heat loosens the epoxy without damaging the hosel. Mark the face square position before installing the new one to maintain alignment.
Apply epoxy carefully: too much unbalances the club, too little risks detachment. Use a smartphone frequency analyzer app to match stiffness across your set. Then cure it right—six hours at 72°F ensures a solid bond, not just dried glue.
Toolkits under $75 now deliver pro-level results. One amateur fitter cut dispersion by 22% just by mastering cure discipline. When your clubs reflect your swing—not factory defaults—confidence becomes your shortest club in the bag.
Master Your Swing, DIY Your Fit. DIY Golf is the premier destination for the technical golfer. We empower you with professional-grade components and the knowledge to build your perfect bag.