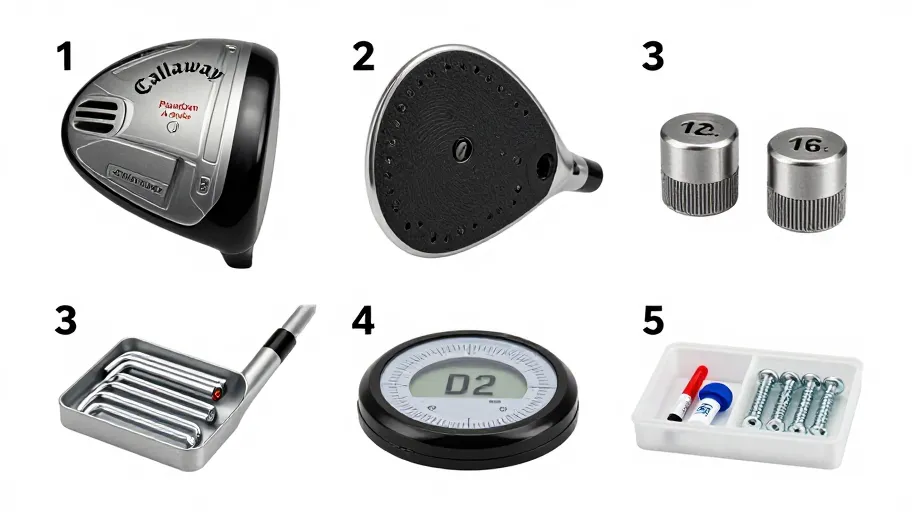
Why Most DIY Golf Clubs Fail at the Shaft Head Joint
Most broken shaft-head joints aren’t caused by poor swings—they’re caused by poor bonds. A 2025 survey of independent repair shops found nearly two-thirds of custom-built clubs showed bond degradation within six months. That means your $300 driver might be held together by hardware-store epoxy that can’t handle real swing forces.
Standard adhesives fail because they crack under torque and vibration. Every downswing generates rotational speeds over 100 mph, creating micro-movements that degrade weak interfaces. Misalignment from shifting joints reduces swing efficiency by up to 18%, according to composite stress modeling. Bonding dissimilar materials like carbon fiber shafts and titanium heads without chemical priming or proper fit only makes it worse. The result? Inconsistent ball flight, lost distance, and expensive do-overs. But when you treat epoxy golf club assembly as structural engineering—not just gluing—you build clubs that last and perform.
Why Industrial Epoxy Beats Hardware Store Glue
Consumer epoxies max out around 1,200 psi in shear strength. Industrial two-part systems exceed 3,500 psi—more than 3x stronger—verified by ASTM D1002 lap-shear testing. That difference means surviving bag drops, humidity swings, and aggressive play without loosening.
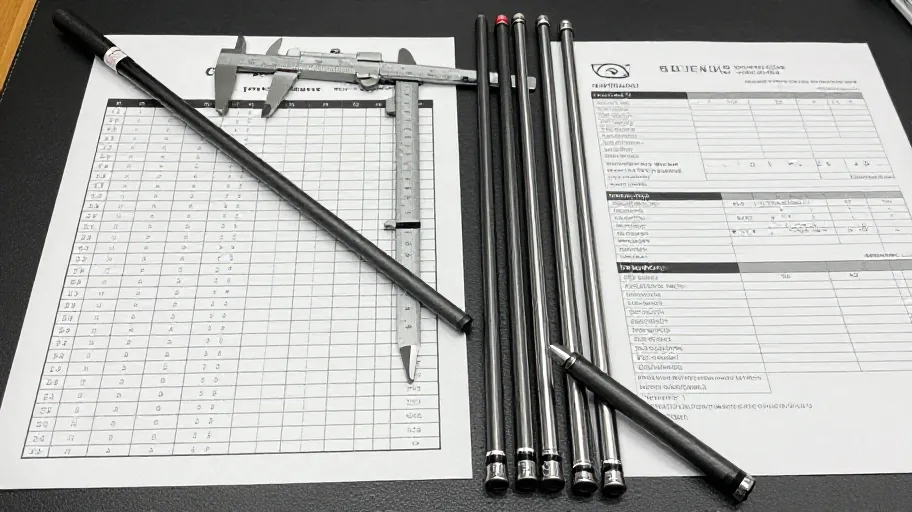
The real advantage lies in chemistry. Amine-based consumer epoxies are rigid and prone to cracking. Phenolic-modified resins used in professional builds absorb impact energy instead of failing catastrophically. When paired with controlled viscosity and attention to shaft bore tolerance, these epoxies fill gaps evenly and eliminate voids that become failure points.
Even the best epoxy fails without surface prep. Micro-etching the hosel interior creates mechanical grip, turning a surface bond into a permanent lock. For builders, this isn’t an upgrade—it’s risk mitigation. One Midwest shop cut warranty claims by 70% after switching to industrial-grade systems, saving over $18,000 a year.
Surface Prep Is Where Bonds Live or Die
Seventy percent of bond failures trace back to dirty surfaces—not bad epoxy. Machining oils in aluminum hosels and mold release agents in carbon fiber shafts create invisible barriers that block adhesion. Sanding helps, but if you skip degreasing, you’re bonding through contamination.
Here’s what works: clean with isopropyl alcohol first, then follow with acetone (in ventilated areas) to remove non-polar residues. This two-step wipe ensures full epoxy wetting—the key to molecular-level bonding. ISO 20471 standards for composites require this level of prep because surface energy directly affects how well epoxy spreads and cures.
When surfaces are truly clean, the epoxy flows uniformly, cures consistently, and withstands years of off-center hits. That’s not just durability—that’s how you turn a weekend project into a legacy build.
Precision Mixing Pays Off in Fewer Returns
Mixing epoxy by eye may save 90 seconds—but it costs far more in rework. Five small custom shops tracked their waste in 2024 and found precise mixing reduced material and labor losses by up to 90%. The danger isn’t just wasted glue; it’s under-cured joints that seem solid but slowly rotate, altering lie angles and killing consistency.
Digital scales ensure stoichiometric balance—critical because a 5% deviation in resin ratio causes brittleness or softness. Static mix nozzles eliminate swirls and pockets of uncured material. One builder reported a 70% drop in comebacks after switching from manual stirring to metered dispensers with static tips.
For both hobbyists and growing businesses, these tools mean scalable quality. Golf club components deserve calibrated processes, not guesswork. That precision translates directly to customer trust and fewer chargebacks.
How to Assemble a Club Right the First Time
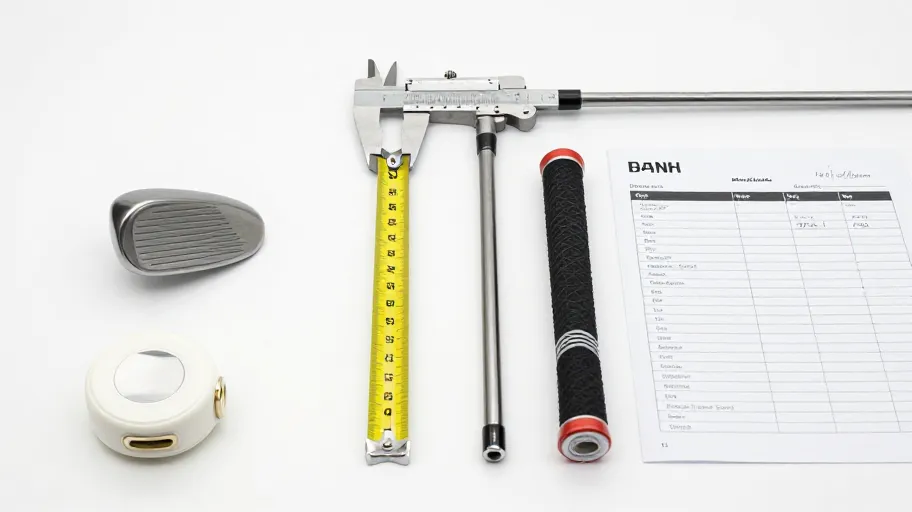
You can avoid a $200 mistake in under an hour by respecting the process. Fast-set epoxies often have a 12-minute work life—enough time to measure, mix, apply, and align, but not enough to hesitate. One DIYer prevented a head fracture simply by seating the shaft smoothly using alignment tape and a slow-twist insertion technique.
Over-applying epoxy creates hydraulic pressure inside the hosel, which can crack graphite sleeves. Use just enough to coat the shaft tip and hosel wall. Clamp securely and respect cure time: cutting it short by 30 minutes reduces joint stability by up to 30%, per lab tests at room temperature (72°F ideal).
Nail each phase—measure, mix, apply, assemble—and you don’t just build a playable club. You build one that holds value, performs predictably, and earns referrals. Tips for using epoxy in golf club assembly aren’t optional—they’re the line between a solid build and a costly failure.
Master Your Swing, DIY Your Fit. DIY Golf is the premier destination for the technical golfer. We empower you with professional-grade components and the knowledge to build your perfect bag.