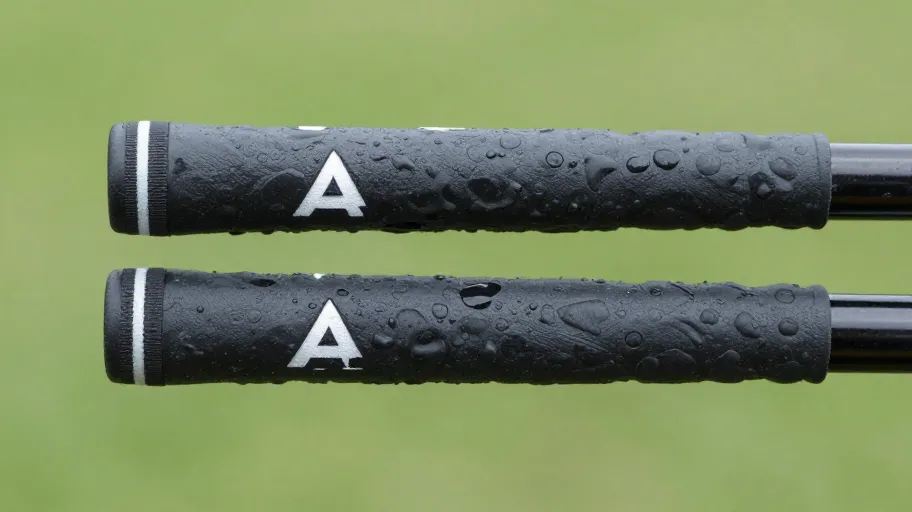
Sourcing a mcilroy putter grip comes down to one discipline: verifying that the sample in your hand matches the drawing you approved, for the exact model you are building for. The Draw-to-Grip Approval Loop gives you a four-stage sequence — drawing check, sample check, reference-club check, documentation gate — so you approve a component on evidence, not on a photograph or a spec sheet alone.
Why drawings and samples diverge
None of that is a reason to distrust a supplier. It is a reason to run a structured comparison before you approve anything. The framework below turns that comparison into a repeatable process you can document — which matters when you later need to explain, to yourself or to a customer, why a particular grip was chosen for that particular model.
The Draw-to-Grip Approval Loop
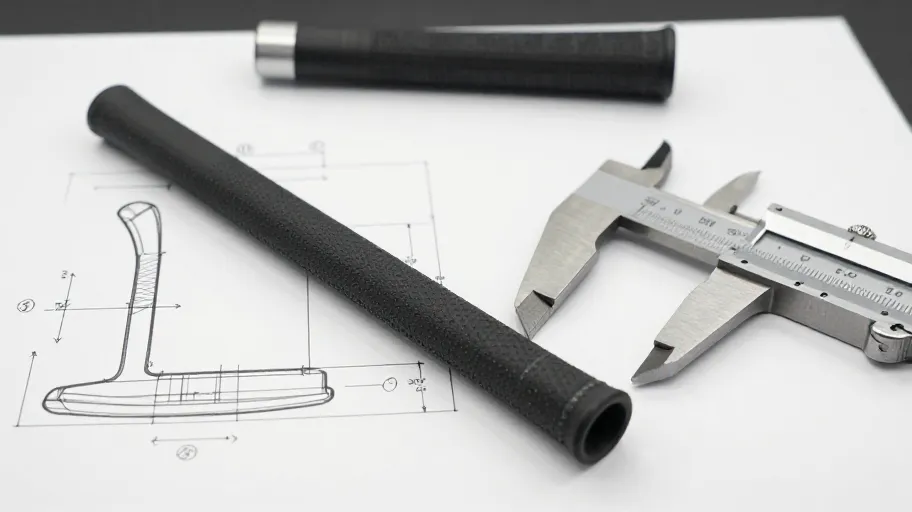
Stage 1 — Drawing check. Start with the drawing, not the sample. Confirm in writing which dimensions the supplier is committing to: grip length, core size, taper through the lower and upper hand zones, and finished weight. If the drawing does not state a value for something you care about, ask for it to be added before the sample is produced. A drawing that is silent on a dimension cannot be approved against.
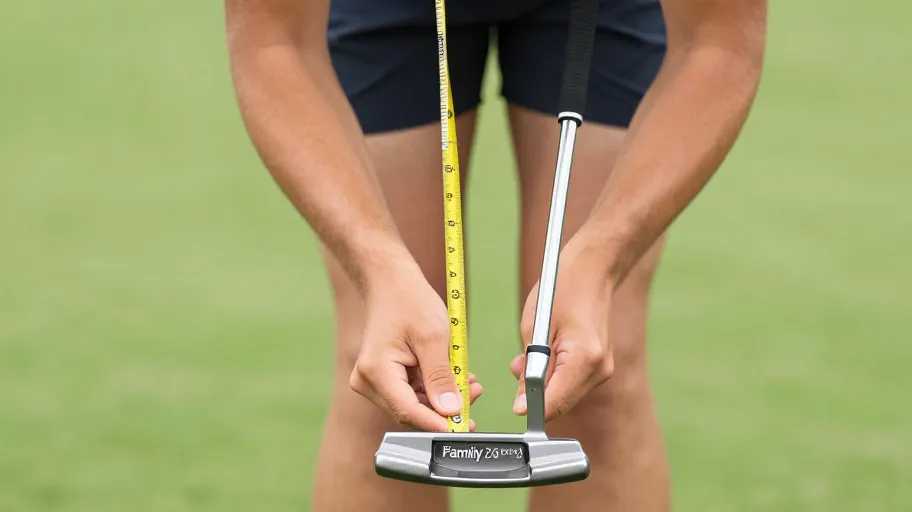
Stage 2 — Sample check. Measure the sample against the drawing using the same reference points the drawing uses. Record every reading, including the ones that match. The goal is not to find fault; it is to create a record. Where a reading differs from the drawing, write down the difference and ask the supplier to confirm in writing whether the drawing or the sample reflects the current production intent.
Stage 3 — Reference-club check. Install the sample on a reference shaft or the actual putter model you are building for. Assess the grip under the conditions it will be used in: installed weight feel at the butt end, alignment aids as positioned, and any tuning or counterbalancing intent you have for that build. This stage catches mismatches that no measurement will, because it tests the component in context.
Stage 4 — Documentation gate. Before you approve, assemble a one-page record: drawing revision, sample measurements, reference-club observations, and written supplier confirmations. Approval happens only when this page is complete. If the supplier changes anything later, you have a baseline to compare against.
Use this table at each gate:
| Stage | What you verify | Evidence to keep | Approve only when |
|---|---|---|---|
| Drawing check | Committed dimensions match your intent for the model | Written confirmation of drawing revision | Drawing states every dimension you care about |
| Sample check | Sample matches drawing on your reference points | Measurement record, including matches | Differences are explained in writing by the supplier |
| Reference-club check | Installed feel and behaviour on the actual model | Notes from the installed build | Installed result matches your tuning intent |
| Documentation gate | The record is complete and consistent | One-page approval summary | Every open question has a written answer |
Approval questions to put to the supplier
Ask these before you commit to any order, and ask for written answers:
- Which drawing revision does the current sample represent, and has anything changed since it was issued?
- What finished weight does the supplier commit to for this grip, and where should you measure it on the component?
- Which core size and taper profile apply to this exact putter family and model, and can the supplier confirm compatibility with the shaft butt you intend to use in writing?
- What installation behaviour should you expect — any material or construction characteristics that affect how the grip seats on the butt?
- What is the current sample policy, including who arranges and pays for samples and shipping, and on what terms? Confirm this directly; do not assume.
- If a sample differs from the drawing, what is the process for reconciling the two before production?
Two boundaries are worth stating plainly. First, sample terms — including any fees, shipping arrangements and whether fees are treated in any particular way — vary by supplier and change over time, so confirm the current policy directly rather than relying on anything you have read elsewhere. Second, do not accept a compatibility claim for the model unless it is confirmed in writing against the exact shaft and build you intend; a verbal "yes, it fits" is not a documentation-gate answer.
Your working checklist
This is the checklist you can download below. Run it once per sample, per drawing revision:
- Record the drawing revision number and date.
- List every dimension you care about; confirm the drawing states each one.
- Measure the sample against the drawing at matching reference points; log every reading.
- Send any differences to the supplier and obtain written reconciliation.
- Install the sample on the actual putter model and record installed observations.
- Confirm weight, core size and taper commitments in writing.
- Confirm the current sample policy and shipping arrangements directly with the supplier.
- Assemble the one-page approval record.
- Approve only when every line has an answer.
Frequently asked questions
Can I approve a grip from a drawing alone if the supplier is responsive? You can shortlist from a drawing, but approval should follow the full loop. A drawing confirms intent; only a sample installed on the actual model confirms behaviour. Keep the two stages separate and document both.
What if the sample matches the drawing but doesn't feel right on the club? Record the observation anyway. Installed feel on the specific model is a legitimate approval criterion, and the documentation gate should capture it. Then ask the supplier what drawing or specification change could close the gap, and request a revised sample.
How do I confirm compatibility with a specific McIlroy-spec putter model? Ask the supplier to confirm in writing that the grip's core size and taper are intended for the shaft butt and build you are using, for that exact model. Verify against your reference club before approving. Never rely on an unnamed or approximate model match.
Who pays for samples and shipping? That depends entirely on the supplier's current policy, and it changes. Confirm the arrangement directly with the supplier before requesting samples — including any fees, who arranges shipping, and the terms that apply to your specific project.
What should I do if the supplier revises the drawing after I approve? Treat a revision as a new loop. Check the revised drawing against your approval record, request a fresh sample if any dimension you care about changed, and re-run the documentation gate before committing further.
Download the checklist
Put the Draw-to-Grip Approval Loop on your bench. The checklist distils every stage, question and evidence requirement above into a single printable page you can attach to each sample file.
[Download the checklist] — your approval record, ready before your first sample arrives.
Verify before you order. Whether you are replacing one grip or planning a batch of builds around a McIlroy-spec putter, the fastest way to protect the project is to run every candidate through the same loop, collect written confirmations at each gate, and approve only on documented evidence. Download the checklist and start your next sample comparison with a complete record from day one.
Master Your Swing, DIY Your Fit. DIY Golf is the premier destination for the technical golfer. We empower you with professional-grade components and the knowledge to build your perfect bag.