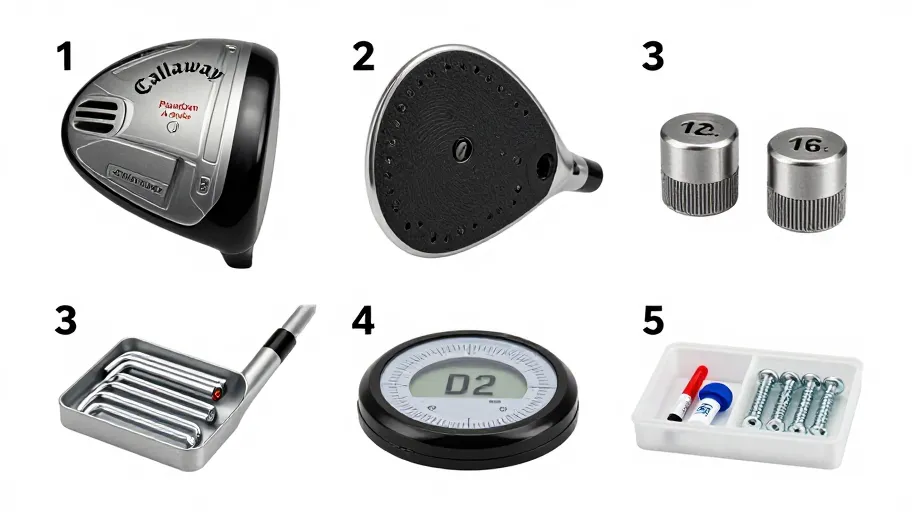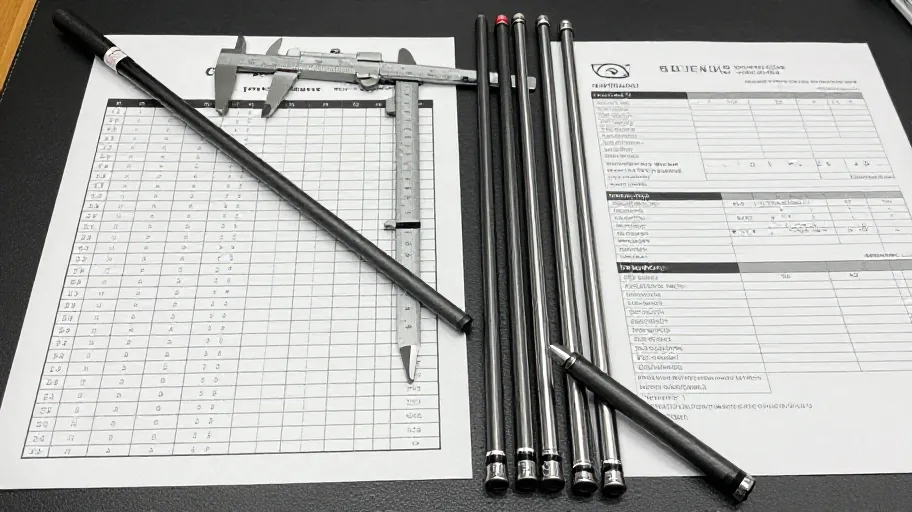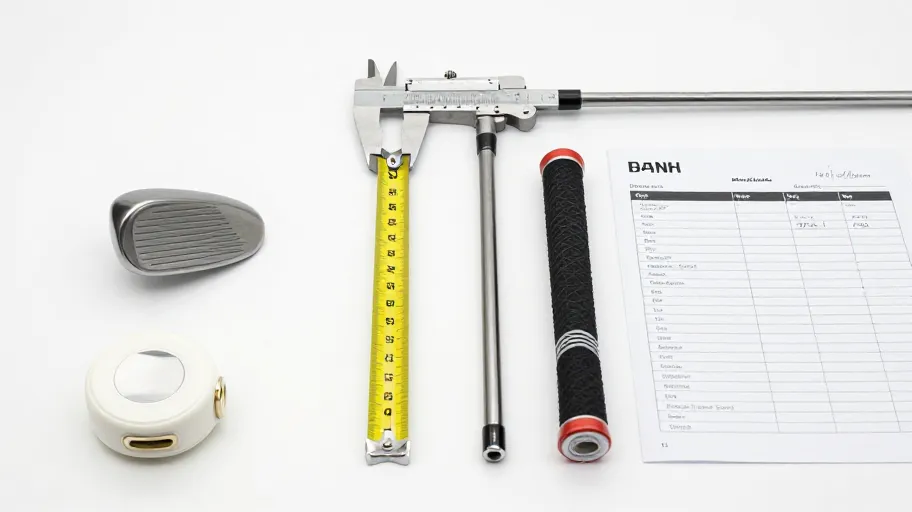
Reviewing a first sample of replacement putter weights requires verifying mass, thread compatibility, sole clearance, and finish before installation. Use the S.A.M.P.L.E. Protocol: confirm Specifications, check Alignment, measure Mass, test Performance fit, Log deviations, and evaluate End-use. Document every measurement to compare the component against your specific putter model's requirements.
The S.A.M.P.L.E. Protocol for Putter Weights
When sourcing replacement components, the first physical sample represents your single best opportunity to verify that the manufacturer's output matches your project requirements. Do not rely on catalog descriptions or previous model-year fitments. You must physically measure and document the component using a structured evaluation method.
The S.A.M.P.L.E. Protocol provides a structured approach to reviewing putter weights before committing to a component selection:
- S - Specifications: Verify the raw material composition and surface finish. Request the material specifications from the supplier and confirm they match the delivered sample.
- A - Alignment: Check the thread pitch and diameter. Screw the weight into the putter body by hand. Does it seat flush without cross-threading? Any gap between the weight flange and the putter sole indicates a compatibility issue.
- M - Mass: Measure the exact mass on a calibrated digital scale. Compare this figure to your target swing-weight calculation. Even slight deviations in gram mass will alter the final balance of the club.
- P - Performance fit: Evaluate the sole clearance. Place the putter on a flat surface. Confirm the installed weight does not protrude below the sole, which would alter the effective lie angle or cause grounding during the stroke.
- L - Log deviations: Record every measurement in a build log. If the sample deviates from your target specifications, document the exact variance to discuss with the supplier.
- E - End-use: Assess the tooling interface. Does the specified wrench fit securely without stripping the fastening port? Confirm the tool tolerance before finalizing your selection.
Component evaluation matrix
Use this decision table to evaluate your first sample. You must measure each variable physically and compare it against your project parameters.
| Evaluation variable | What to measure | Approval criteria | Rejection criteria |
|---|---|---|---|
| Mass | Exact weight in grams on a calibrated scale. | Matches the target mass required for your swing-weight goal. | Deviates from the target mass, altering the planned swing-weight. |
| Thread geometry | Pitch and diameter compatibility with the putter body. | Threads engage smoothly and seat flush against the flange. | Cross-threading, resistance, or a visible gap upon installation. |
| Sole interference | Clearance between the weight base and a flat surface. | Weight sits entirely flush within the putter cavity; no protrusion. | Weight extends below the sole, causing the putter to rock or sit unevenly. |
| Material finish | Visual and tactile inspection of plating or coating. | Finish matches the putter body; no surface imperfections. | Peeling, flaking, or a mismatched finish that alters the aesthetic. |
| Tool interface | Fitment of the adjustment wrench into the weight port. | Wrench seats fully; secure torque application without slipping. | Wrench slips, rounds out, or fails to engage the fastening mechanism. |
Concrete approval questions for the supplier
Before approving the sample, you must clarify project-specific unknowns. The following questions address areas where you must confirm current policies directly. Do not assume compatibility or availability without written confirmation.
- Availability: What is the current stock status for this exact putter weight model, and what is the production lead time for additional units?
- Fitment: Can you provide dimensional schematics or a fitment guarantee for the exact putter model and year I am building?
- Pricing: What is the unit cost for this component, and how does pricing scale with order volume?
- Sampling: What is the current policy regarding sample fees, and who bears the shipping cost for evaluation units? Is the sample fee applicable to future production orders?
- Defect policy: What is the procedure if the delivered production batch exhibits dimensional variances or finish defects compared to the approved sample?
- Tolerances: What is the acceptable manufacturing tolerance for both the mass and the thread dimensions?
You must confirm all cost, shipping, production, and return policies directly with the supplier before finalizing your component selection.
Frequently asked questions
How do I know if a replacement putter weight fits my specific club model? You must confirm fitment by physically threading the sample into your putter head. Catalogs contain conflicting model-year data. Screw the weight in by hand to check the thread pitch and ensure the flange seats flush against the putter sole without gaps.
What happens if the sample weight alters my putter's balance? If the mass differs from your original component, it will change the swing-weight. You must measure the exact mass on a calibrated scale and calculate the swing-weight impact. If the balance shifts unfavorably, reject the sample or recalculate your target mass.
Can I modify a putter weight if the mass is slightly off? Modifying a component alters its structural integrity and voids any supplier assurances. Do not drill, shave, or alter the weight. Instead, document the mass deviation and request a different weight variant that matches your precise requirements.
How do I verify the finish of the replacement putter weights? Perform a visual and tactile inspection under direct lighting. Compare the sample's finish to your putter body. Look for inconsistencies in the plating, machining marks, or color mismatches. Document any imperfections and reject the sample if the finish fails to meet your standards.
What should I do if the wrench slips during installation? Stop immediately. A slipping wrench indicates the tool interface tolerance is incorrect, which will strip the fastening port. Document the tool fitment failure, reject the component, and confirm the correct tooling specifications with the supplier before sourcing a replacement.
Next steps for your build
Once you measure the mass and confirm the sole clearance of your sample, you must calculate the final build parameters. A physical sample only tells you what the component weighs; you must calculate how that mass interacts with the shaft and grip length.
Review the swing-weight guide to map your measured component mass against your target club balance.
Before you source your next component, download the S.A.M.P.L.E. evaluation checklist to ensure you document every physical measurement during your first sample review.
Master Your Swing, DIY Your Fit. DIY Golf is the premier destination for the technical golfer. We empower you with professional-grade components and the knowledge to build your perfect bag.