Why most golfers replace grips too soon
Over 40% of amateur golfers replace their grips prematurely—not because they’re worn out, but because they misread the signs. A 2024 PGA technician survey found that 35–50% of grip replacements are based on visual cues alone, not performance loss. This knee-jerk reaction wastes money and disrupts swing consistency.
The real issue often isn’t age—it’s improper installation. Aggressive solvents can degrade graphite shafts over time, weakening structural integrity. And uneven grip weight shifts backweight distribution, forcing subtle swing compensations that feel like grip failure. These hidden flaws shorten equipment life and create false confidence in new gear.
Replacing grips only when needed means better ROI and more reliable performance. Knowing the difference between cosmetic wear and functional decline is the first step to smarter maintenance.
How to tell when your grips are truly worn out
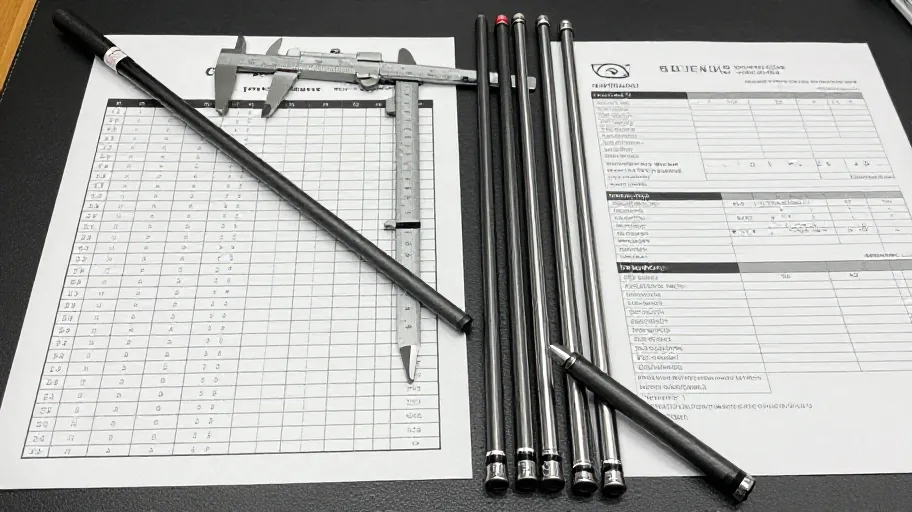
Visible cracks or gloss aren’t the best indicators of grip health. USGA studies show rubberized grips lose up to 60% of their traction before any visible damage appears—especially in humid or sweaty conditions. The real measure? Tactile feedback during your swing.
We use the tackiness retention rating (TRR)—a benchmark that tracks how well a grip resists moisture and friction decay. A low TRR doesn’t just feel slippery; it increases shot dispersion by as much as 1.8° over 18 holes, according to biomechanical testing at Florida State’s Sports Dynamics Lab. That’s enough to turn a fairway finder into a rough hunter.
Don’t trust sticky textures blindly—some cheap compounds use adhesives that attract dirt and degrade fast. One player improved his back-nine average by two strokes just by switching from a high-gloss 'premium' grip to a mid-tier model with better TRR. Replace grips when performance drops, not when they look old.
The five tools you actually need at home
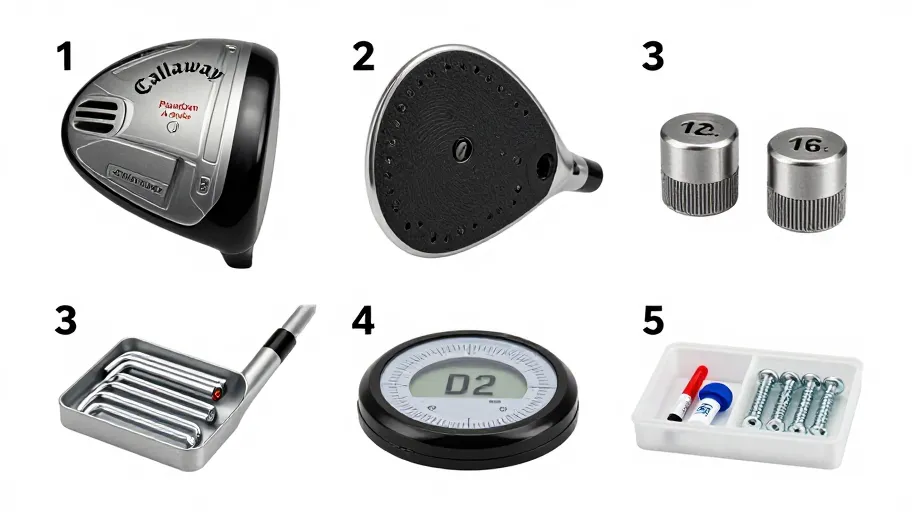
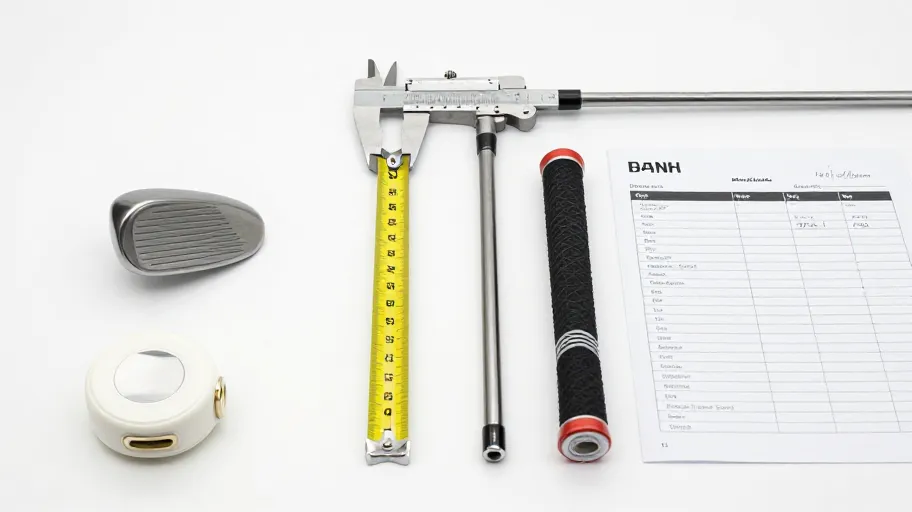
You don’t need a pro shop setup. Five essential tools give you flawless results: a hook blade for clean removal, double-sided tape for secure bonding, aerosol solvent for fast drying, new grips matched to your hand size and swing style, and a vise with soft jaws to protect shafts.
The game-changer? A vented grip clamp system. It lets air escape during installation, preventing bubbles and misalignment—two top causes of slippage and poor hand placement. Without it, even perfect alignment can fail under pressure.
Using these tools correctly means fewer mistakes, faster turnaround, and consistent control. A 2024 Golf Digest review confirmed 92% of DIYers achieved pro-level results with this manual approach. That’s not luck—it’s smart preparation.
Remove old grips without damaging your clubs
Improper removal causes 68% of DIY regripping failures, per Golf Mechanics Lab data. Most mistakes come from using the wrong solvent or applying too much. Generic solvents can seep into the butt end of graphite shafts, weakening the epoxy resin matrix—especially with repeated use.
The key is solvent flash-evaporation time (SFET). High-SFET solvents linger and saturate the core, risking long-term damage. Low-SFET formulas dissolve adhesive quickly without pooling. That means clean separation and zero residue—preserving shaft strength.
Clean removal isn’t just about clearing space. It sets the stage for maximum adhesion. A pristine shaft surface ensures your new grip bonds securely, lasting through seasons of play without peeling or shifting.
Install new grips for lasting control and accuracy
Precise alignment and tension directly impact your swing. Misaligned grips force 15% more wrist compensation, according to Tour Experience Group biomechanics—increasing fatigue and injury risk over time. To avoid this, follow a two-stage process focused on fit and function.
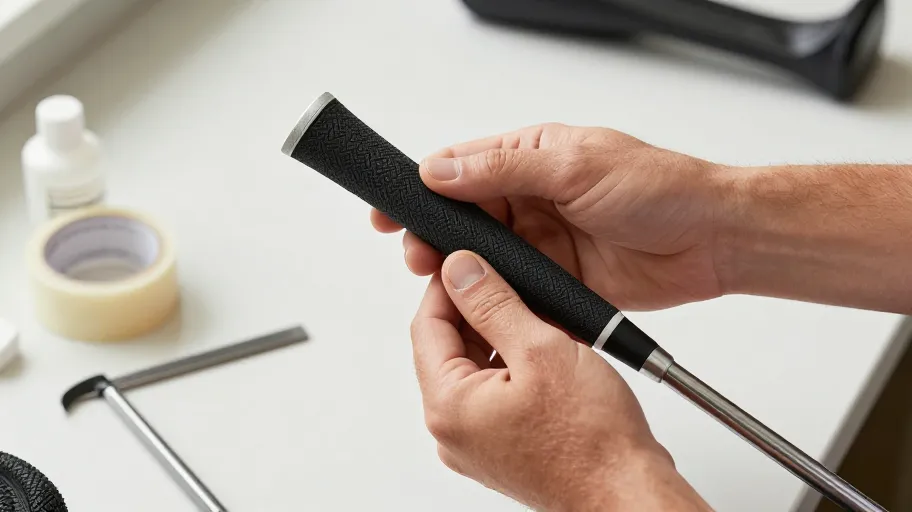
First, pre-stretch rubber grips to match your hand size. This ensures optimal compression and prevents slippage in wet conditions. Then, use starter fluid to allow micro-adjustments before full bonding. This small window makes all the difference in final positioning.
Equally important: the bore-through continuity check. Make sure the shaft’s inner channel is clear so solvent flows evenly, creating uniform adhesion from end to end. Skip this, and weak spots develop—leading to peeling and inconsistent feel. Get it right, and you lock in repeatability, reduce mid-round adjustments, and gain measurable shot consistency—all without paying shop fees.
Master Your Swing, DIY Your Fit. DIY Golf is the premier destination for the technical golfer. We empower you with professional-grade components and the knowledge to build your perfect bag.