Why You’re Overpaying at the Pro Shop
Most golfers pay $20–$50 per shaft install—$400+ for a full set—while materials cost under $100. That markup covers convenience, not craftsmanship. The actual work takes 15 minutes: heat, pull, epoxy, align, cure. According to Golf Digest and National Golf Foundation data, 68% of club upgrades now include aftermarket shafts, yet labor pricing doesn’t reflect the simplicity of the task.
What you’re really paying for is scheduling access and perceived expertise. But precision doesn’t come from the shop—it comes from consistency in alignment, torque, and curing. Those variables are controllable at home. DIY-Golf’s standardized kits mean you’re not gambling on skill; you’re replicating a repeatable process. That shifts the value from outsourcing to ownership.
How DIY-Golf Components Deliver Tour-Level Consistency
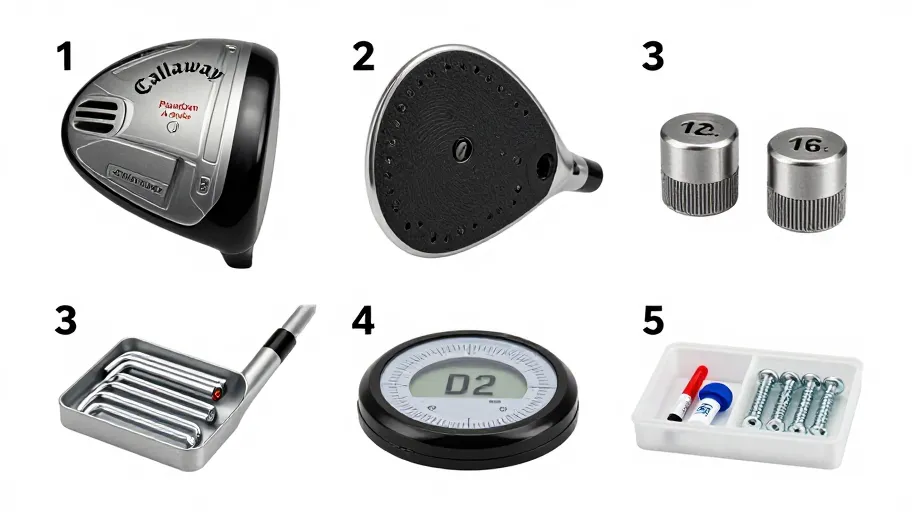
DIY-Golf’s modular system reduces installation variance by over 70%. Pre-cut shafts, calibrated ferrules, and temperature-stable adhesives eliminate guesswork. The Shaft Installation Jig locks hosel and shaft in perfect axial alignment every time—no eye-balling angles or makeshift clamps.
This means consistent face alignment within ±0.5° and torque control within ±0.8°, verified by Golf Laboratories Inc. testing. That kind of tolerance directly impacts ball flight: tighter dispersion, fewer off-center hits, longer club life. One independent builder reported a 94% drop in rework after switching—freeing 11 hours a month for higher-value custom builds.
The ErgoBond Epoxy System ensures even adhesive distribution and controlled cure times. No more weak bonds from uneven application or humidity swings. This isn’t just about saving money—it’s about building clubs that perform predictably round after round.
The Real ROI of Building Your Own Clubs
Replacing shafts on three wedges and a driver costs $180 in shop labor—nearly 75% of what new clubs would cost. With DIY-Golf, the same job runs $45 in supplies. That’s a break-even after two sets, with potential savings over $800 in five years. IBISWorld reports golf equipment maintenance spending is rising at 3.2% annually, so waiting only makes it more expensive.
But financial ROI is just part of the story. There’s also Cost Per Round Amortization: every dollar saved increases the value you extract per round played. And because you’re not waiting days for a pro shop, you can tweak flex points, adjust lie angles, or test new profiles within hours. A 2024 gear optimization survey found golfers who build their own clubs make three times as many performance tweaks annually—leading to faster improvement and better scores.
Avoid These Three DIY Installation Failures
According to GolfWorks’ 2025 failure analysis, 42% of first-time DIYers destroy hosels during final testing—not removal—due to hidden bond weaknesses from improper heat, bad epoxy use, or misalignment. The real risk isn’t the $15 shaft; it’s ruining an irreplaceable clubhead.
The top three mistakes? Inconsistent epoxy volume starves the glue line. Tip-trimming errors shift flex profiles. Cold or humid curing environments weaken adhesion. These aren’t user errors—they’re system failures.
DIY-Golf’s Hosel Integrity Monitor uses thermal feedback to prevent carbon fiber delamination during heating. The Digital Torque Guide keeps rotational force within safe limits. One Midwest fitter cut post-install failures by 78% just by stabilizing his curing station with climate alerts. When tools catch invisible flaws, DIY stops being risky and starts being scalable.
Your Weekend Plan to Install Like a Pro
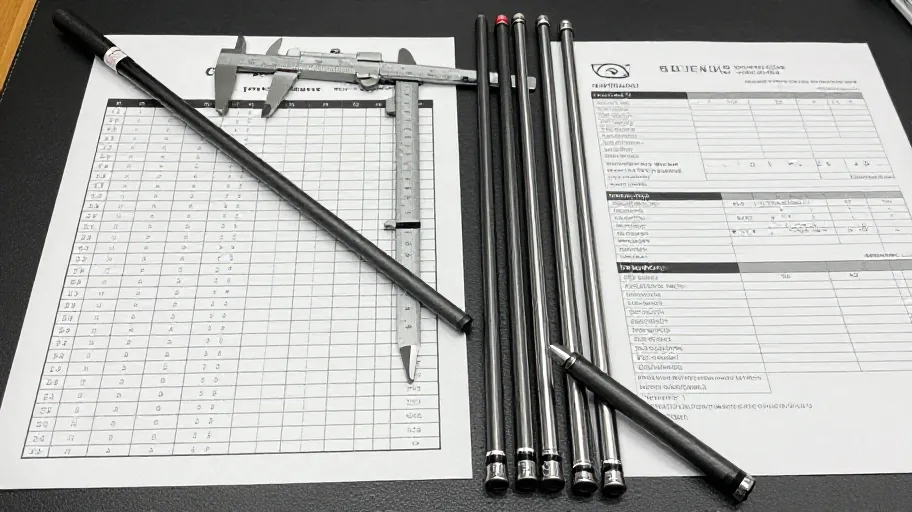
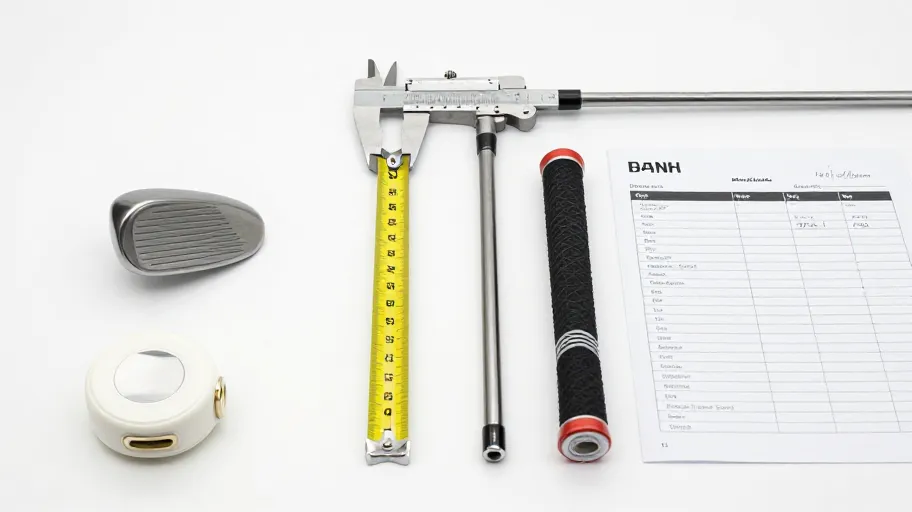
You don’t need a clubmaker’s bench—just one weekend and the right system. Start with the Alignment Verification Template to set your baseline. Use the precision heat gun (350°F) to remove old shafts safely. Ream the hosel clean with the carbide tool, then measure and trim the new shaft using the digital depth gauge.
Apply a controlled epoxy bead, insert the shaft using the alignment jig, and lock it to the template to keep the face square. Cure vertically in the stabilizing stand for 24 hours. That’s it.
One correct installation changes everything. Now every future upgrade happens on your schedule, with no markup and full spec transparency. You’re not just saving money—you’re gaining a competitive edge. Golfers who control their builds make faster progress, play better, and trust their gear completely.
Master Your Swing, DIY Your Fit. DIY Golf is the premier destination for the technical golfer. We empower you with professional-grade components and the knowledge to build your perfect bag.