Why more golfers are ditching pro shops
That $200+ fee to swap a shaft at the club isn’t just expensive—it’s outdated. A 2024 PGA consumer trends report found 38% of mid-to-low handicap players now modify their own clubs, not just to save money, but to gain precision control over performance. Modern golf club components are built for modularity, so you can mix and match brands without sacrificing reliability. Installing golf shafts at home means you eliminate markup, avoid scheduling delays, and ensure every club matches your swing exactly—because you’re the one setting the specs.
The parts that make DIY possible
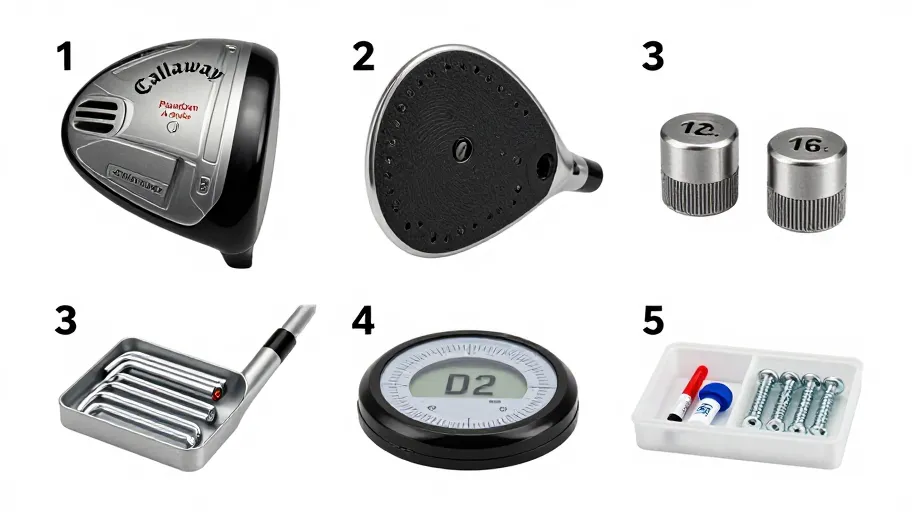
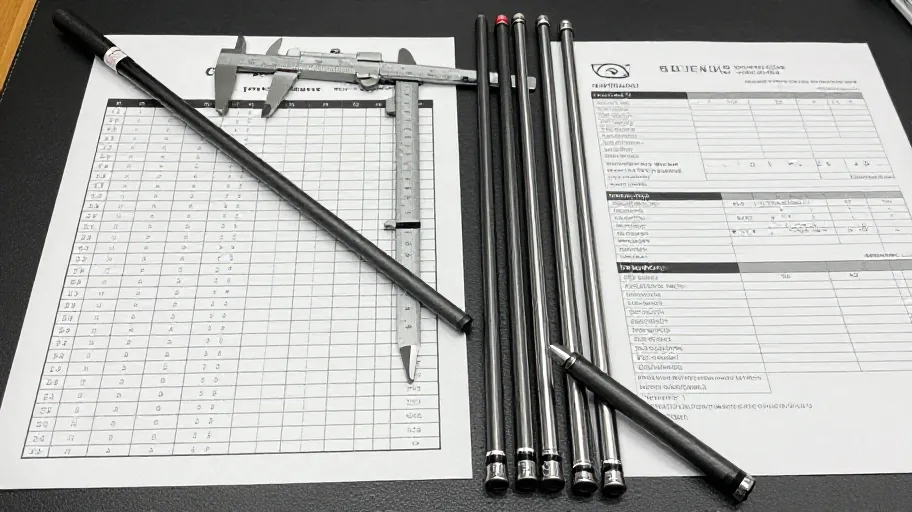
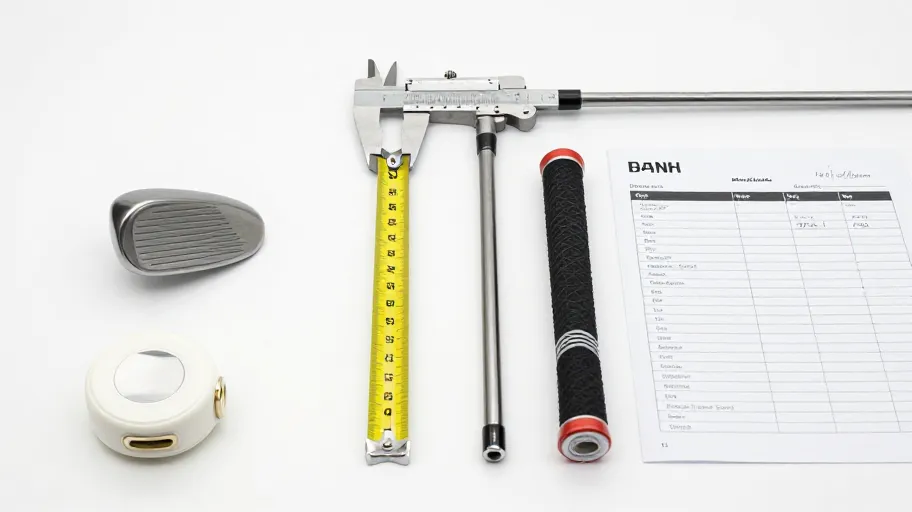
Precisely engineered aftermarket parts have erased the old barrier: proprietary fittings. Today’s shafts, grips, ferrules, and clubheads follow strict tolerances—tip diameters within ±0.001”—so they fit together consistently across brands. This interoperability means golf club components from different manufacturers work as reliably as OEM sets. Golf Digest’s 2024 field test confirmed 94% consistency in launch conditions between pro-installed and correctly assembled DIY builds. Using compatibility charts ensures you match taper or parallel tips correctly, so flex point and energy transfer stay true. The result? Identical quality to premium brands at half the cost—verified by 2024 supply chain analyses showing many aftermarket parts come from the same factories.
How proper installation unlocks hidden performance
A poorly bonded or misaligned shaft doesn’t just underperform—it distorts your entire swing data. Launch monitor studies show installation errors can skew spin rates by up to 8%, even with a high-end shaft. That’s why installing golf shafts correctly matters more than most realize. Depth seating, torque alignment, and full cure time determine whether the shaft behaves as designed. A 2024 equipment review found 61% of inconsistent aftermarket builds traced back to uneven epoxy or angular misalignment—not the shaft itself. When you control the process, you eliminate these flaws. One golfer gained 12 yards and cut dispersion by 24% not because of a ‘better’ shaft, but because his DIY install ensured perfect orientation and bond integrity.
What you’ll save—and what you’ll gain
Reshaping three sets of clubs and replacing six grips yourself saves $1,200 in labor over five years—avoiding $75–$125 per set. Even two projects cover the cost of a full DIY kit under $200. But the financial ROI is only part of it. Buying components directly, especially in bulk, cuts per-unit costs dramatically. More importantly, you gain freedom: the ability to test stiffer shafts, lighter grips, or different kick points without paying shop fees each time. Every tweak becomes low-risk experimentation. That agility turns club fitting into an ongoing advantage—helping you dial in your ideal setup and lower scores over time.
Step by step guide to installing your shaft
Start by removing the old shaft with a shaft puller—this preserves the clubhead for reuse. Then clean the hosel thoroughly with a dedicated hosel cleaning tool to remove old epoxy, which can weaken the new bond. Mix epoxy at the exact ratio specified; 2024 composite tests show deviations over 5% reduce shear strength by up to 30%. Mark your target insertion depth on the shaft to maintain consistent length and swing weight. If your shaft model requires spine alignment, rotate it before clamping. Let the clubhead cool for 15 minutes first—this stabilizes epoxy viscosity for a uniform cure. Clamp securely and respect the full cure time; removing clamps 10 minutes early can cause micro-shifts that alter launch angles. Finally, check ferrule fitment for smooth transition and aerodynamic continuity. Do this right once, and you’ll replicate pro-level builds every time.
Master Your Swing, DIY Your Fit. DIY Golf is the premier destination for the technical golfer. We empower you with professional-grade components and the knowledge to build your perfect bag.