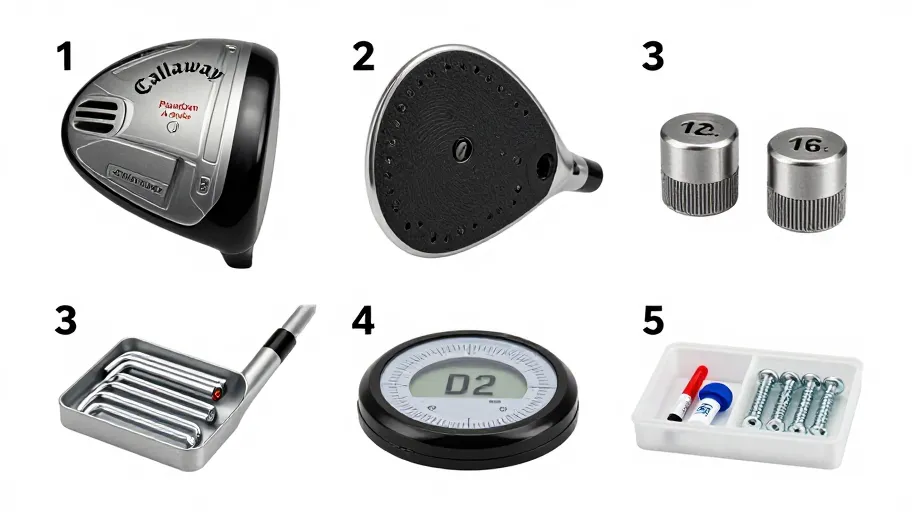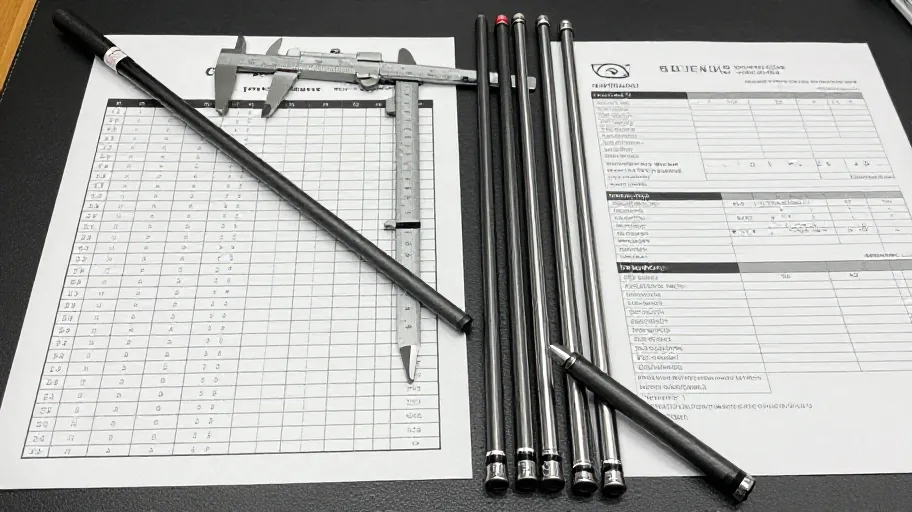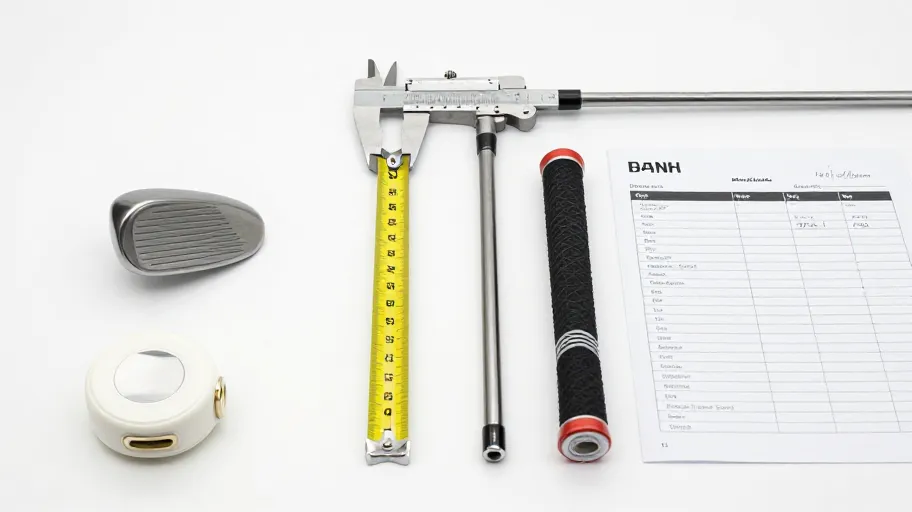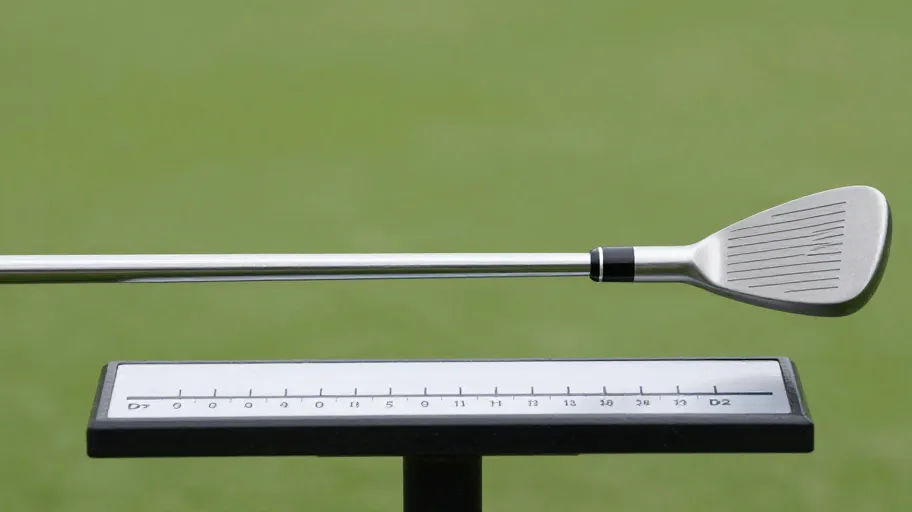
A swing weight guide built on photographs and listed gram figures will mislead you, because swing weight reflects how mass is distributed along the assembled club, not how a part looks or how much it weighs in isolation. Compare samples by measuring on a swing weight scale, logging values against your current spec, and approving each component against a defined target.
Why photos and listed weights cannot answer the balance question
A photograph tells you a component's shape, finish and apparent condition. It tells you nothing about mass distribution, which is what swing weight measures. Two visually identical replacement parts can sit at different points on a swing weight scale once installed, and a heavier-looking part can produce a lighter finished club if its mass sits closer to the grip end.
Listed component weights help, but only partially. Swing weight depends on the relationship between the head, shaft, grip and any added tip or butt weight in a specific assembly. A single component weight, quoted without assembly context, cannot predict the final balance of your build. That is why this guide treats measurement and documentation — not visual inspection — as the basis for approval.
The S.W.I.N.G. Check framework
Use this five-step framework each time you compare a candidate component against your current club:
- S — Spec. Write down your current club's documented spec: assembled length, grip, shaft, head model, and the swing weight reading you measured (not the one printed on a spec sheet, unless you have verified it on your own scale).
- W — Weight-scale evidence. Measure the assembled club on a calibrated swing weight scale before disassembly, then measure each candidate component on a reliable gram scale. Record every reading, including the date.
- I — Installation context. Note how the component will be installed: grip with or without tape layers, shaft length after trimming, any tip weight, and the head model it will pair with. Installation choices move the final reading, so fix them before comparing parts.
- N — Notes logged. Keep a single build sheet per club. Every comparison, measurement and seller confirmation goes on that sheet, so a decision made today can be audited months from now.
- G — Go/no-go gate. Define, in writing, the swing weight range you will accept for this build. A component either moves you inside that range on paper and on the scale, or it does not. No photo can override the gate.
The framework's value is that it converts a visual judgement into a documented approval process. When you compare candidate components, you are comparing recorded evidence, not impressions.
Decision table: comparing candidate components
| Comparison factor | What to record | How to evaluate | Approve when |
|---|---|---|---|
| Measured component weight | Gram-scale reading for each candidate | Difference against the component being replaced | The measured value supports your target range in the assembly you plan |
| Predicted swing weight shift | Calculated change based on your build sheet | Cross-check on a swing weight scale once assembled | Predicted and measured readings agree within your stated gate |
| Fitment to your club family and model | Seller's written confirmation of compatibility | Match against your documented club model and build plan | Written confirmation matches your exact model, not a similar family |
| Sample availability | Seller's current sample policy — ask, do not assume | Decide whether you can physically measure before bulk ordering | Policy is confirmed in writing and suits your project scale |
| Installation requirements | Adapters, tape, trimming or weights needed | Confirm you can replicate the intended installation | All installation inputs are documented and available to you |
| Documentation | Seller's spec sheet versus your own measurements | Verify listed figures against your scale | Your measurements, not marketing copy, drive the decision |
Add rows for your own project constraints — turnaround expectations, packaging, labelling — as written questions rather than assumptions.
Pre-purchase approval questions
Before ordering any component described in a photo, send these questions to the seller and keep the written replies with your build sheet:
- Will this component fit my exact club brand, family and model — and can you confirm that in writing?
- What is the component's weight tolerance, and how is it measured before dispatch?
- What is your current sample policy, including any fees, shipping arrangements and terms? (Confirm directly; do not rely on listings or forum claims.)
- Which installation method does the component assume — grip tape build-up, shaft trimming, tip weights or adapters?
- What is your current process if a delivered component does not match the confirmed specification?
- Can you supply a spec sheet I can hold against my own measured values?
If a seller cannot or will not answer these questions in writing, treat that as decision-relevant evidence. You are not just buying a part; you are approving a specification.
Measurement checklist before you order
Use this checklist each time you evaluate a new candidate component:
- Current club measured on a calibrated swing weight scale and reading recorded.
- Assembled length, grip, shaft and head model documented on a build sheet.
- Target swing weight range for this build defined in writing.
- Candidate component weighed on a gram scale, with date logged.
- Written fitment confirmation received for your exact club model.
- Sample policy, fees and terms confirmed directly with the seller.
- Installation plan fixed before comparison, not decided afterwards.
- All seller replies filed with the build sheet.
A completed checklist is your evidence base. An incomplete checklist means the decision still rests on a photograph.
Frequently asked questions
Can I estimate swing weight change from a component's listed weight alone? Only roughly, and only as a planning step. Listed weight gives no information about where mass sits in the assembly or how installation choices interact with it. Measure on a swing weight scale and log the result before approving any component.
How do I compare two replacement parts for the same club model? Weigh both on the same gram scale, hold both against your build sheet, and run each through the decision table above. The part that moves your predicted assembly into your stated target range — and comes with written fitment confirmation — is the one to approve.
What if my measured reading differs from the seller's spec sheet? Treat your calibrated measurement as the working value and raise the discrepancy with the seller before ordering. Ask how their figures are produced and what their process is when shipped components deviate from confirmed specifications.
Do photos add any value to a component comparison? Photos help you inspect finish, condition and visible design features. They cannot support any conclusion about balance, and they should never be the deciding factor in a swing weight comparison.
Should I order a sample before committing to a full build? That depends on your project scale and the seller's current sample policy, which you must confirm directly — including any fees, shipping arrangements and terms. If physical measurement matters to your approval gate, ask for the policy in writing before deciding.
Next step
Compare component options with your current club spec. Pull up your build sheet, place your candidate components alongside your documented club measurements, and run each option through the S.W.I.N.G. Check before you commit to a purchase.
Master Your Swing, DIY Your Fit. DIY Golf is the premier destination for the technical golfer. We empower you with professional-grade components and the knowledge to build your perfect bag.