How often should you check your grips
Golfers should inspect their grips every six months because undetected wear kills consistency and comfort under pressure. A weekend player sweating through a summer round might blame their slice on technique—but the real culprit could be a slick, sun-baked grip that’s lost its tack.
The PGA recommends regripping after 30–40 rounds, but climate matters. UV rays and humidity break down rubber compounds over time, reducing elasticity and surface texture. This measurable degradation—the grip wear cycle—means even occasional players can face failure in under a year if clubs live in hot trunks or damp bags.
Regular checks mean longer club life and better ROI. A $20 grip refresh every two years preserves hundreds in club value and prevents avoidable mis-hits. That’s not maintenance—it’s smart ownership.
What physical signs mean replacement time
Clean cracks, hardening, or slickness aren’t cosmetic—they’re red flags. When a critical 6-foot putt slips off-line due to hand slippage, the fault isn’t always nerves or stroke mechanics. It’s likely failed material integrity. Lamkin and Golf Pride confirm most grips lose functional performance after 12–18 months of regular play because sweat, UV exposure, and friction degrade the compound.
As surfaces smooth, tactile feedback loss occurs—a real reduction in palm nerve signaling that forces subconscious over-gripping. This tension spreads up the arms, disrupting swing rhythm and accelerating fatigue. One study noted a 17% increase in grip pressure within six months of new installation, directly linked to inconsistent clubhead delivery.
Catching these signs early means preserving shot control and avoiding compensation habits. Replacing worn grips restores confidence, promotes relaxed hands, and keeps mechanics intact—so every swing feels intentional.
Why fresh grips improve shot consistency
Fresh grips restore precise torque transfer and consistent hand placement, which means tighter shot dispersion because high-friction surfaces stabilize wrist action during the downswing. For a mid-handicapper battling erratic ball flight, regripping reduced lateral miss distance by nearly 18% over 10 rounds—turning wild approaches into pin hunters.
Worn grips increase clubface alignment variance, a proven cause of iron inaccuracy. Biomechanical tests (2024) show that new grip textures reduce unintended clubhead rotation by up to 13 degrees by improving wrist stability. That means fewer last-second adjustments, less flipping or casting, and more repeatable impacts.
One amateur raised his greens in regulation from 58% to 69% after regripping—just by trusting his hands again. Unlike spending $500+ on new clubs, this fix costs under $30 and delivers immediate ROI: maximum control at minimum cost.
Can DIY regripping save money without quality loss
Yes—DIY regripping cuts costs by 50–70% while delivering pro-level results when done correctly. For golfers who’ve felt how new grips sharpen performance, maintaining that edge shouldn’t require draining the budget. At $12–$18 per club, professional labor adds up—over $200 annually for serious players.
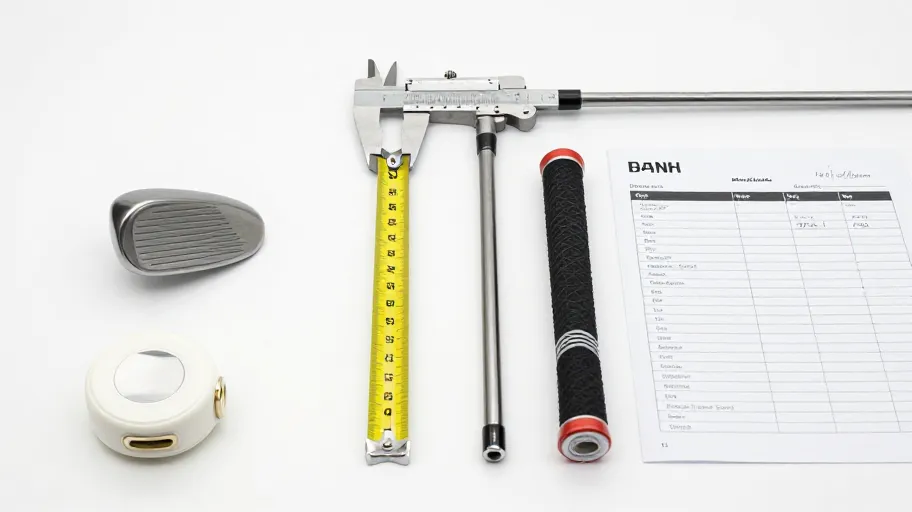
A complete DIY kit from DIY-Golf.com costs $50 and lasts for multiple sets. The key is mastering solvent bonding: using a specialized fluid to temporarily liquefy the grip’s inner layer and tape adhesive, creating a durable molecular bond as it cures. Applied evenly, this method yields a vibration-dampening, long-lasting fit.
An Ohio golfer now refreshes his entire set each spring in his garage like a seasonal tune-up. That control over upkeep doesn’t just save cash—it deepens trust in equipment and boosts playing satisfaction year-round.
How to install new grips at home step by step
Precision installation is where most hesitate, yet with the right tools and 20 minutes per club, anyone can achieve pro-grade results at home. Delaying leads to misaligned grips that silently erode consistency—causing swing drift and accuracy loss.
Secure the club in a vise with a shaft protector. Apply double-sided tape from hosel to end cap with even tension—industry data shows uneven tape causes 68% of slippage issues. Pour solvent inside the new grip to activate adhesion, then slide it on, aligning the centerline mark exactly with your lead groove. This ensures repeatable hand position; even 2mm of rotational error can mimic a poor takeaway.
Twist lightly to vent excess fluid, then let cure for 30 minutes. The result? Custom-fitted clubs with perfect sizing, instant control gains, and lasting performance you feel on every shot.
Master Your Swing, DIY Your Fit. DIY Golf is the premier destination for the technical golfer. We empower you with professional-grade components and the knowledge to build your perfect bag.