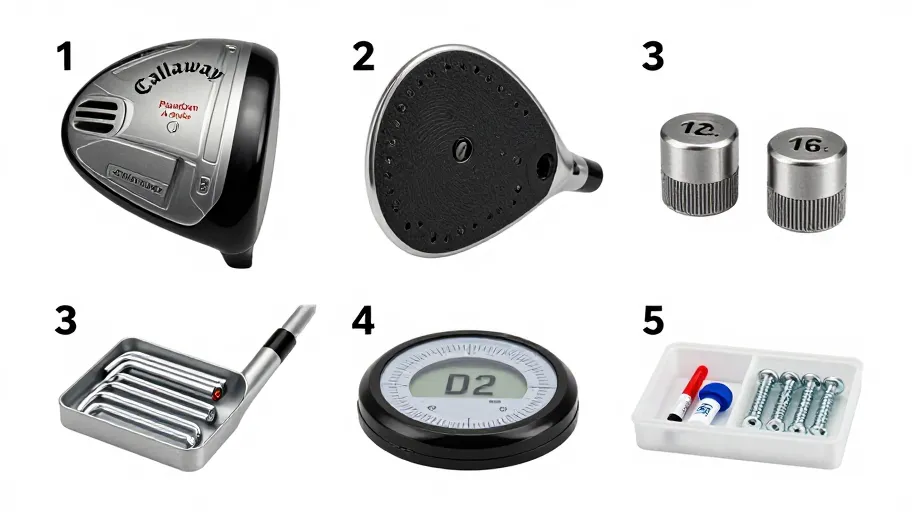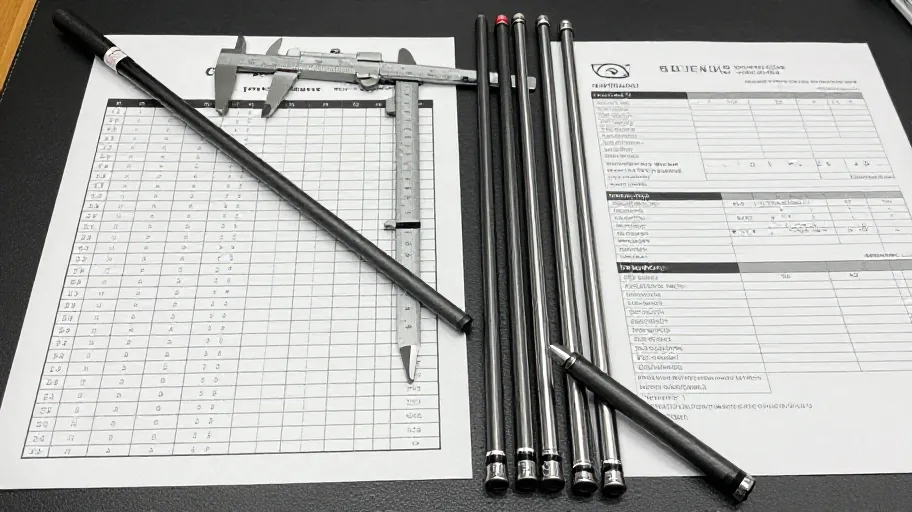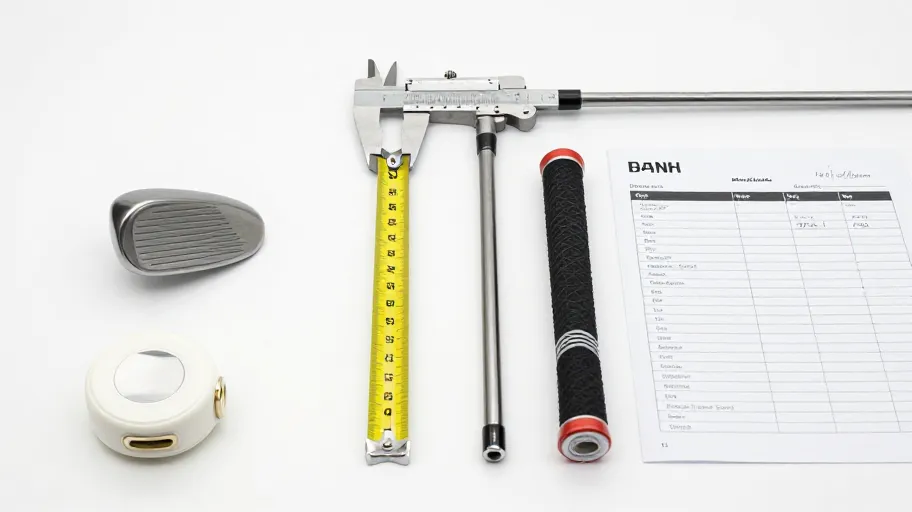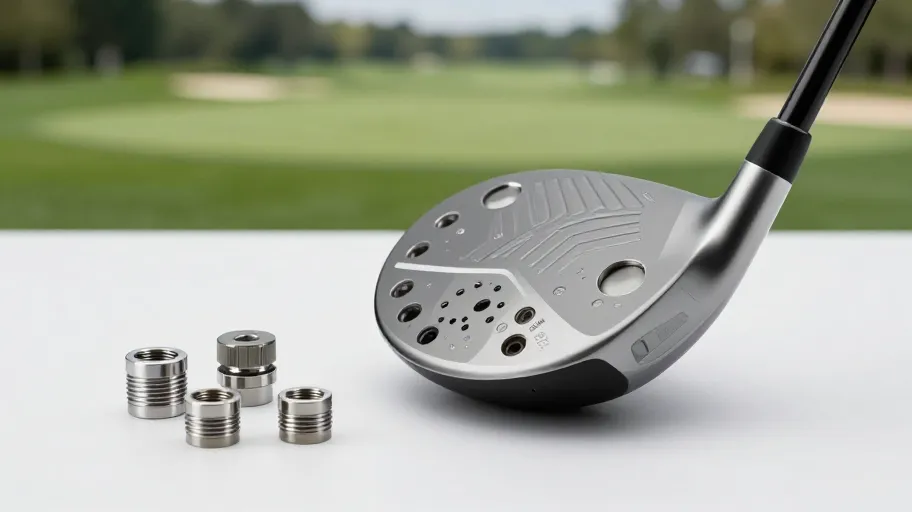
An adjustable driver is a test platform, not an automatic cure. The safe way to tune it is to identify the exact model, use its approved hardware, establish a baseline and change one setting at a time. If the evidence does not show a repeatable benefit, restore the starting configuration.
1. Confirm the exact driver and parts
Record the manufacturer, model generation, loft, handedness, shaft, playing length, grip and current hosel/weight settings. Check the official manual for that exact head. Do not assume an aftermarket weight fits because its thread appears similar, and do not transfer a setting chart between driver, fairway and hybrid heads.
For example, Titleist publishes separate SureFit tables for different metal models and club lengths. Callaway’s fitting resources separate head, shaft, hosel and interchangeable-weight decisions. Those model boundaries matter more than a generic “draw” or “low-spin” label.
2. Build a baseline before turning a screw
Use the current driver and a consistent ball/target. Mark impact location and record a short group rather than one best shot. Useful observations include strike pattern, start direction, curvature, peak trajectory, carry, total distance and the player’s feel. Launch-monitor data can help, but only when the same metric and test conditions are used for each configuration.
3. Change one setting at a time
Follow the manufacturer’s sequence. Callaway’s official fitting handbook recommends changing one factor where possible, then hitting another short group and comparing ball flight, impact location and feedback. If loft, shaft and weight all change together, the result cannot identify which change produced the difference.
Keep the number of configurations small. Start with the setting most directly related to the observed need, then return to baseline before testing a different direction. This makes the comparison easier to interpret and reduces the temptation to keep the single most flattering shot.
4. Tighten and inspect correctly
Use the OEM-specified wrench and instructions. A part that does not seat smoothly, match the diagram or lock fully should not be forced. The USGA Equipment Rules require adjustable mechanisms to be firmly fixed and to use a special tool rather than ordinary finger adjustment. They also make clear that weight-adjustable drivers must conform in their available configurations.
Complete all adjustments before a stipulated round. Do not alter a club’s playing characteristics during the round. After tightening, inspect the port, confirm the screw is secure and listen for any rattle before hitting a ball.
5. Compare the whole pattern
Choose the configuration that produces the most useful repeatable pattern for the golfer—not the one with the longest single shot. If strike location remains inconsistent, investigate length, setup, loft, shaft or technique instead of continuing to add or move mass.
Save the final record: date, head, shaft, length, grip, hosel position, weight part numbers/locations and test notes. That record is the rollback point after future repairs or component changes. For the underlying weight/CG concepts, see how driver weights affect a fitting test. Verify any shaft/adapter connection with the adapter compatibility checker before tuning.
Primary references
- Callaway OptiFit Custom Fitting Handbook—baseline and one-variable comparison process.
- Titleist SureFit Performance Guide—model-specific hosel and weight guidance.
- USGA Equipment Rules, Rule 1 interpretations—adjustability, tools and locking requirements.
Checked September 18, 2026. Always use the latest manual and approved parts for the exact driver model.